Good morning, and welcome to another Tutorial Tuesday. Today’s tutorial contains some of my favorite things – E 6000, origami paper, and using craft supplies in ways they were never intended to be used. In this project, buttons, origami paper and glass paint are used in new ways to make some really fun rings.

You need:
- Origami paper
- Ring bases
- A craft knife and appropriate cutting surface
- E 6000
- Clear or white buttons (see note)
- A paintbrush
- Glass Effect Gel in Crystal Clear
Note: Select buttons with two flat sides, or one flat side and one slightly rounded side. If you choose the latter, you will apply the paper to the curved side, and glue the ring base to the flat side.

1. Cut a square of paper slightly larger than your button.

2. Apply a small amount of glass paint to the surface of the button.

Using a moistened paintbrush, spread the paint over the button in an even coat. You may need to apply a little more paint to achieve an even coat.

Put the paper on the wet paint, and press firmly to adhere. In the case of slightly rounded buttons, like this one, press out any wrinkles that may occur. If any excess paint comes out from under the paper, wipe off immediately. Let dry for about an hour.
Wash the paintbrush with warm soapy water immediately – this paint is water-resistant when dry.
3. Turn the button paper side down on your cutting surface. Using your craft knife, cut off all excess paper.
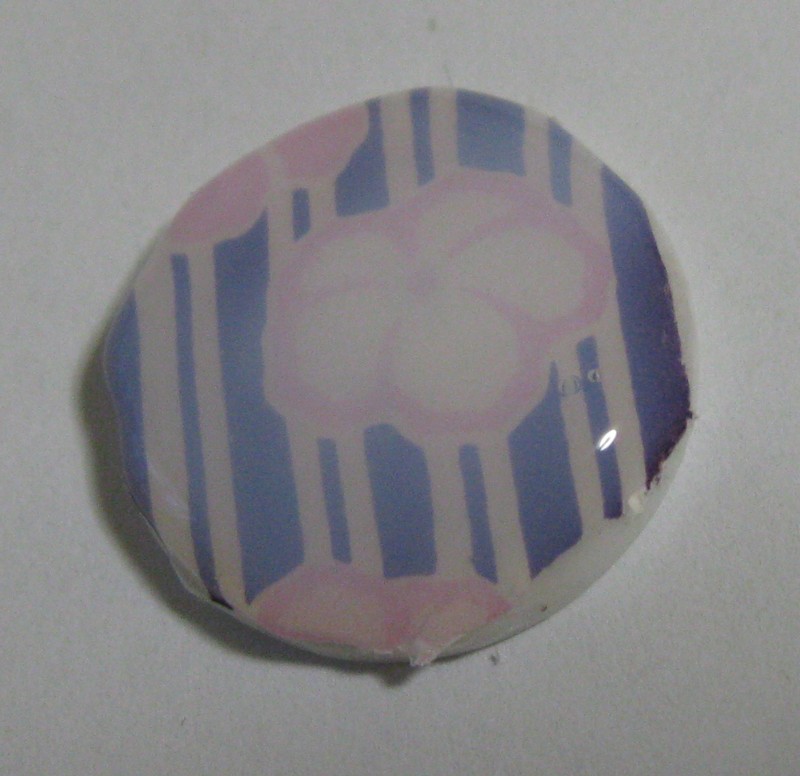
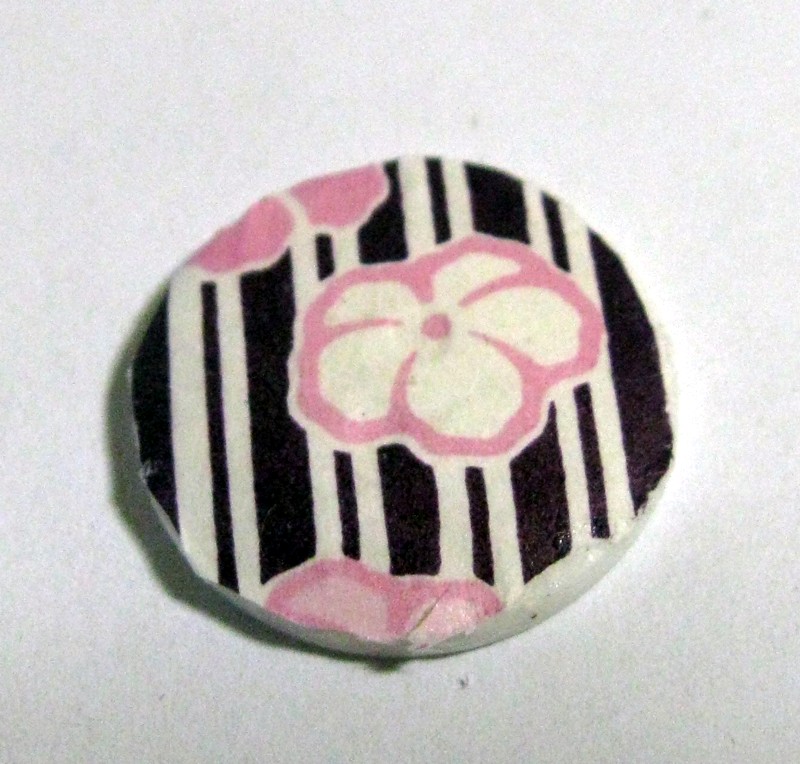
4. Applying the paint straight from the tube, cover the entire paper-covered surface of the button with the glass paint. Be sure to go all the way to the edges of the paper. Any bubbles can be popped with a pin. The paint will be milky when applied, and clear when dry. Let dry completely (~3 hours).


5. Using the E 6000, glue a ring base to the underside of the ring. Let dry.

Finished!
Don’t miss a single riveting tutorial! Bookmark our tutorial page and check back on Tuesdays for new ones.
Is there a tutorial you want to see? Leave a comment!

Happy December, and Happy Tuesday! Today’s Tuesday Tutorial is an oldie but a goodie – Tri-bead Christmas ornaments!

You need:
- Tri-beads in red, green and clear
- 3mm silver chenille stems, 12″ long
- 1/4″ red satin ribbon
- Tacky glue
- Gold or silver thread
- Scissors
- Pliers with wire cutters (optional, but a good idea)
Candy Canes:

1. Take one chenille stem. Fold in half and cut. One 6″ piece will make one candy cane; you can use the second half to make another candy cane, or set aside to use in the next pattern.
![]()
2. The ends of the chenille stem are a bit poke-y at this point. Here’s how to fix it: Fold up the end (less than 1/4″) and press flat against the rest of the chenille stem. Press flat, so the tri-beads will still go over the end. Repeat on other side. Pliers will help with this step. If you are doing this project with small children, do these first two steps for them.

3. Put one tri-bead on the end of the chenille stem.

Press the end over the side of the bead to hold the bead on.
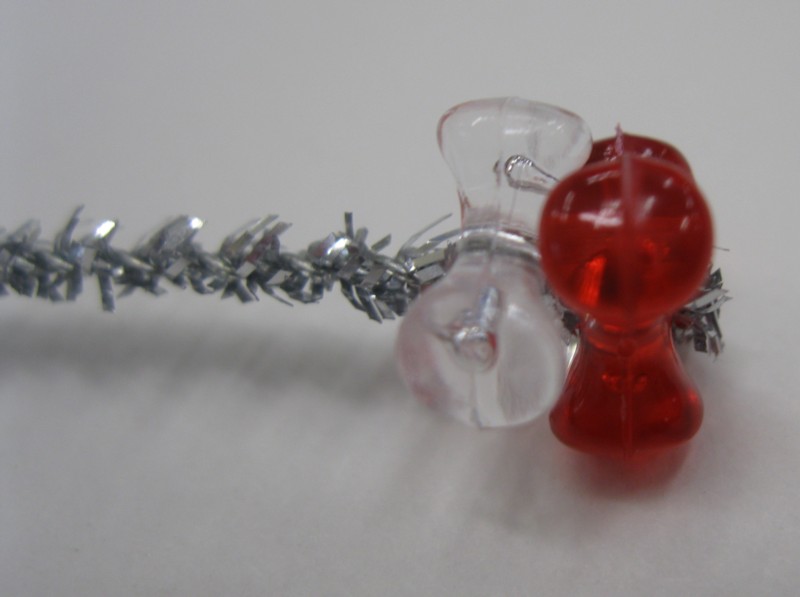
4. Alternating red and clear beads, slide the next bead on the chenille stem. The lobes of one bead will fit in the notches of the next bead.
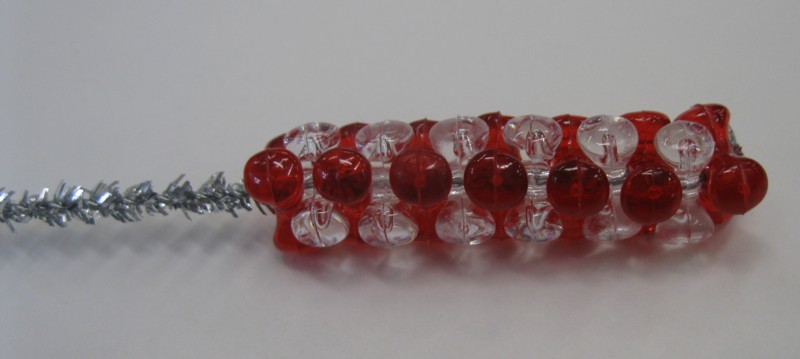
Continue putting the beads on the chenille stem until you have 24 of each.

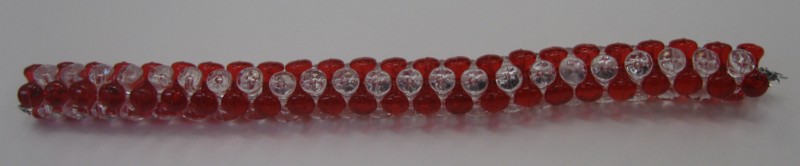
5. Fold over the end over the last bead.

6. Bend a curve in the top of the candy cane.
Finished!
Christmas wreath:
1. Follow steps 1 and 2 of the Candy Cane instructions to prepare one 6″ length of chenille stem.

2. Slide green tri-beads onto the chenille stem.

Again, the lobes of one bead will fit into the notches of the next bead.

Slide a total of 45 green tri-beads onto the chenille stem, so that an even amount of the chenille stem sticks out on each side.
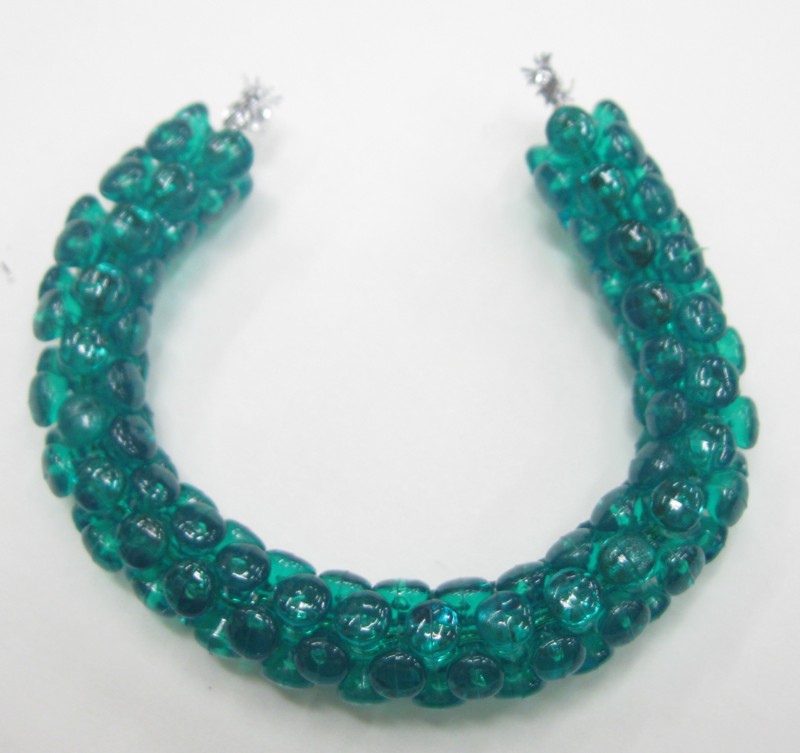
3. Curve into a circle.
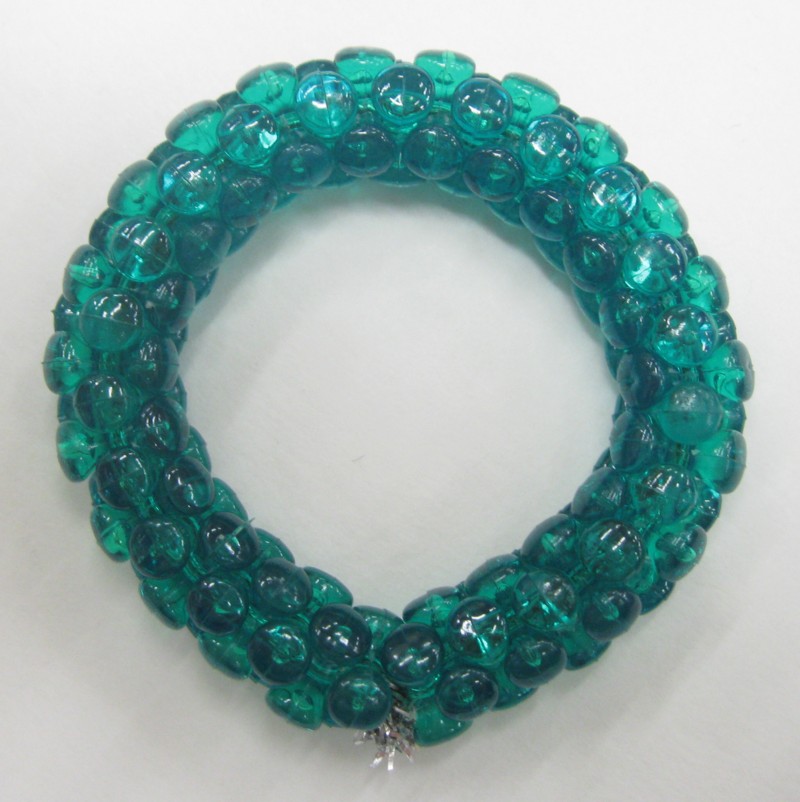
4. Twist the two ends of the chenille stem together to close the circle. It’s easiest to do this with pliers.

5. Cut a 12″ piece of ribbon and angle the ends.

Seal the ends with glue (or your favorite method, if you have one) so they don’t fray.
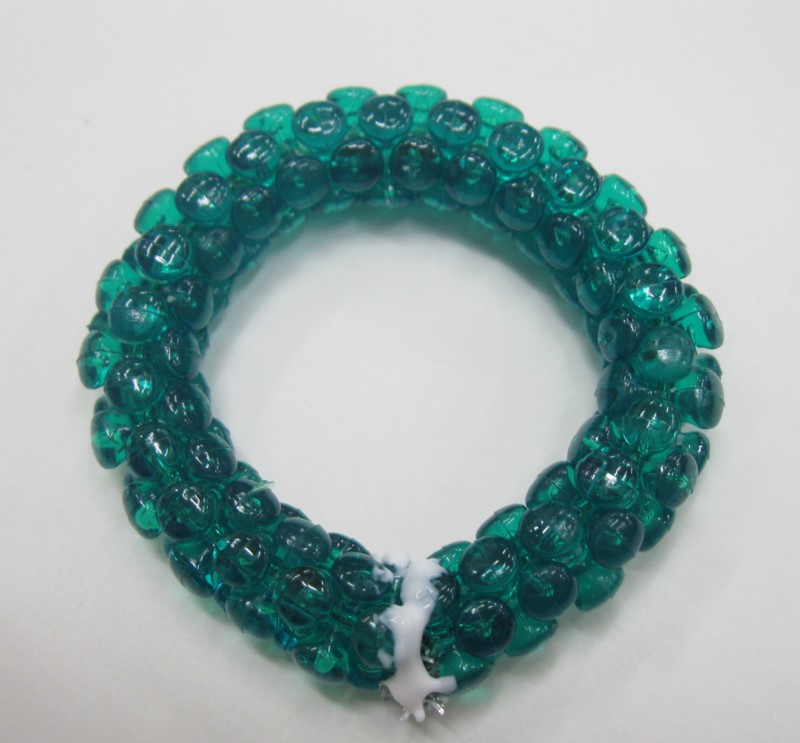
6. Run a thin line of glue around where the two ends meet.

Tie the center of the ribbon around the glue line, covering the end of the chenille stem as you do so.

Dot glue over the knot.

Finish tying the ribbon in a bow over the glue.

7. Cut a 6″ length of thread. Tie on the wreath for a hanger.
Finished!
Variation:

Make an icicle! Use 30 clear tri-beads. Turn a loop in the end, and use the thread to make a hanger.
Don’t miss a single riveting tutorial! Bookmark our tutorial page and check back on Tuesdays for new ones.
Is there a tutorial you want to see? Leave a comment!
Join us Saturday, November 30th from 10am until 5pm for our Small Business Saturday Sale! Amazing prices will be available on our best Holiday Gift items.
(Remember, #DansCraftsAndThings is NOT open on #Thanksgiving Day!)


#SmallBusinessSaturday #Sale #Event #Gifts

Today’s Tuesday Tutorial is a great one for this cold, windy weather – a nice squishy hat with a hemmed bottom, knit on a knitting loom. You don’t need any knitting experience to make this project; it’s super-easy. Even better, you only need one skein of yarn for the project, whether you make the adult size or the child size!

You need:
- A knitting loom (a medium for a child’s hat or a large for an adult)
- A knitting loom hook (included with the loom)
- A yarn needle (included with the loom)
- Scissors
- One skein of bulky-weight yarn (We’re using Bernat Softee Chunky in Royal Purple)

1. Leaving an 8″ tail, secure the yarn to the anchor peg with a slipknot.

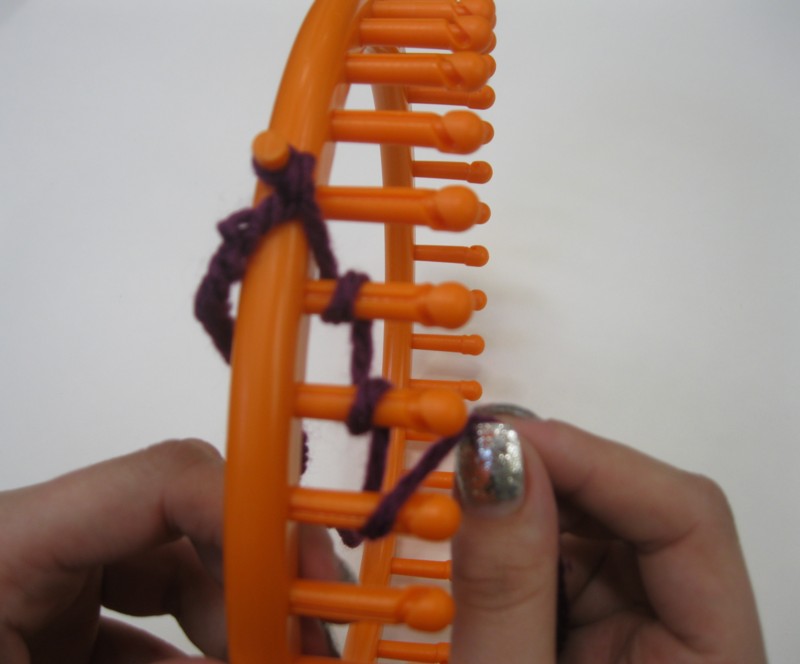
2. Wrap the yarn around each peg in a clockwise direction and move to the next peg.
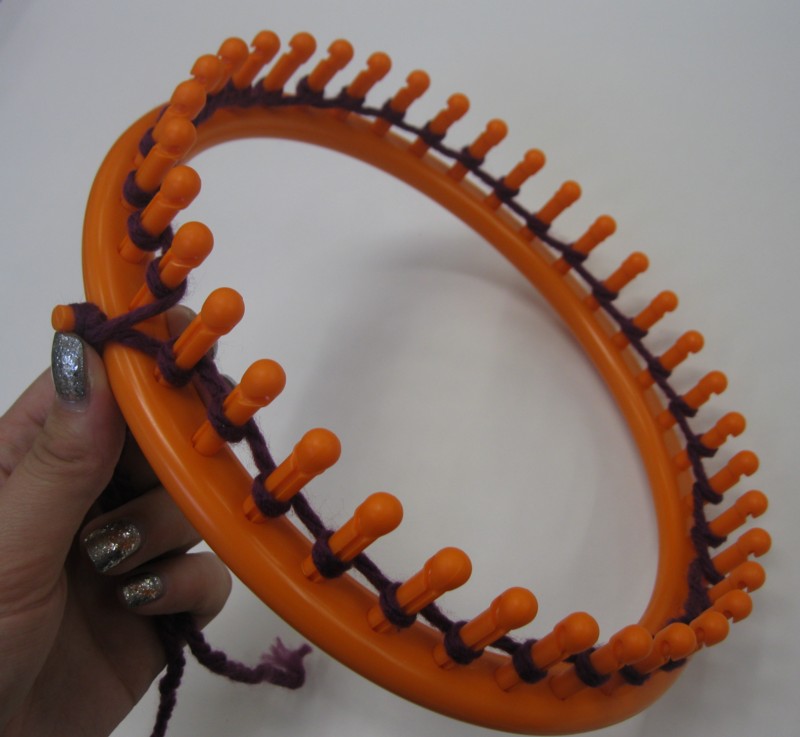
Continue all the way around.

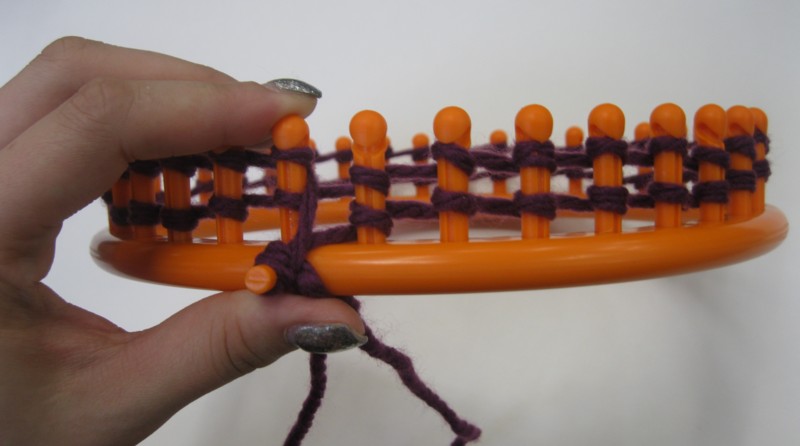
3. Wrap the yarn in a clockwise direction around each peg. At the end of the row, wrap the yarn around the anchor peg twice.

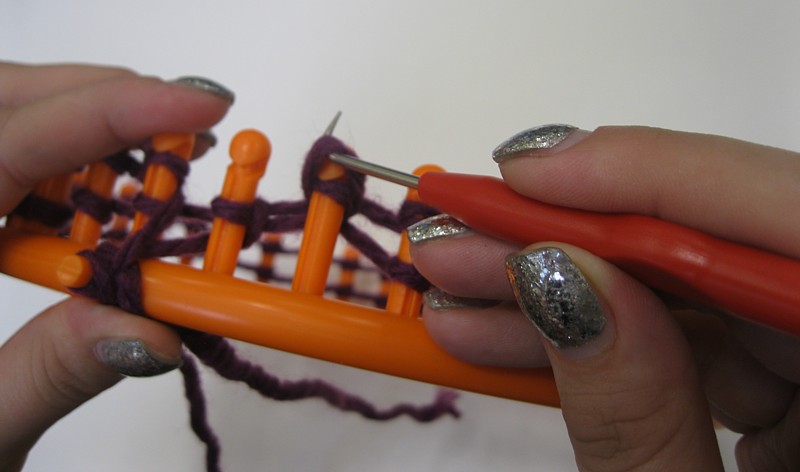
4. Slip the point of the loom hook under the bottom loop on the first peg. Lift the bottom loop over the top loop and off the peg.
Repeat on every stitch all the way around. Remove the yarn from the anchor peg. You have now knit one row.

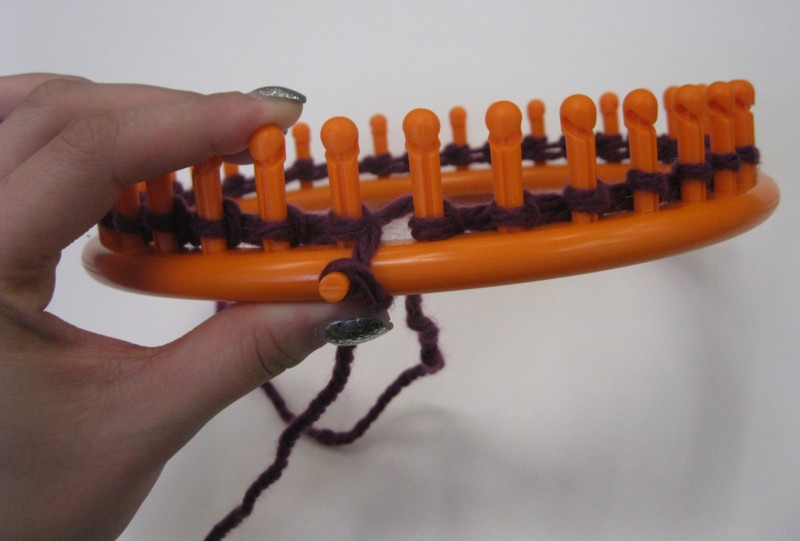
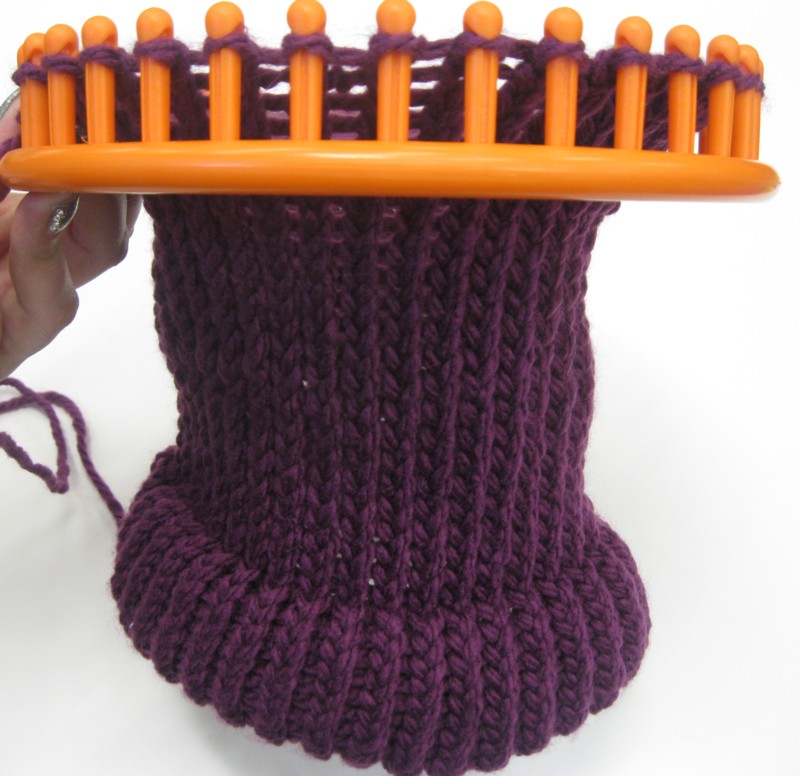
5. Repeat steps 3 and 4 until you have knit 12 rows for a child’s hat, or 16 rows for an adult hat. Find the loop of yarn from the first stitch on the first row.
Put this loop on the first peg.


Continue all the way around, putting the loops from the first row on the loom. this folds your knitting in half.

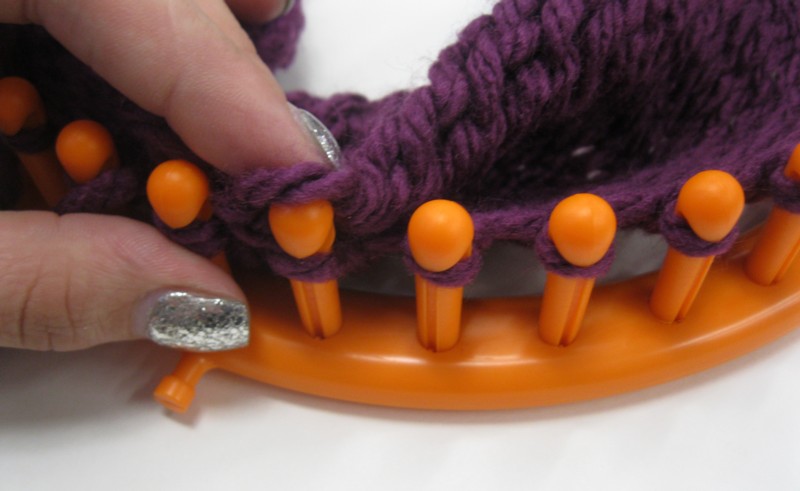
6. Wrap the yarn around the pegs as in step 3. You will have three loops on each peg.


7. Take the bottom two loops and lift them over the top loop and off the peg.

Continue all the way around.
8. Repeat steps 3 and 4 until the hat is 8″ for a child’s hat, or 9″ for an adult’s hat.

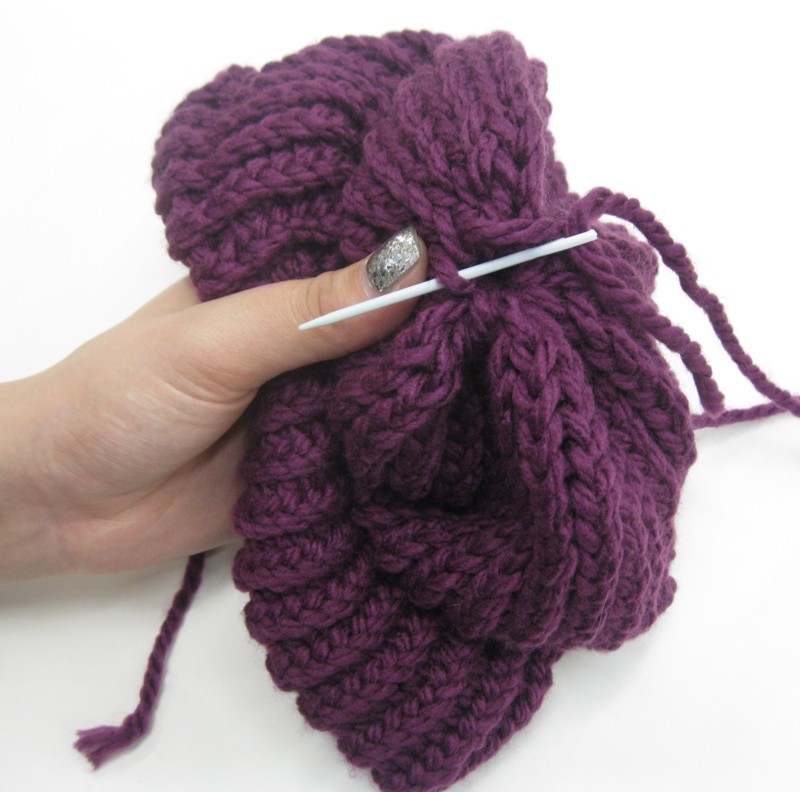
Cut a long tail and use it to thread the yarn needle. Insert the needle into the first stitch. Pull the needle through the stitch and remove the stitch from the peg. The stitch is now secured on the long yarn tail.

Continue around, putting the loops on the yarn and pulling them off the pegs.


9. Take the yarn end and pull tightly, gathering the top. Pull until the hole on top is completely closed.
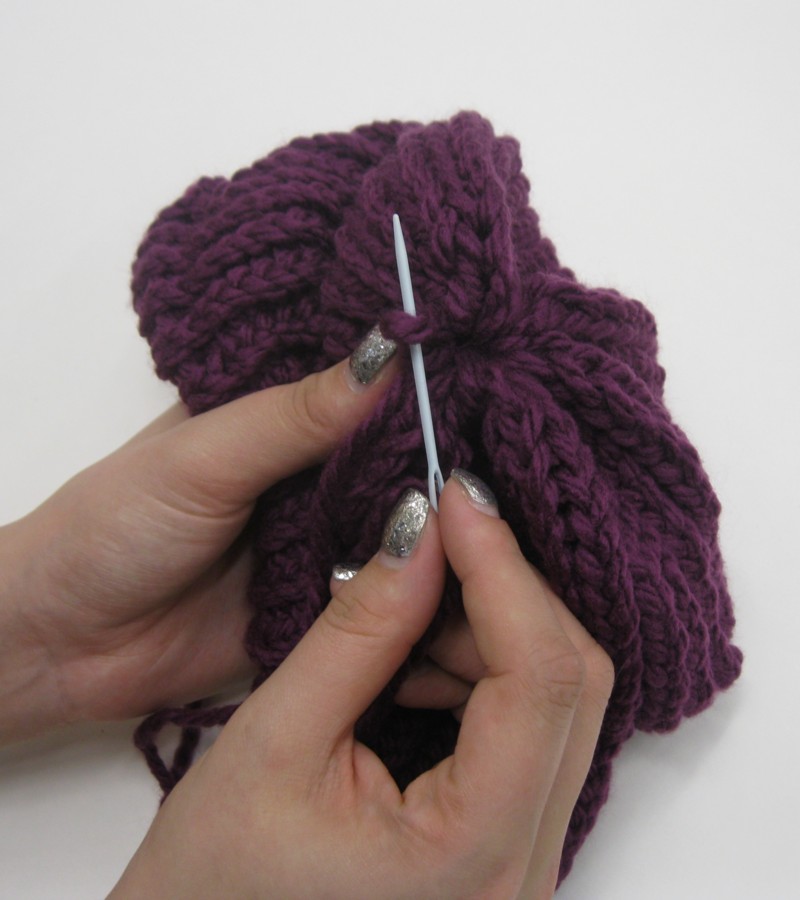
10. Insert the needle in one of the stitches on top and pull through until there’s a small loop.

Making sure that the top is still tightly cinched closed, pull the yarn needle through this loop and pull tight. Push the needle through the top to the inside. Turn the hat inside out.

11. Use the needle to weave the tail through the back of several stitches.
Once the end is secured, cut off the excess yarn tail.

Thread the tail from the beginning of the hat on the needle and weave through the hem. Pull through and cut off the excess tail. Turn the hat right side out.

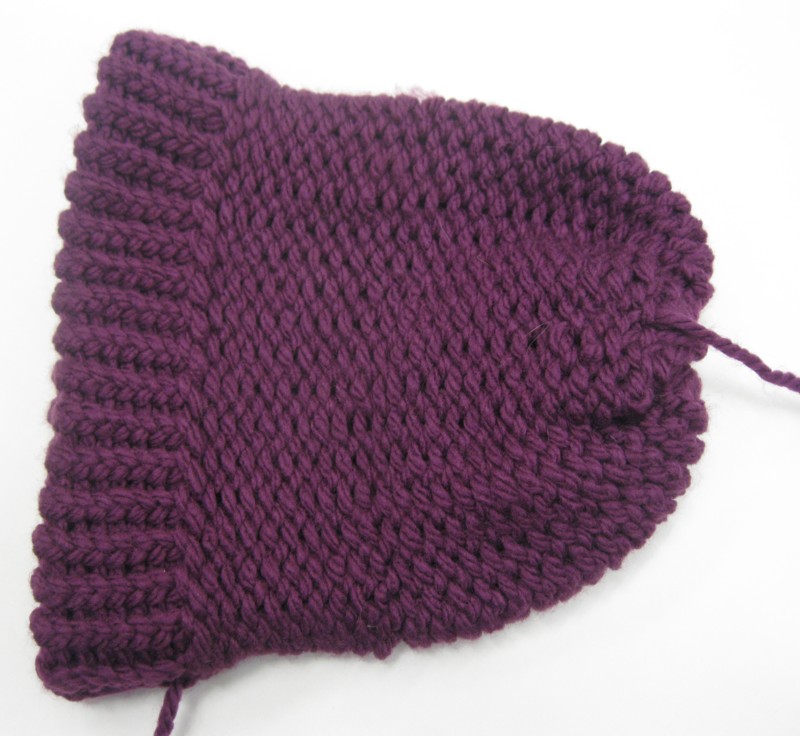
Finished – adult hat.

Finished – child’s hat.
Thanks to Rebecca for once again being my awesome hand model. Don’t miss a single riveting tutorial! Bookmark our tutorial page and check back on Tuesdays for new ones.
Is there a tutorial you want to see? Leave a comment!
Click this link to our latest email newsletter!

Remember, Dan’s will NOT be open on Thanksgiving Day! Please have a save and fun Holiday. We’ll see you Friday from 10am until 6pm and Small Business Saturday from 10am until 5pm.
We’ve been receiving new #PlasticModel kits all year long. Here are a few of the most recent additions to the inventory at #DansCraftsAndThings:


The new sets from Erector have finally arrived and just in time for the Holiday season!


Stop in to see our entire selection of wooden railway items from Thomas & Chuggington.

This week’s Tuesday tutorial is a fun one for the kids to make for Thanksgiving – Hand turkeys!
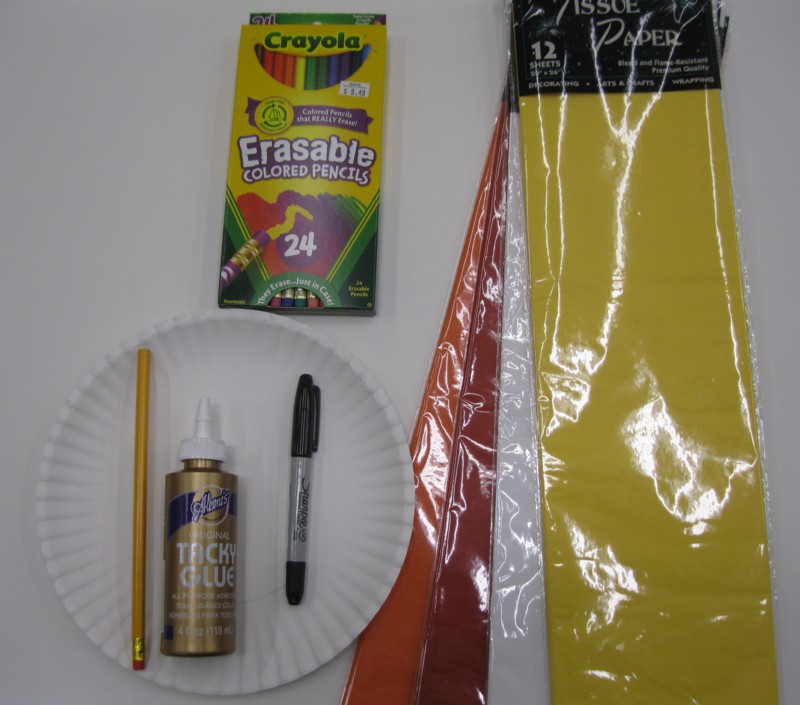
You need:
- A paper plate
- Tissue paper (we used red, yellow, white and orange)
- Craft glue
- A pencil with a new, flat eraser
- A Sharpie marker (this one has both a fine- and an ultra-fine tip)
- Colored pencils (or other coloring instruments)
- Scissors or other cutting method (see step 1)
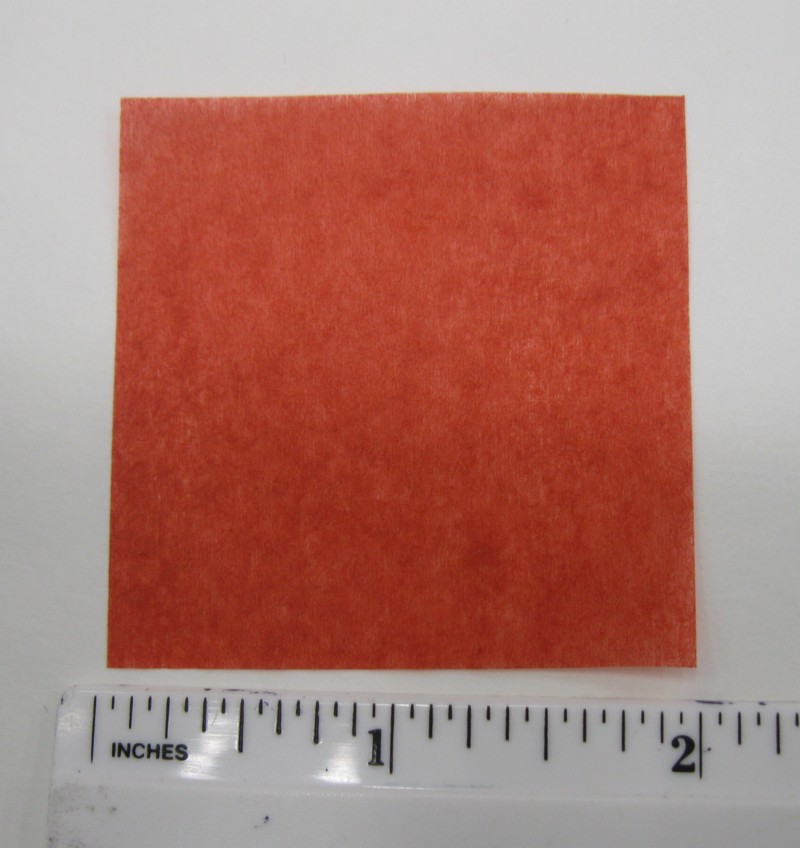
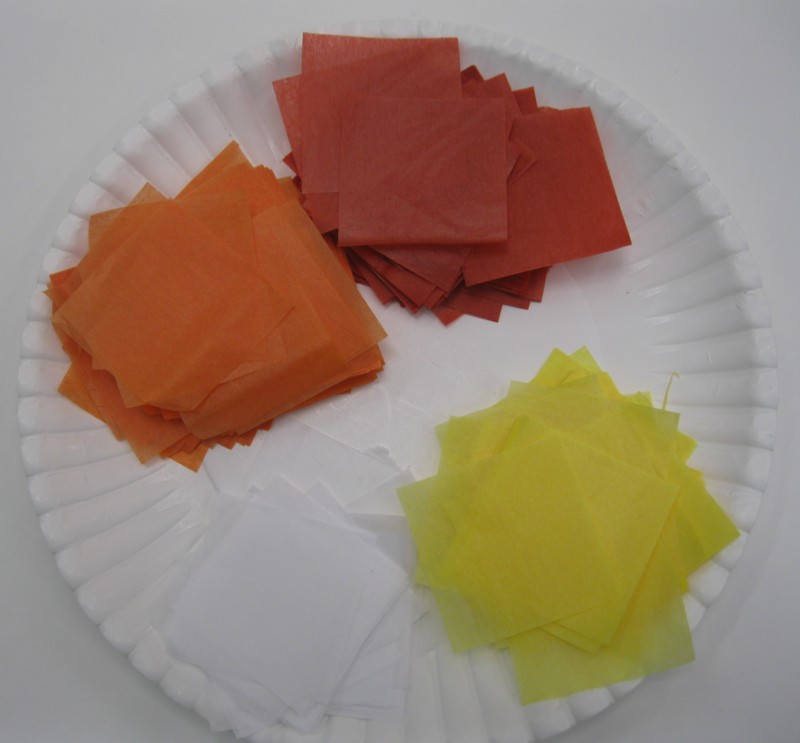
1. Cut the tissue paper into 2″ squares. One sheet of each color is more than enough for one turkey.
All the tissue for this tutorial was cut with a paper cutter. A craft knife, straight-edge and cutting mat or scissors and a ruler will also work, but may take longer.
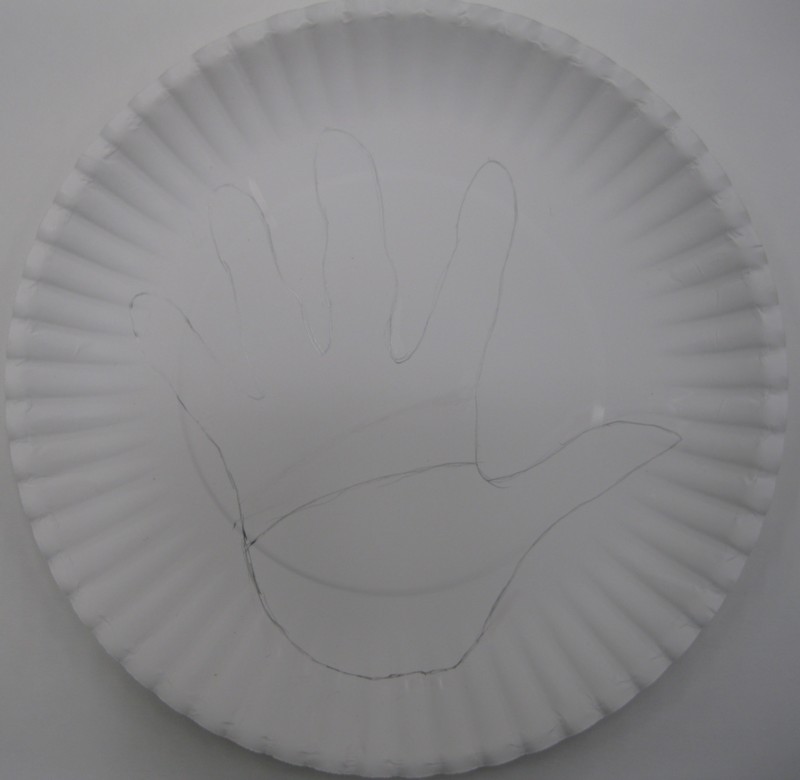
2. Trace your hand on the paper plate. Draw a line across the palm, just above the thumb.

3. Put the pencil eraser in the center of the tissue paper square. Be sure to use the eraser end – using the wood end will tear the paper.

Push the ends up.
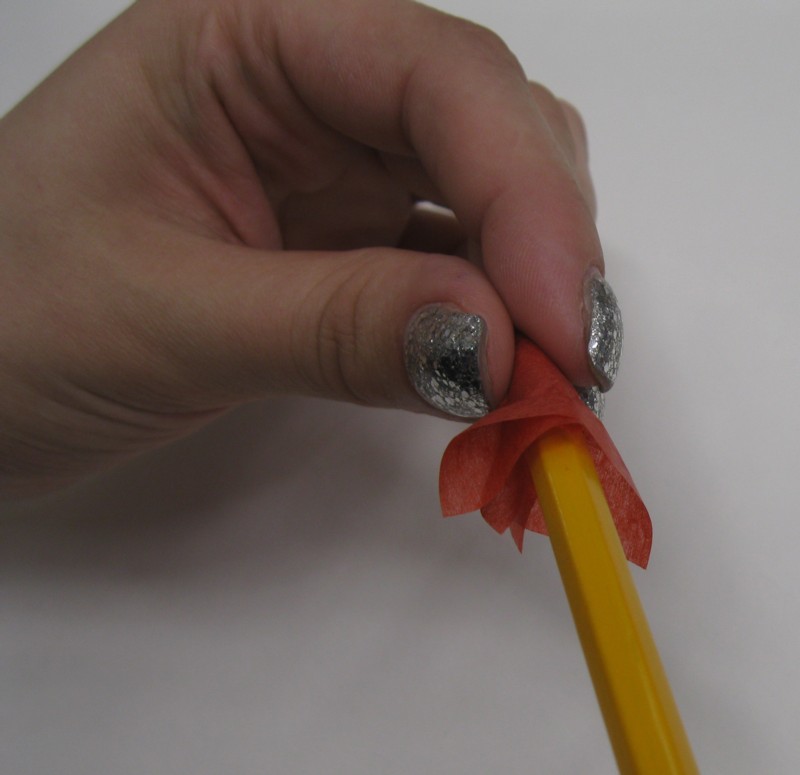
Turn the pencil and twist the paper around it.
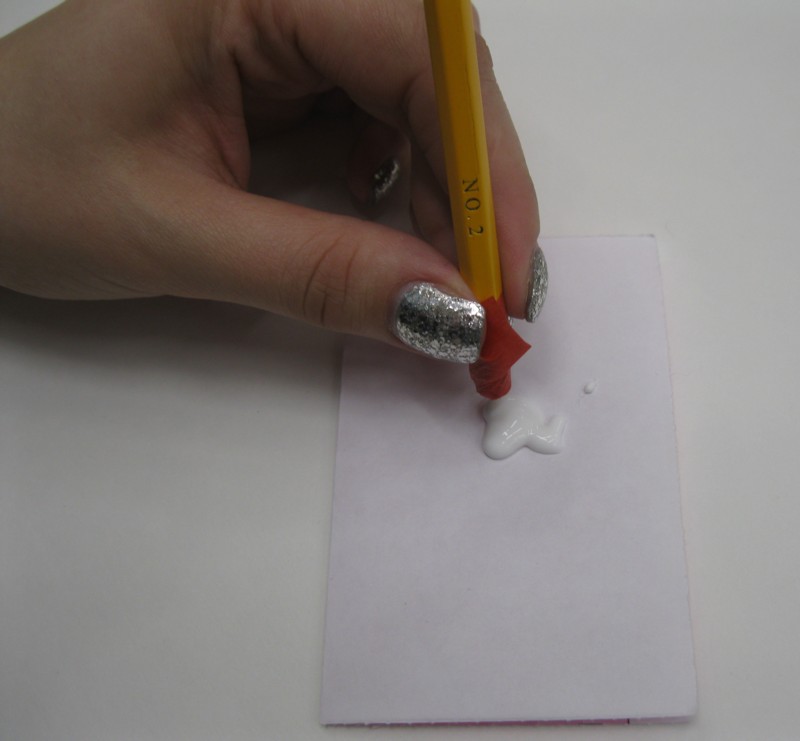
4. Dip the end of the paper in glue.
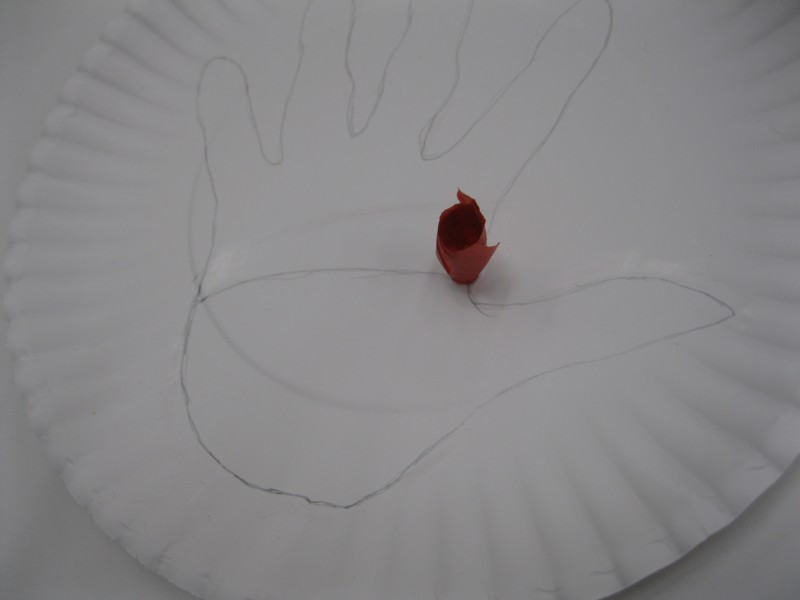
Attach the rolled-up paper where you drew the line above the thumb. You will work out from this corner and cover the whole top part of the hand tracing with the rolled-up paper squares.

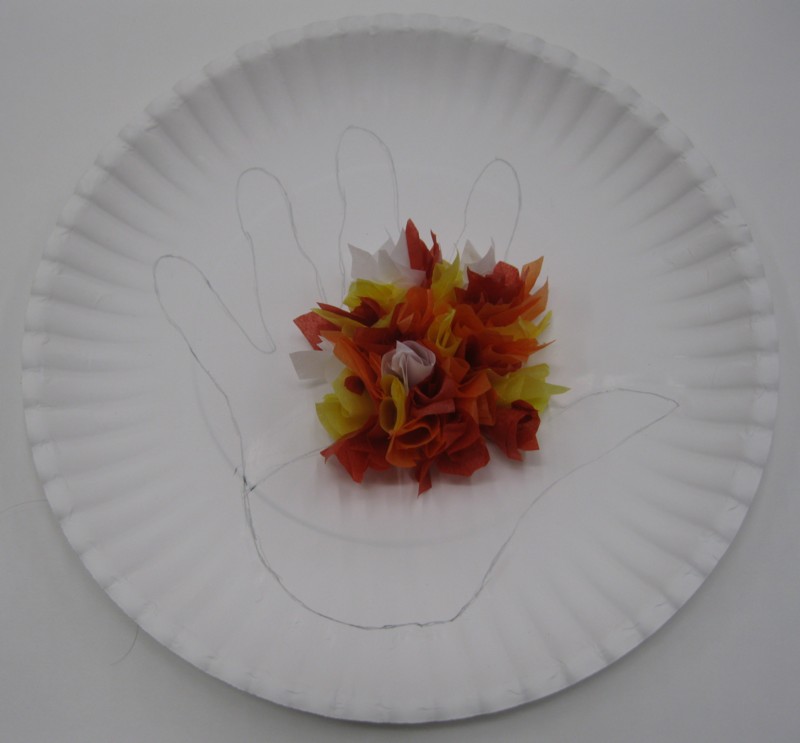


5. Draw on turkey parts and trace with Sharpie marker.
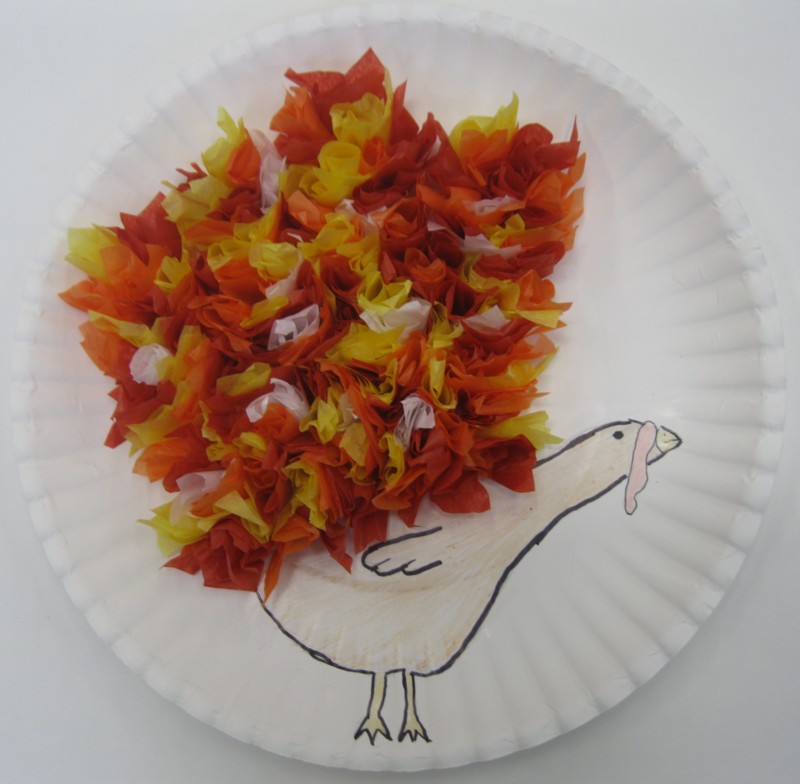
Color the turkey in with colored pencils.
Finished!
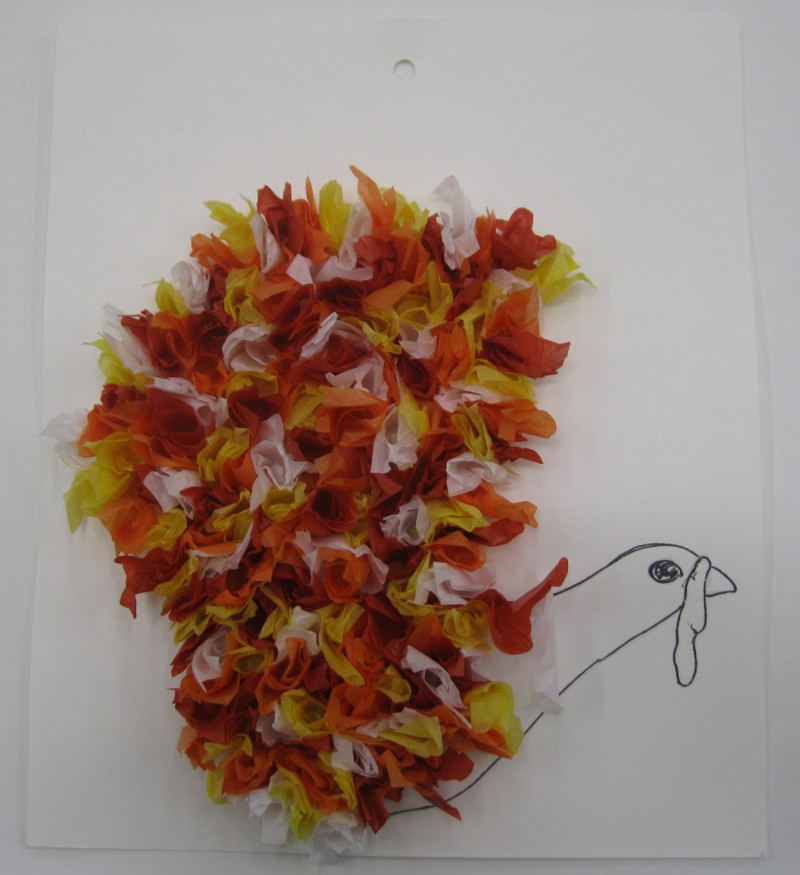
Variations:

Instead of being colored, this turkey is made from craft foam, felt, and a googly eye.
Don’t have any paper plates? Make your turkey on a piece of construction paper.
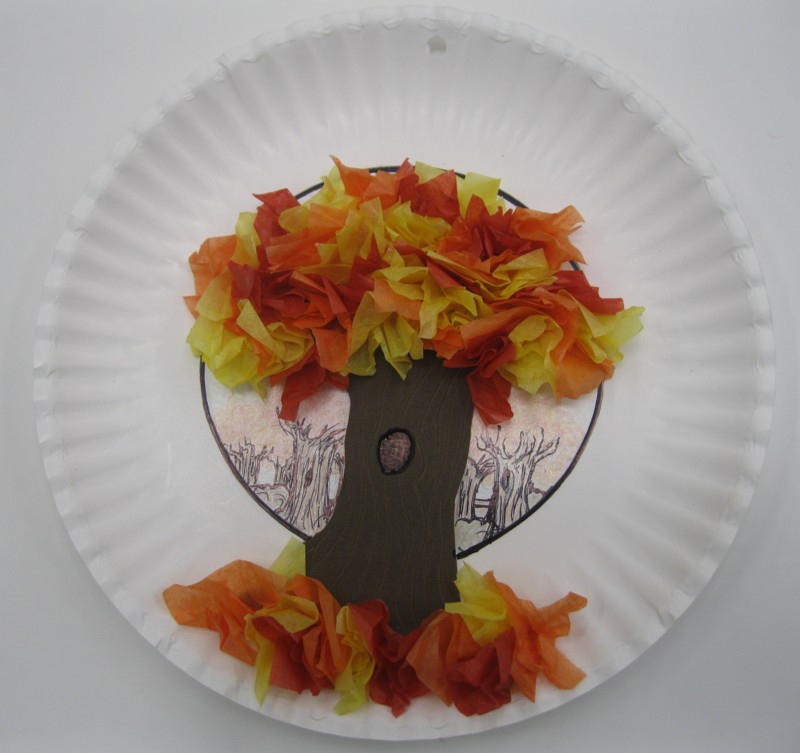
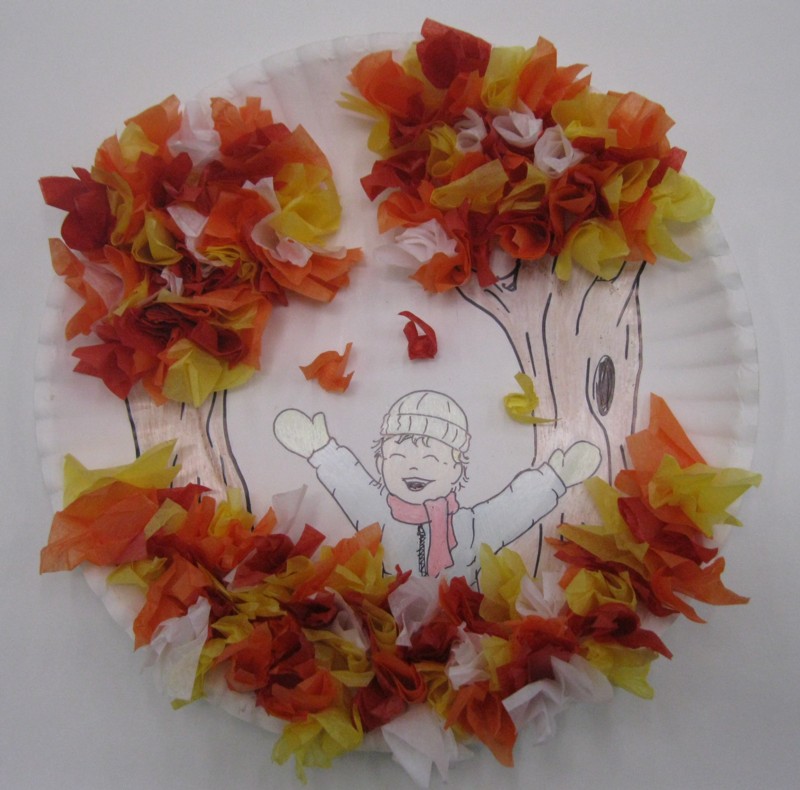
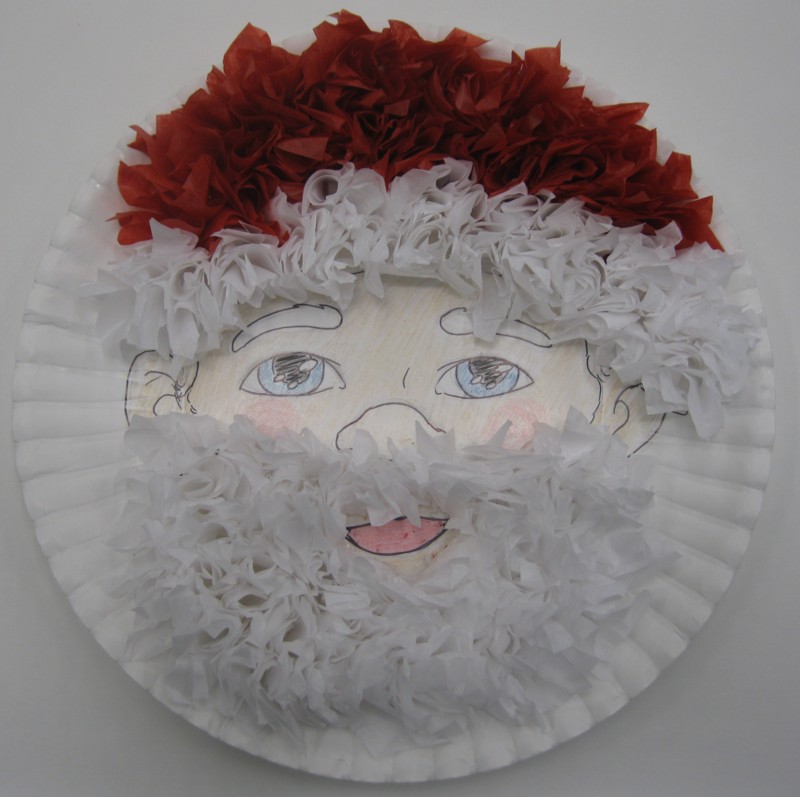
Also, you don’t have to limit yourself to turkeys. Check out these other designs made with the same technique:
Thanks to Rebecca for once again being my awesome hand model. Don’t miss a single riveting tutorial! Bookmark our tutorial page and check back on Tuesdays for new ones.
Is there a tutorial you want to see? Leave a comment!
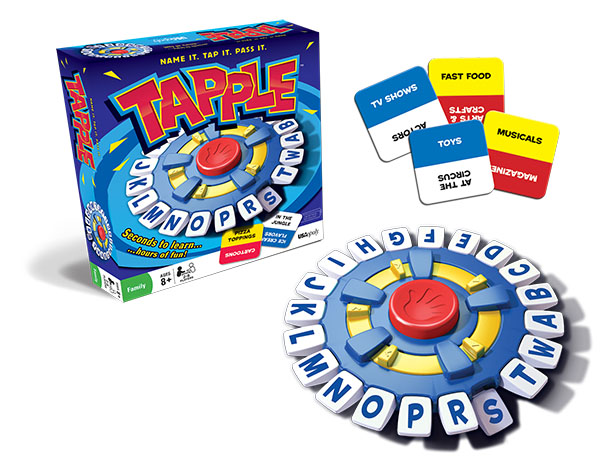
We have received a bunch of new games, just in time for cold weather and family get-togethers!
Tapple is a fast-paced word game for two to eight players, ages eight and up.
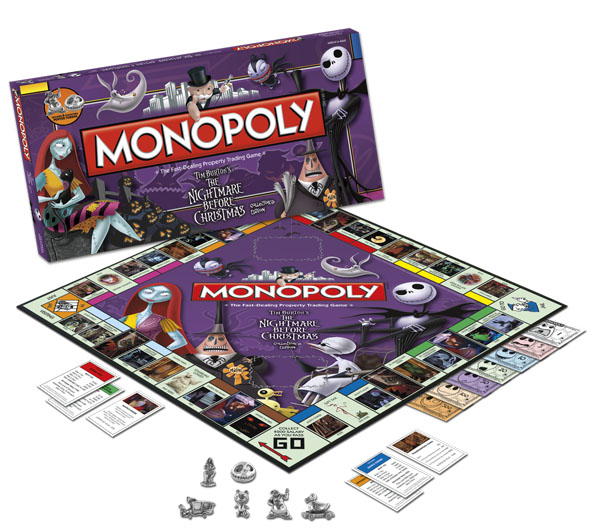
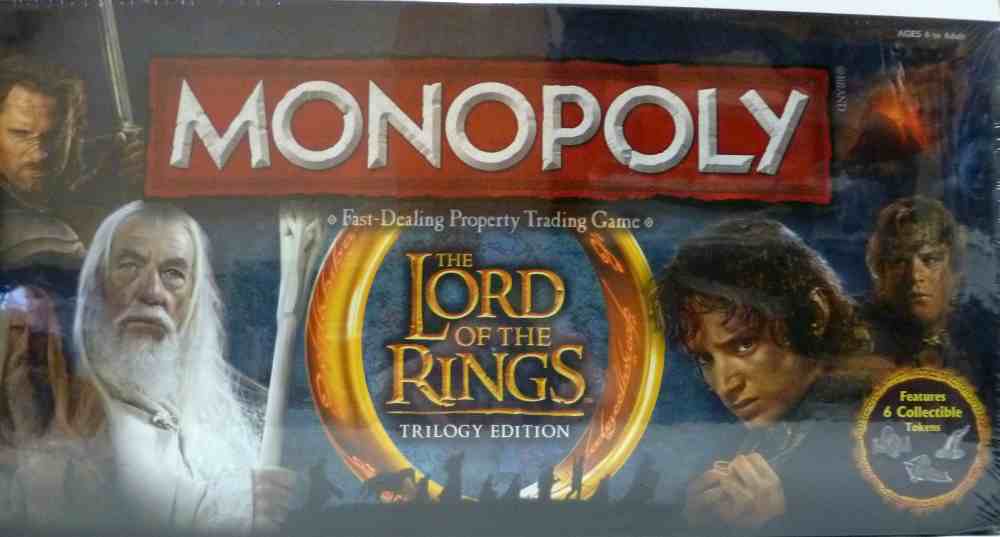
Monopoly has long been a family favorite. Dan’s now carries a variety of licensed versions of Monopoly, including the Dr. Who 50th Anniversary Edition and Nightmare Before Christmas!