Tutorial Tuesday – Knitting a Hat on a Knitting Loom

Today’s Tuesday Tutorial is a great one for this cold, windy weather – a nice squishy hat with a hemmed bottom, knit on a knitting loom. You don’t need any knitting experience to make this project; it’s super-easy. Even better, you only need one skein of yarn for the project, whether you make the adult size or the child size!

You need:
- A knitting loom (a medium for a child’s hat or a large for an adult)
- A knitting loom hook (included with the loom)
- A yarn needle (included with the loom)
- Scissors
- One skein of bulky-weight yarn (We’re using Bernat Softee Chunky in Royal Purple)

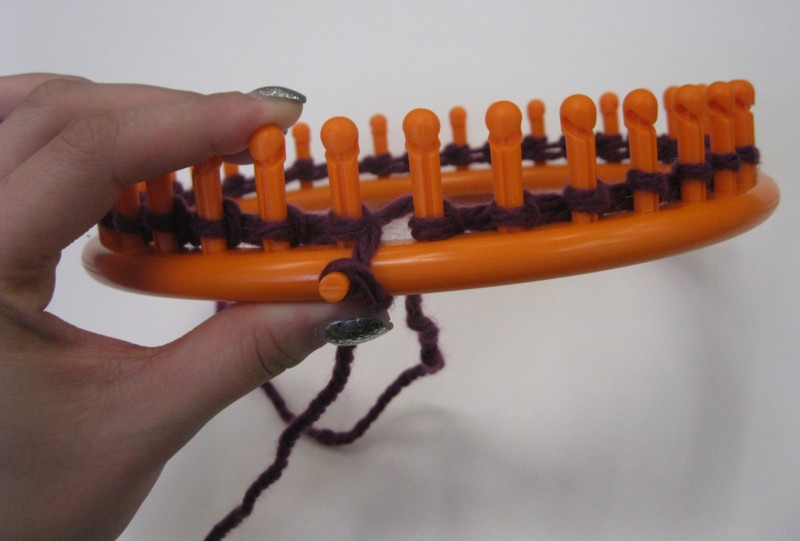
1. Leaving an 8″ tail, secure the yarn to the anchor peg with a slipknot.

2. Wrap the yarn around each peg in a clockwise direction and move to the next peg.
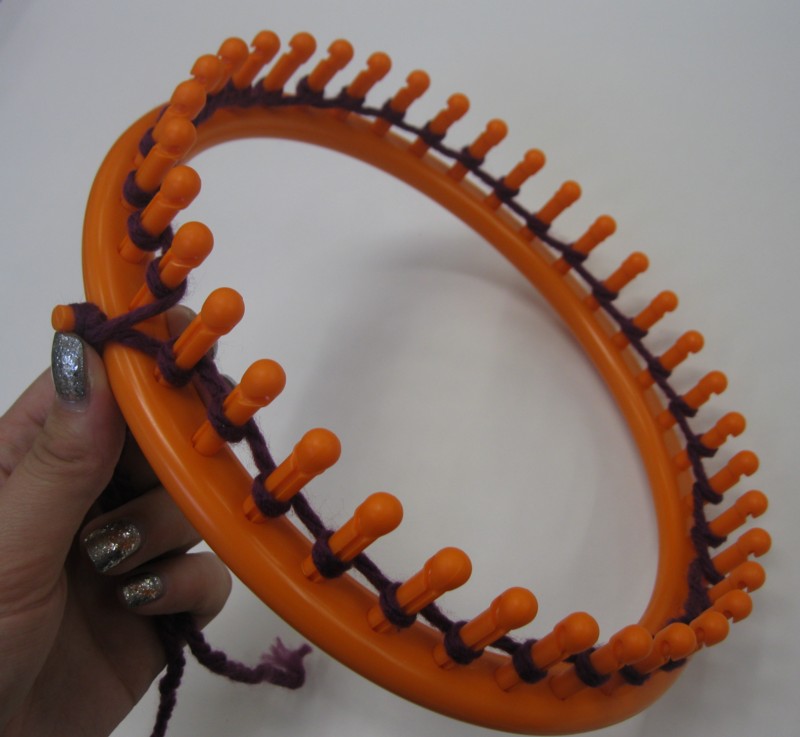
Continue all the way around.

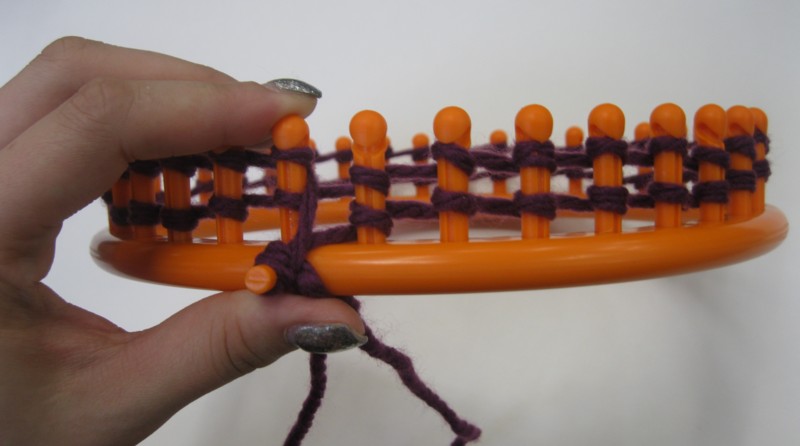
3. Wrap the yarn in a clockwise direction around each peg. At the end of the row, wrap the yarn around the anchor peg twice.

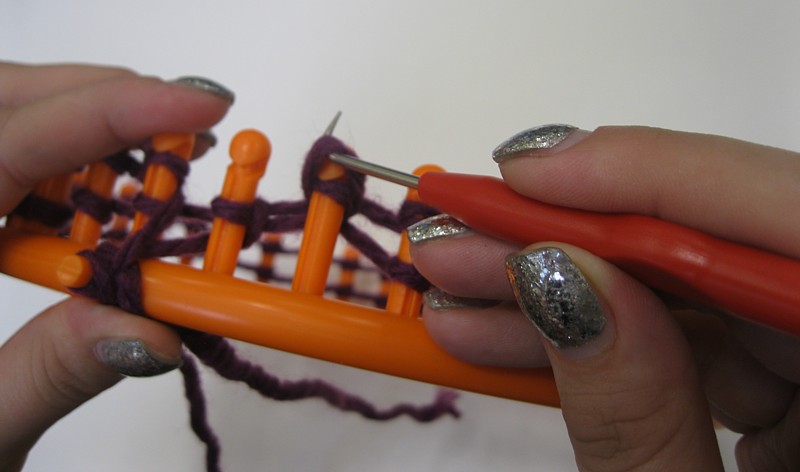
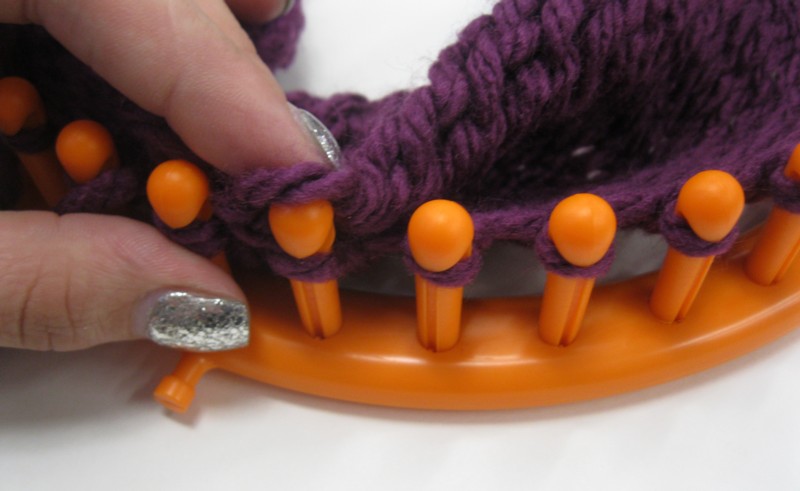
4. Slip the point of the loom hook under the bottom loop on the first peg. Lift the bottom loop over the top loop and off the peg.
Repeat on every stitch all the way around. Remove the yarn from the anchor peg. You have now knit one row.

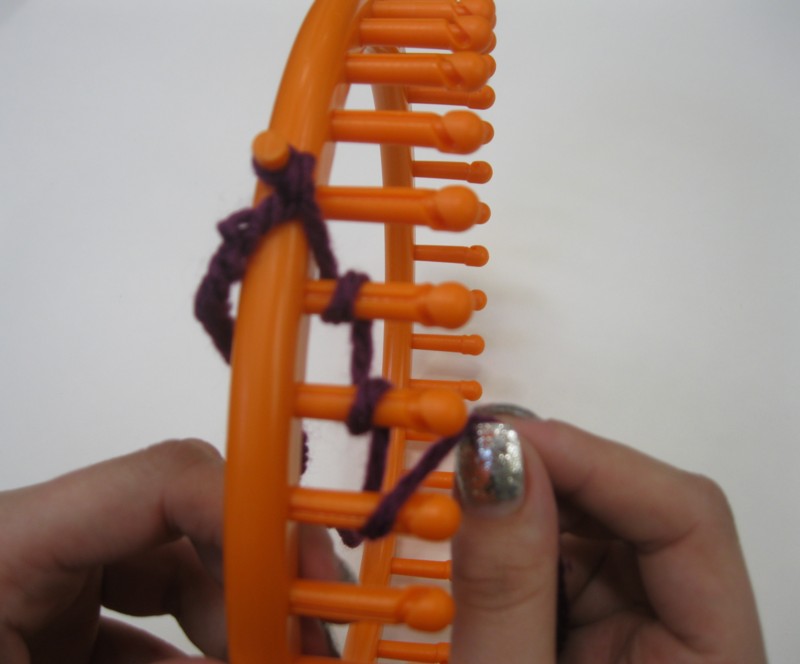
5. Repeat steps 3 and 4 until you have knit 12 rows for a child’s hat, or 16 rows for an adult hat. Find the loop of yarn from the first stitch on the first row.
Put this loop on the first peg.


Continue all the way around, putting the loops from the first row on the loom. this folds your knitting in half.

6. Wrap the yarn around the pegs as in step 3. You will have three loops on each peg.


7. Take the bottom two loops and lift them over the top loop and off the peg.

Continue all the way around.
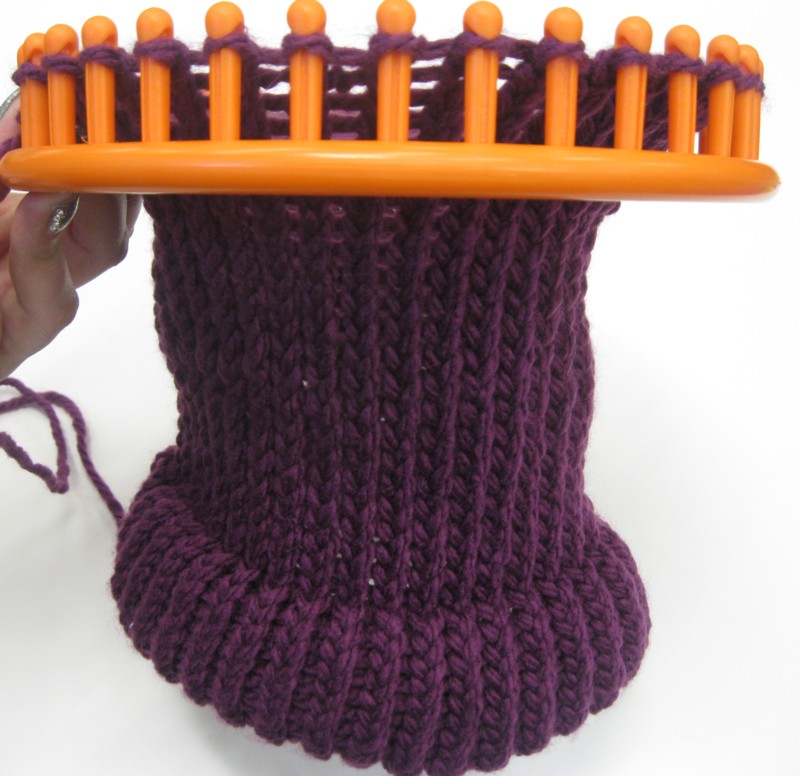
8. Repeat steps 3 and 4 until the hat is 8″ for a child’s hat, or 9″ for an adult’s hat.

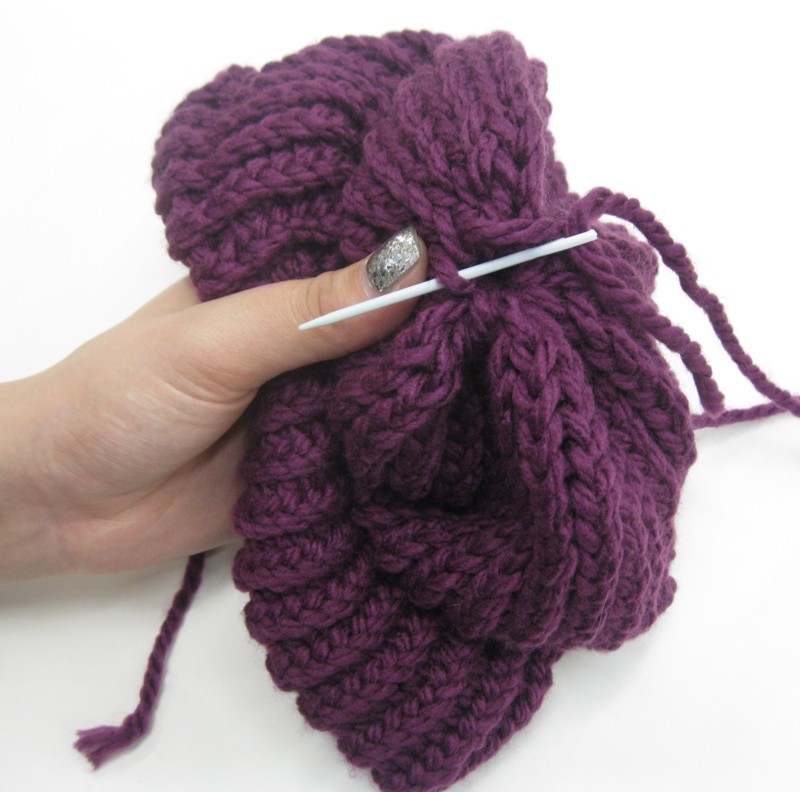
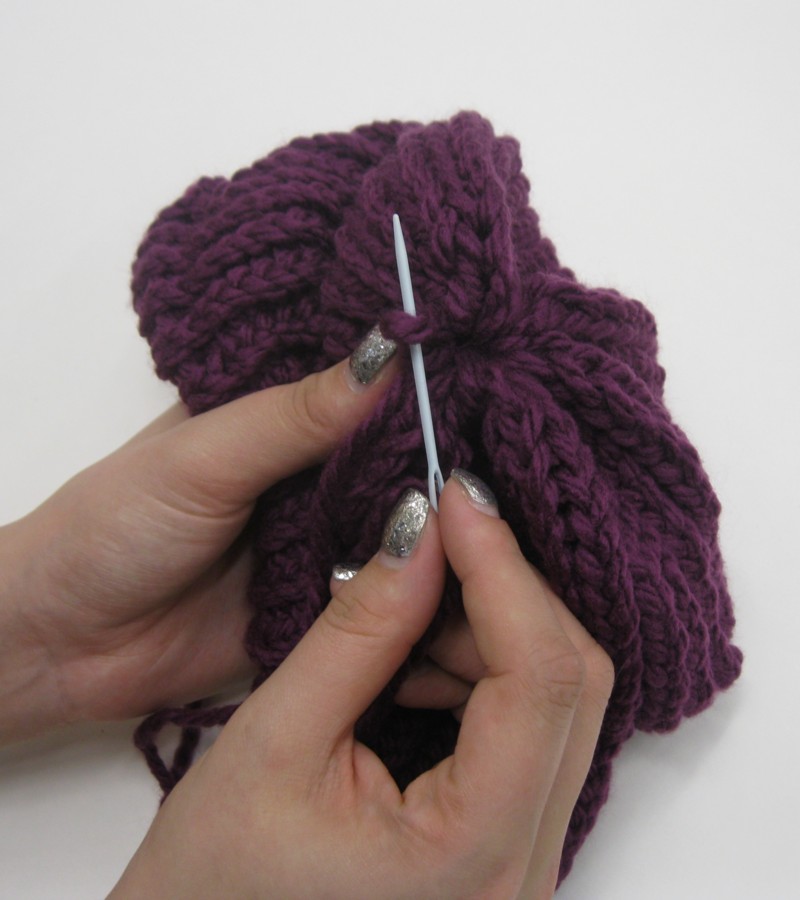
Cut a long tail and use it to thread the yarn needle. Insert the needle into the first stitch. Pull the needle through the stitch and remove the stitch from the peg. The stitch is now secured on the long yarn tail.

Continue around, putting the loops on the yarn and pulling them off the pegs.


9. Take the yarn end and pull tightly, gathering the top. Pull until the hole on top is completely closed.
10. Insert the needle in one of the stitches on top and pull through until there’s a small loop.

Making sure that the top is still tightly cinched closed, pull the yarn needle through this loop and pull tight. Push the needle through the top to the inside. Turn the hat inside out.

11. Use the needle to weave the tail through the back of several stitches.
Once the end is secured, cut off the excess yarn tail.

Thread the tail from the beginning of the hat on the needle and weave through the hem. Pull through and cut off the excess tail. Turn the hat right side out.

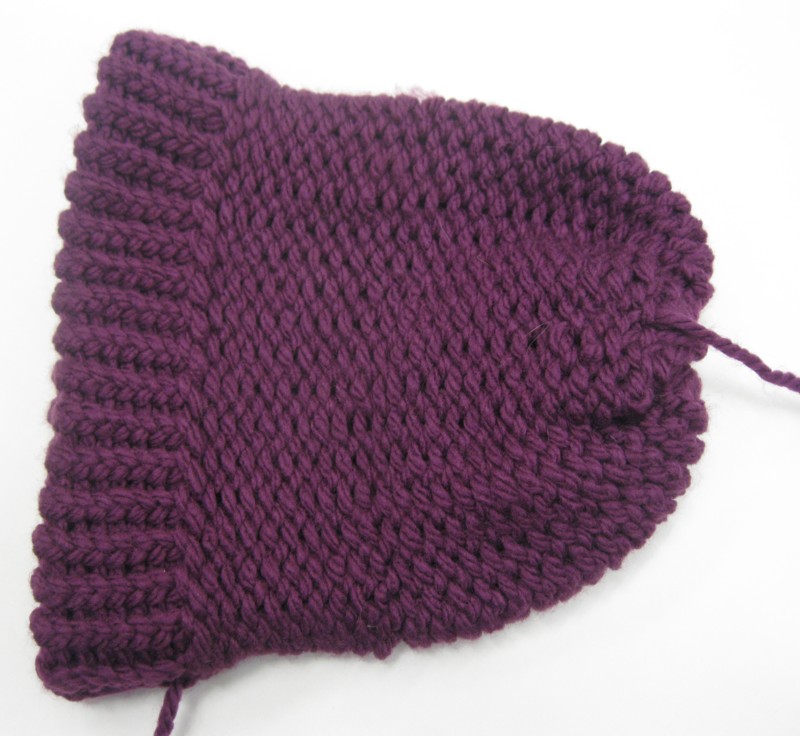
Finished – adult hat.

Finished – child’s hat.
Thanks to Rebecca for once again being my awesome hand model. Don’t miss a single riveting tutorial! Bookmark our tutorial page and check back on Tuesdays for new ones.
Is there a tutorial you want to see? Leave a comment!
