Tutorial Tuesday – Tissue Paper Flowers

Hello all, and welcome to another Tutorial Tuesday. This time, we have a great craft you can do in time to give to mom on Mothers’ Day this Sunday! Mom will love a bouquet of these tissue paper flowers!

Materials –
- Tissue paper in assorted colors
- Buttons in assorted colors and styles (flat buttons work best)
- Chenille stems (plain or bumpy, green or other colors)
- Scissors
- Pencil
- Round items to trace (Masking tape, cups or cans work well)
- Various embellishments (rhinestones, glitter glue, stickers, etc.)
Directions –
 Start with strips of tissue paper wide enough to cut your circle templates out of. Fold or stack them so several sheets are together – it is easier to cut multiple sheets at once.
 Trace and cut out circles. You will need at least six circles for each flower. You can use multiple colors in each flower; just stack the circles in the color order you choose.
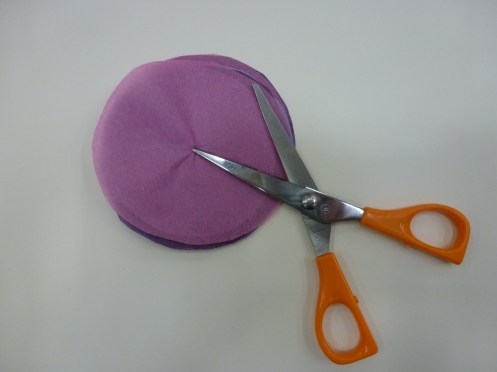 Poke a small hole in the center of each stack of circles.
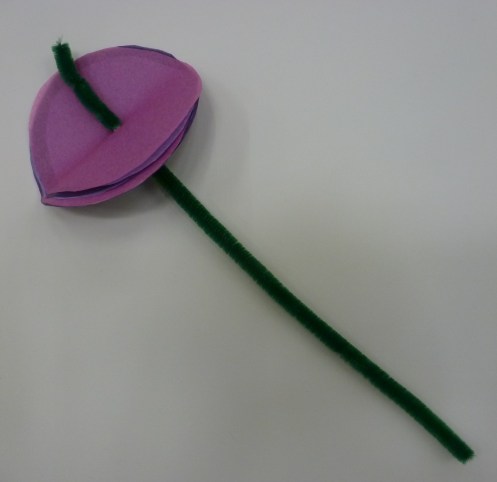 Thread chenille stem through the hole and push up about three inches.
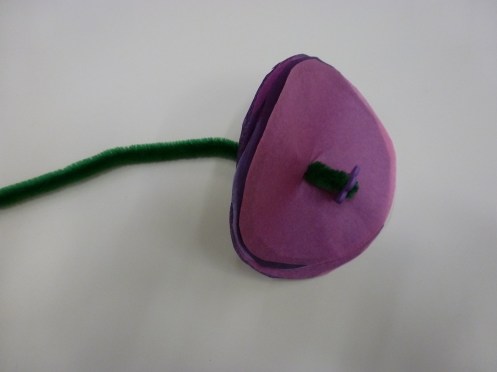 Thread the chenille stem through a hole in the button, then down through another hole and back through the tissue paper stack.
 Pull button tight against tissue stack and wrap the short end of the chenille stem around the longer end to fasten.

Crinkle, separate and fluff up tissue to form the flower petals.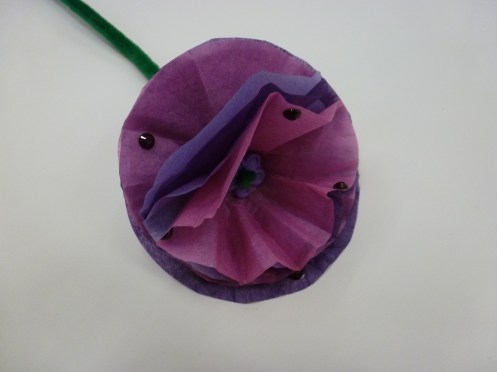 Decorate or embellish as desired to make each flower unique.
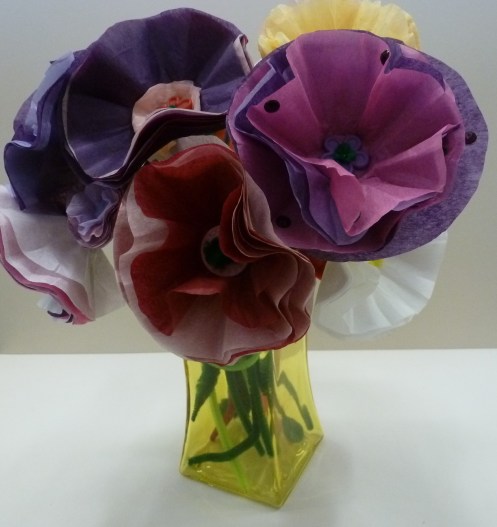 Gather several flowers together and tie with ribbon to make a bouquet. Alternately, you could place several in a basket, vase or other container.
Variations – Try different size circles – or use crepe paper – for more varieties of flowers.

Thanks for reading! Check out our other tutorials!
Leave a Comment
