Tutorial Tuesday – Tissue Paper Hand Turkeys

This week’s Tuesday tutorial is a fun one for the kids to make for Thanksgiving – Hand turkeys!
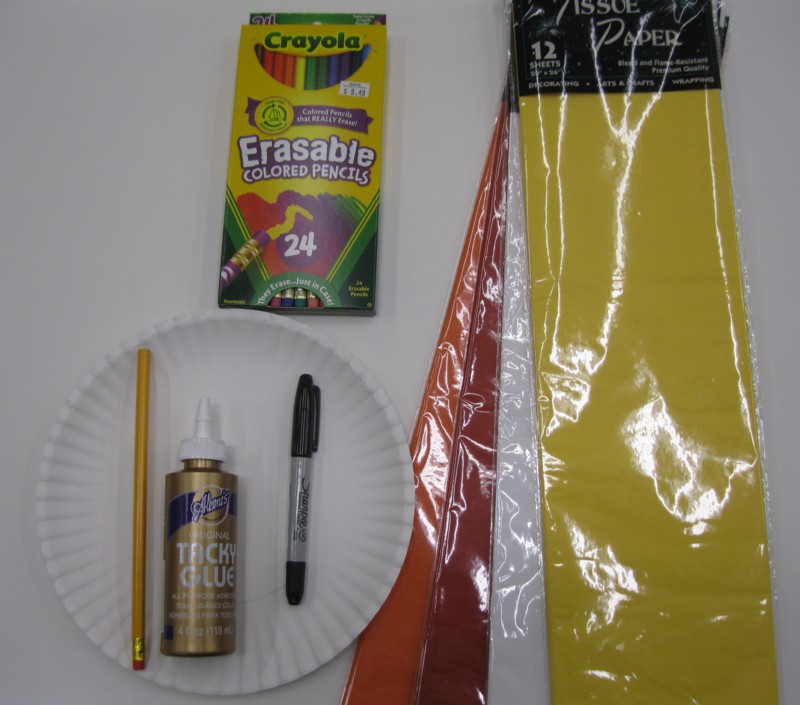
You need:
- A paper plate
- Tissue paper (we used red, yellow, white and orange)
- Craft glue
- A pencil with a new, flat eraser
- A Sharpie marker (this one has both a fine- and an ultra-fine tip)
- Colored pencils (or other coloring instruments)
- Scissors or other cutting method (see step 1)
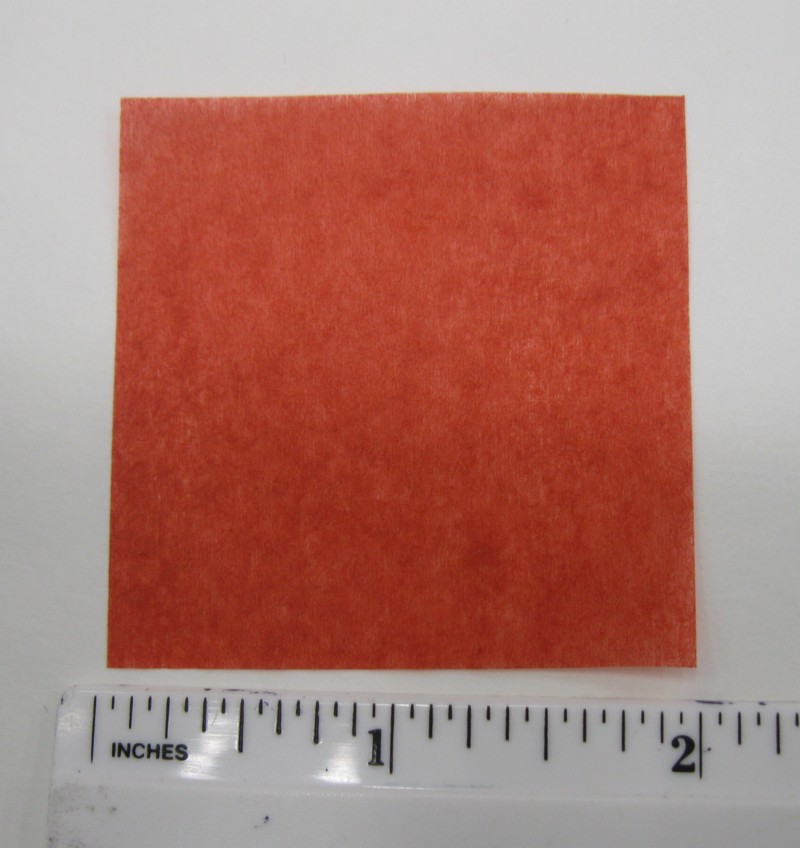
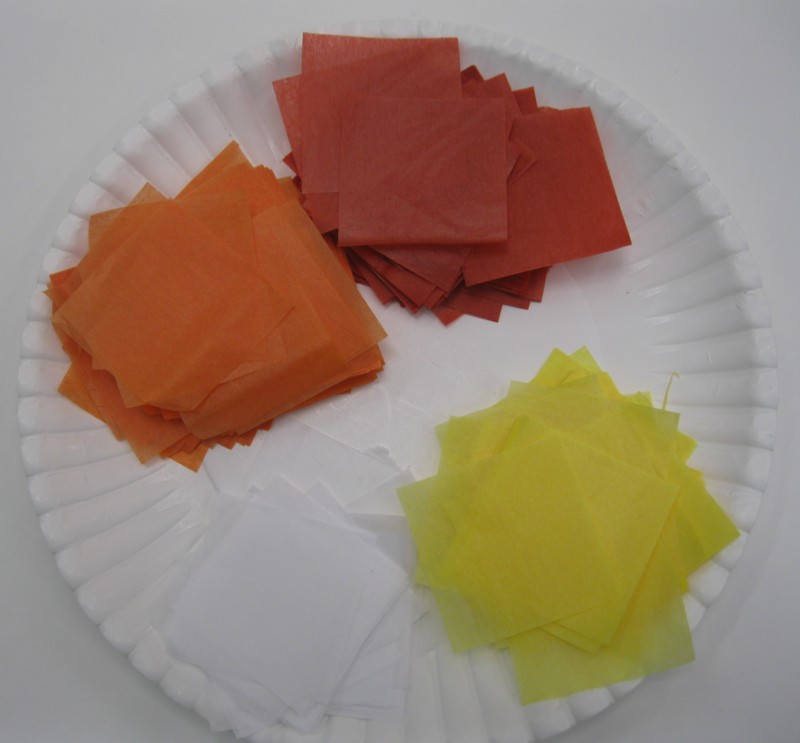
1. Cut the tissue paper into 2″ squares. One sheet of each color is more than enough for one turkey.
All the tissue for this tutorial was cut with a paper cutter. A craft knife, straight-edge and cutting mat or scissors and a ruler will also work, but may take longer.
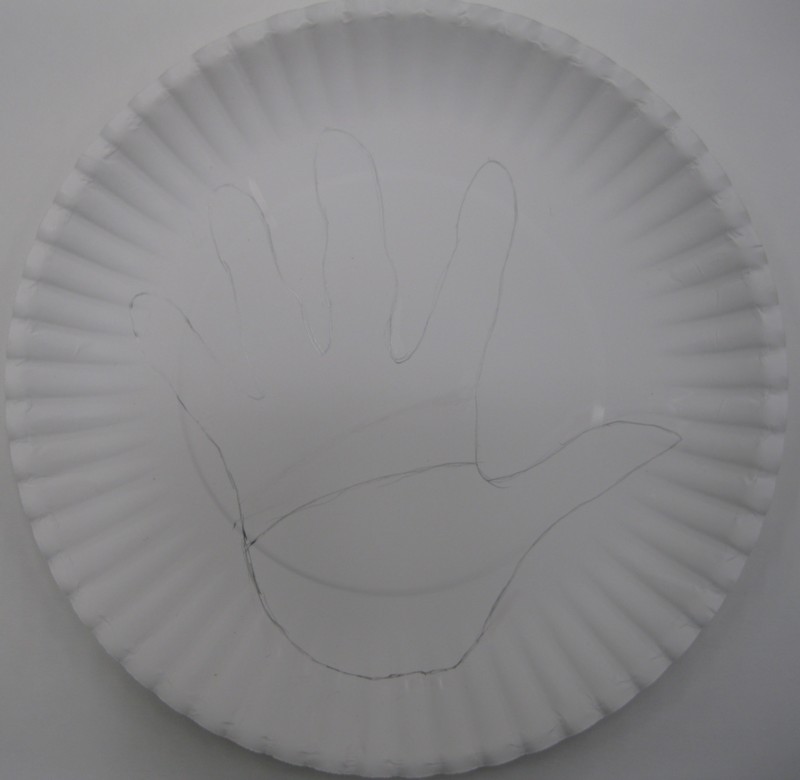
2. Trace your hand on the paper plate. Draw a line across the palm, just above the thumb.

3. Put the pencil eraser in the center of the tissue paper square. Be sure to use the eraser end – using the wood end will tear the paper.

Push the ends up.
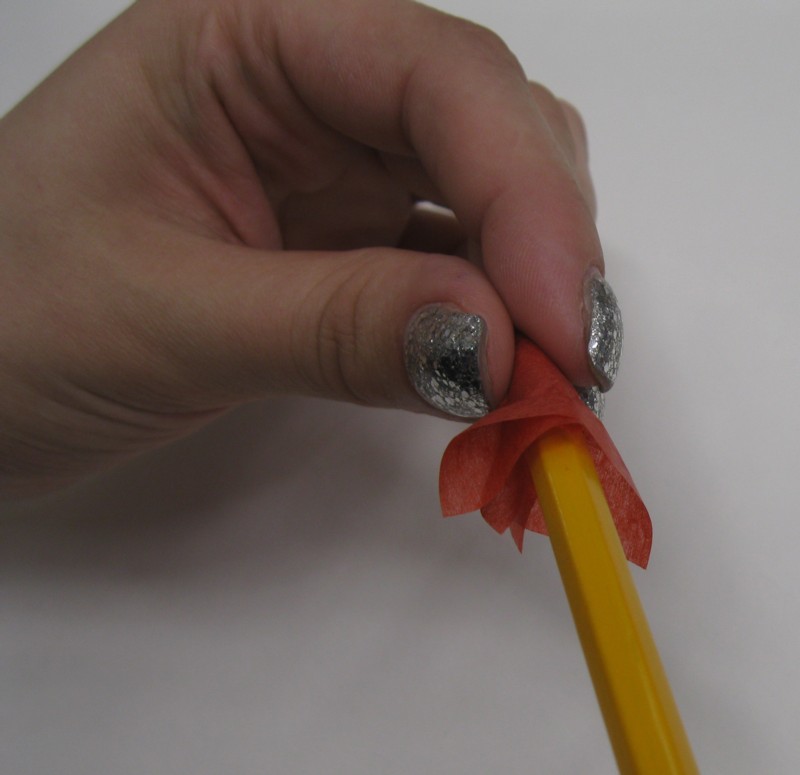
Turn the pencil and twist the paper around it.
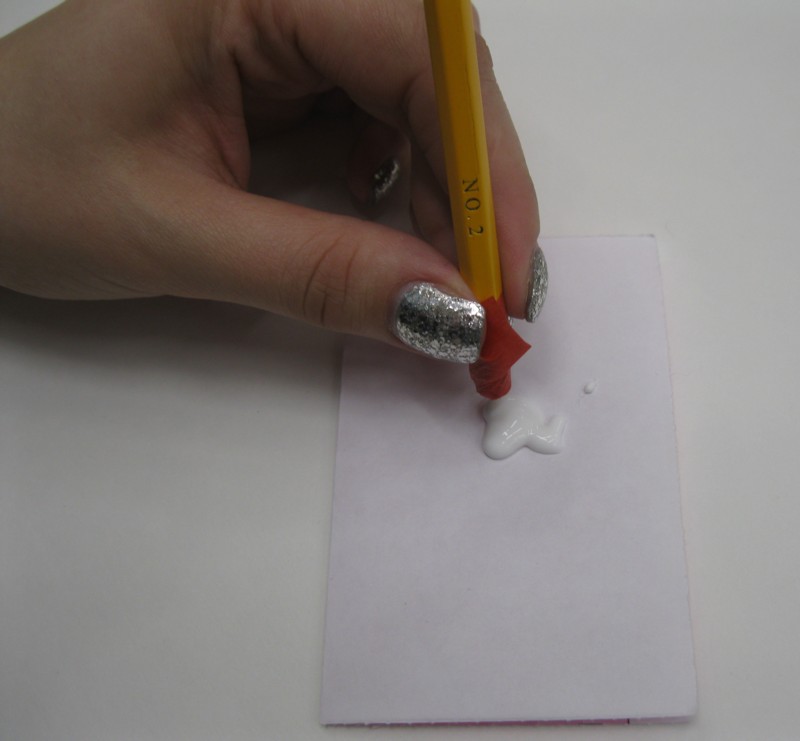
4. Dip the end of the paper in glue.
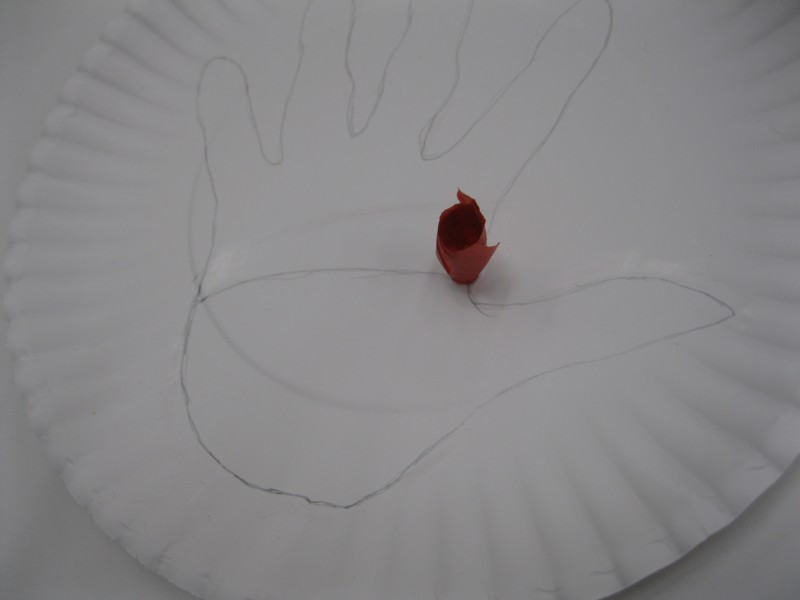
Attach the rolled-up paper where you drew the line above the thumb. You will work out from this corner and cover the whole top part of the hand tracing with the rolled-up paper squares.

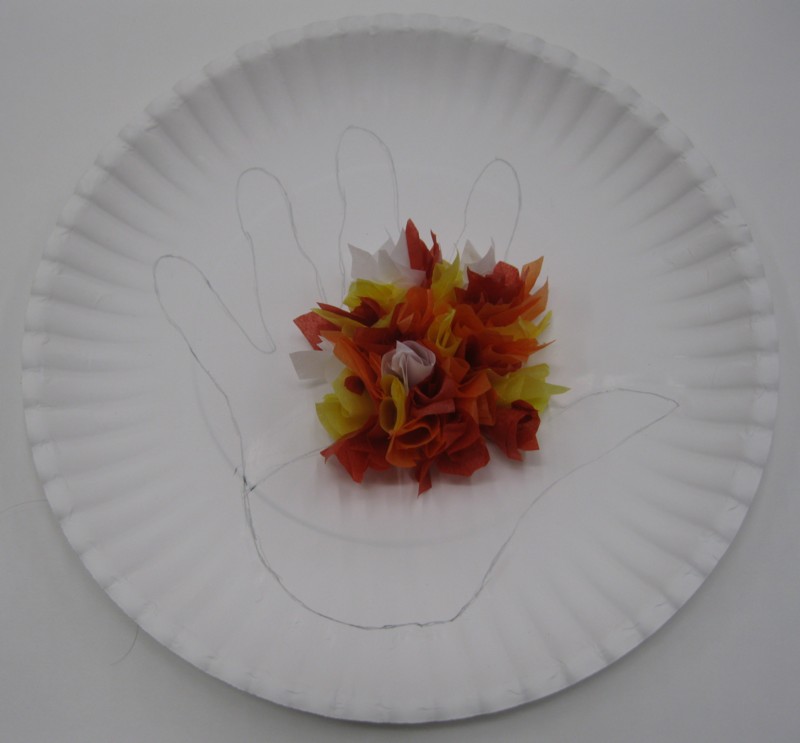


5. Draw on turkey parts and trace with Sharpie marker.
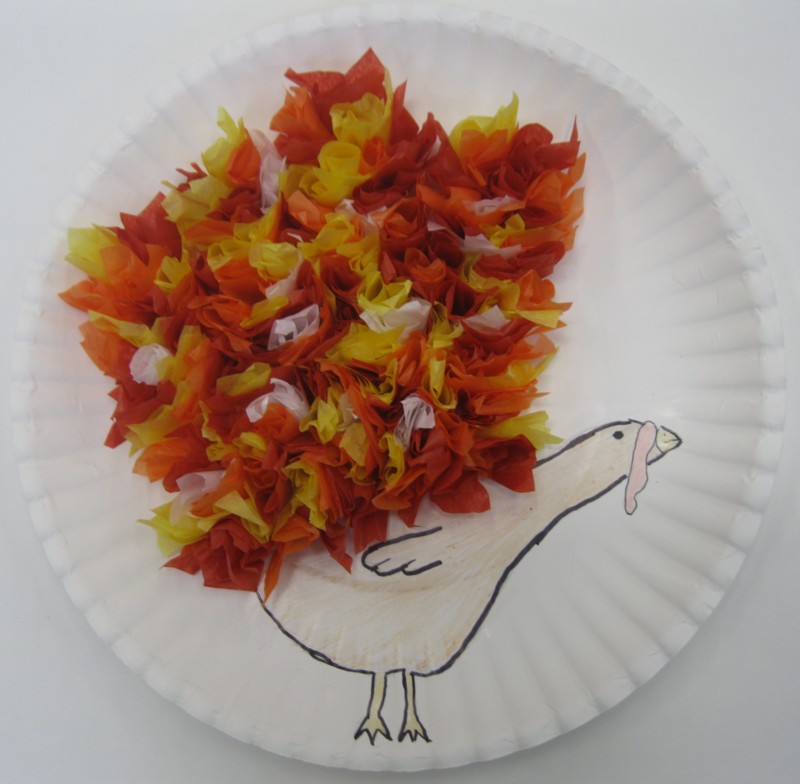
Color the turkey in with colored pencils.
Finished!
Variations:

Instead of being colored, this turkey is made from craft foam, felt, and a googly eye.
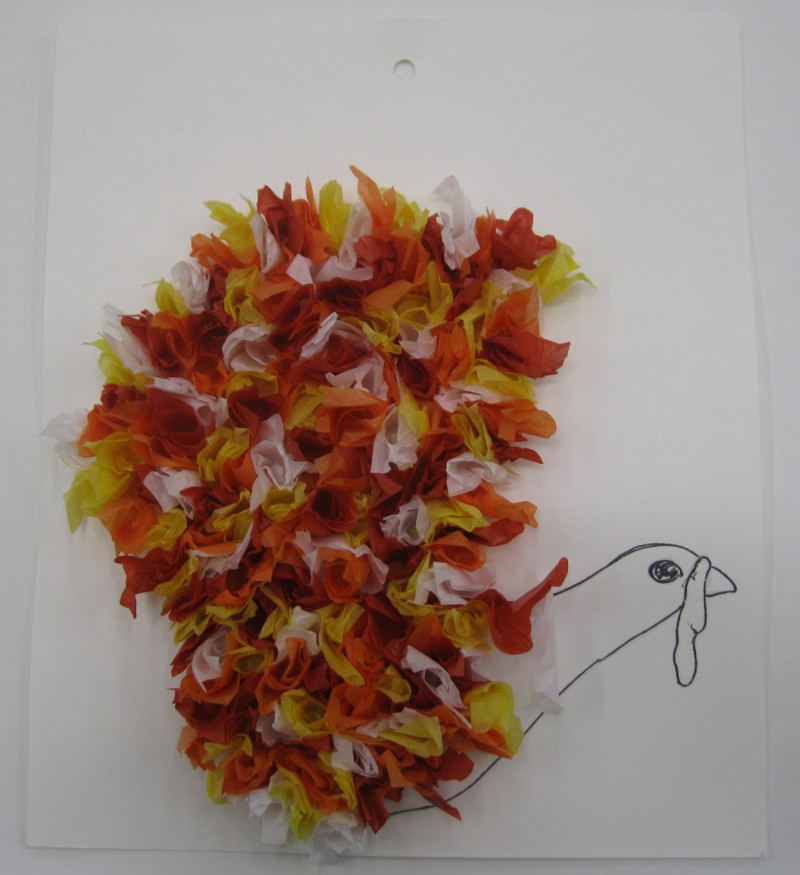
Don’t have any paper plates? Make your turkey on a piece of construction paper.
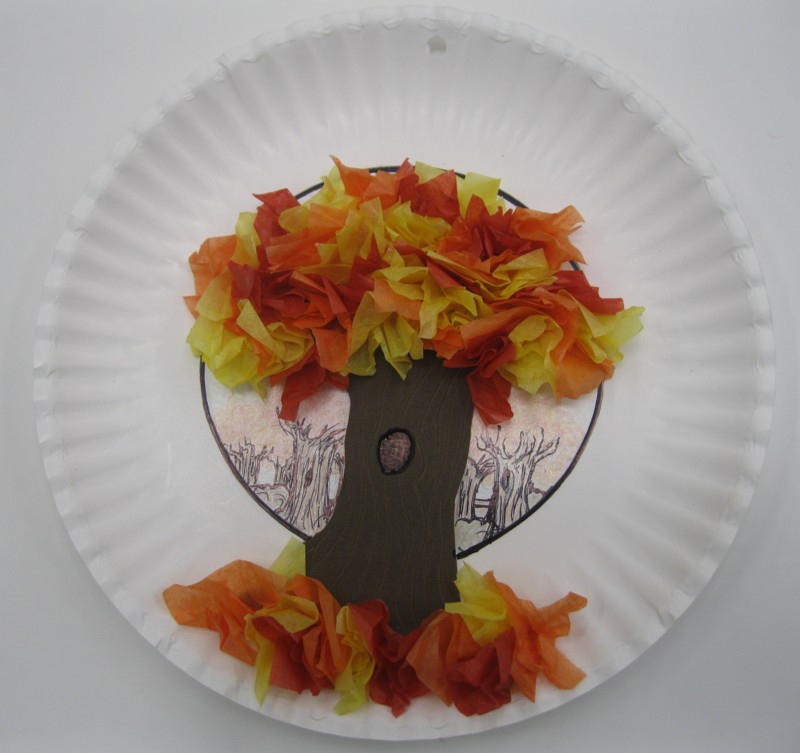
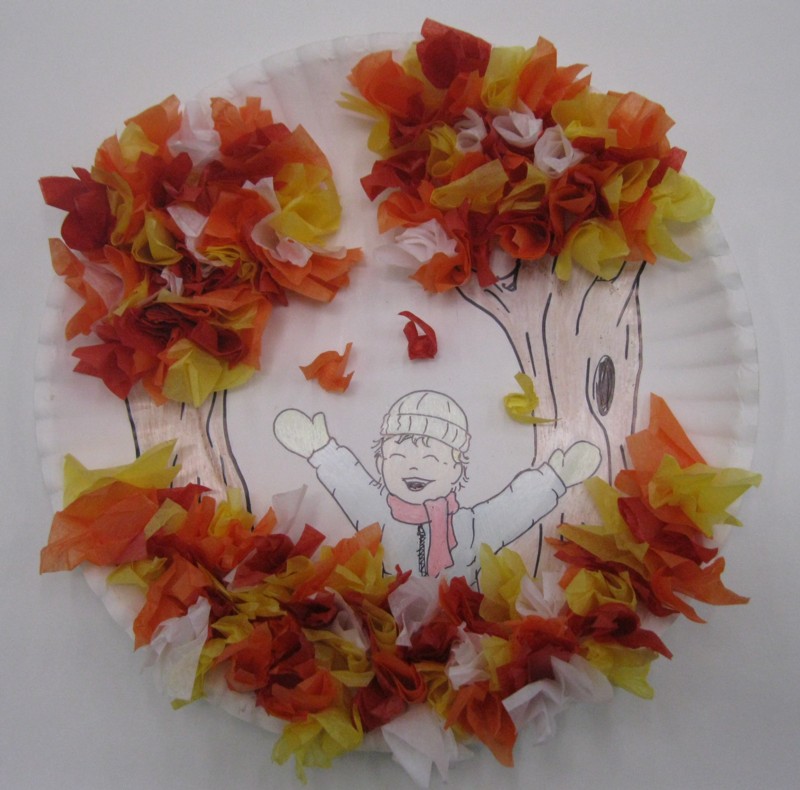
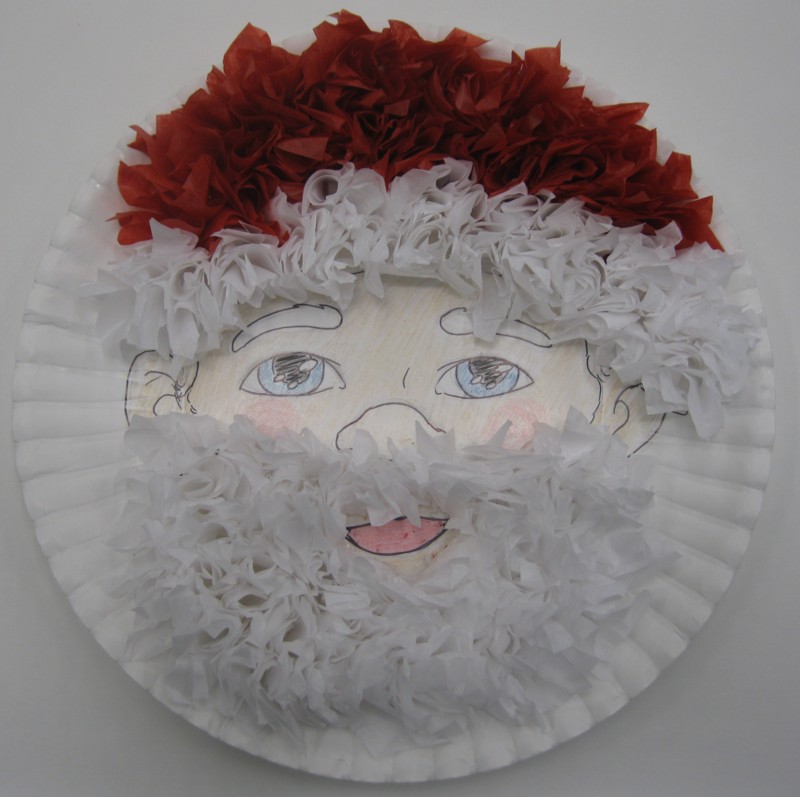
Also, you don’t have to limit yourself to turkeys. Check out these other designs made with the same technique:
Thanks to Rebecca for once again being my awesome hand model. Don’t miss a single riveting tutorial! Bookmark our tutorial page and check back on Tuesdays for new ones.
Is there a tutorial you want to see? Leave a comment!
