Tutorial Tuesday – Button Rings

Good morning, and welcome to another Tutorial Tuesday. Today’s tutorial contains some of my favorite things – E 6000, origami paper, and using craft supplies in ways they were never intended to be used. In this project, buttons, origami paper and glass paint are used in new ways to make some really fun rings.

You need:
- Origami paper
- Ring bases
- A craft knife and appropriate cutting surface
- E 6000
- Clear or white buttons (see note)
- A paintbrush
- Glass Effect Gel in Crystal Clear
Note: Select buttons with two flat sides, or one flat side and one slightly rounded side. If you choose the latter, you will apply the paper to the curved side, and glue the ring base to the flat side.

1. Cut a square of paper slightly larger than your button.

2. Apply a small amount of glass paint to the surface of the button.

Using a moistened paintbrush, spread the paint over the button in an even coat. You may need to apply a little more paint to achieve an even coat.

Put the paper on the wet paint, and press firmly to adhere. In the case of slightly rounded buttons, like this one, press out any wrinkles that may occur. If any excess paint comes out from under the paper, wipe off immediately. Let dry for about an hour.
Wash the paintbrush with warm soapy water immediately – this paint is water-resistant when dry.
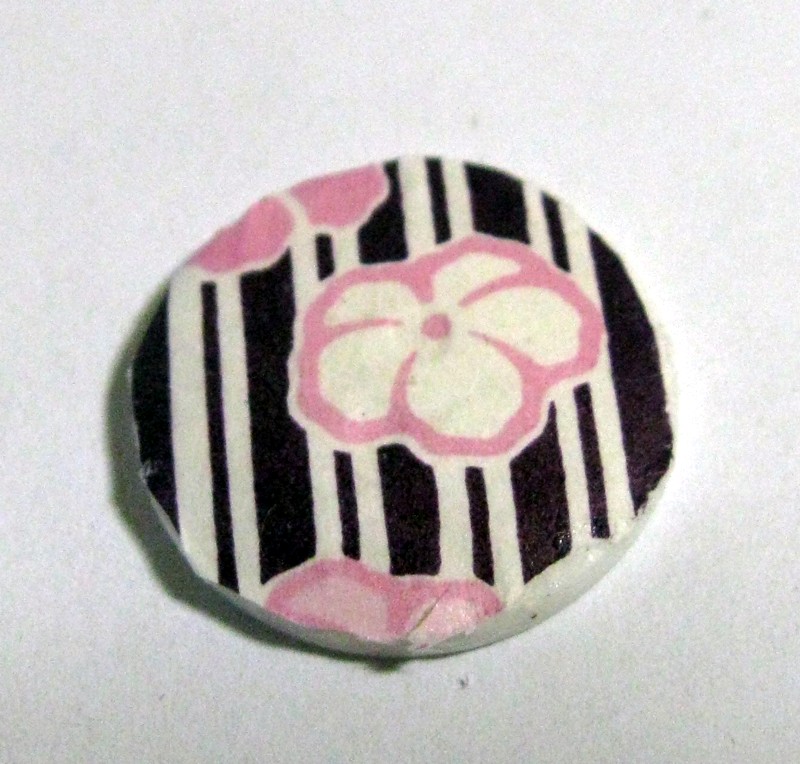
3. Turn the button paper side down on your cutting surface. Using your craft knife, cut off all excess paper.
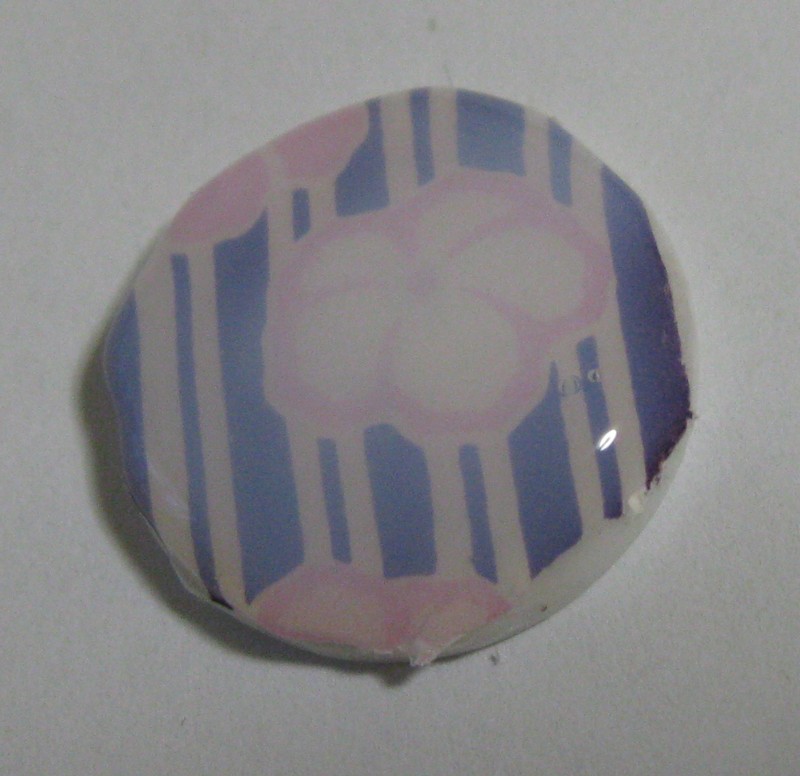
4. Applying the paint straight from the tube, cover the entire paper-covered surface of the button with the glass paint. Be sure to go all the way to the edges of the paper. Any bubbles can be popped with a pin. The paint will be milky when applied, and clear when dry. Let dry completely (~3 hours).


5. Using the E 6000, glue a ring base to the underside of the ring. Let dry.

Finished!
Don’t miss a single riveting tutorial! Bookmark our tutorial page and check back on Tuesdays for new ones.
Is there a tutorial you want to see? Leave a comment!
