We’ve received another shipment of new jigsaw puzzles at Dan’s Crafts & Things. Here are some of the new designs:


We’ve just received these cool 3D Jigsaw Puzzle style Model Kits of four famous Baseball Stadiums:
AT&T Park

Fenway Park

Yankee Stadium
Wrigley Field


Welcome to another Tutorial Tuesday! Today we’ll be showing the absolute easiest way to make your own custom rubber stamp.
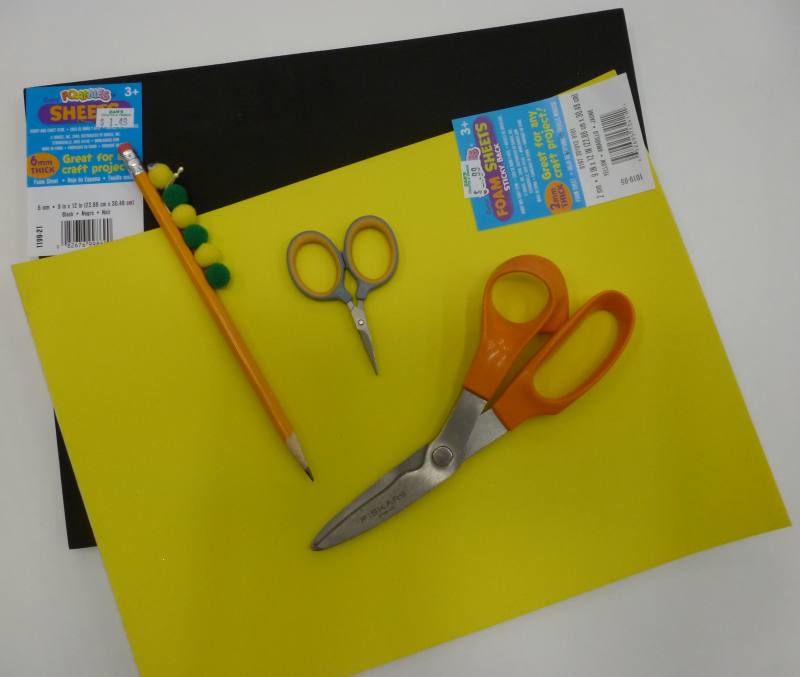
You need:
- a sheet of 6mm craft foam
- a sheet of 2mm sticky-back craft foam (or regular 2mm craft foam and craft glue)
- small, sharp scissors with pointed tips
- larger scissors suitable for cutting paper
- a pencil
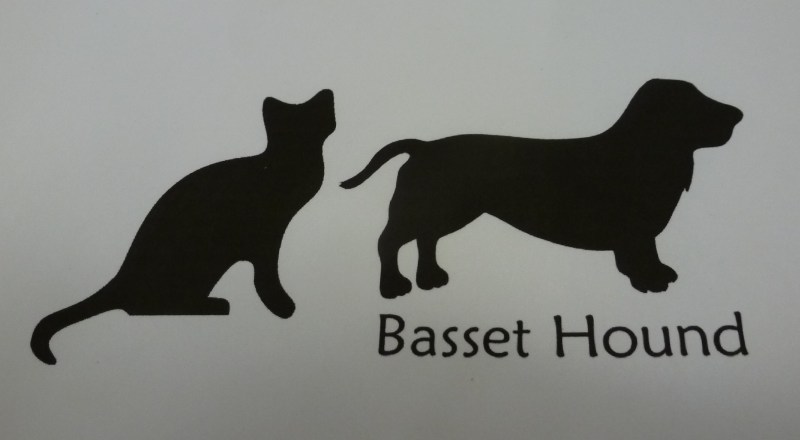
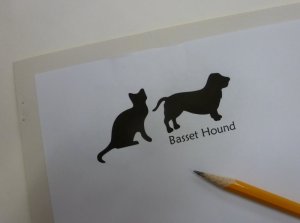
1. First, you need images for your stamps. Big, blocky shapes work best for this. I found the above images by Googling ‘cat silhouette clip art’ and ‘dog silhouette clip art,’ respectively. The cupcake later in this post was also found with this method. Also check out what images can be found in your computer’s clip art – The swirl image later in this post came from my word processing program’s clip art.
Note: If you are using an image that has a right side (you favorite football team’s logo, for example) or writing, reverse the image before printing.
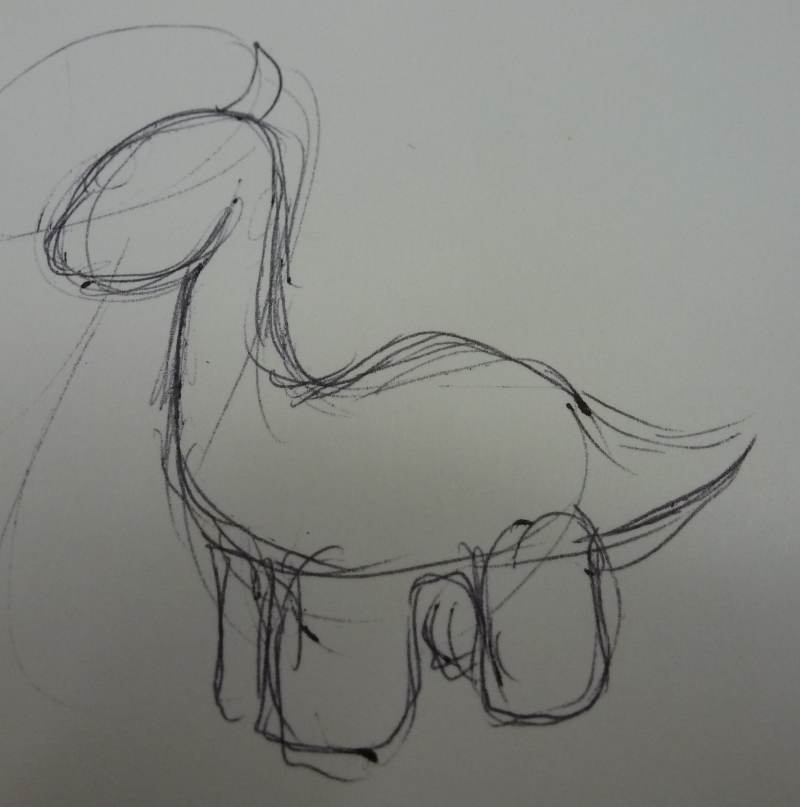
You can also draw your own. Just remember to go for simple, blocky shapes.
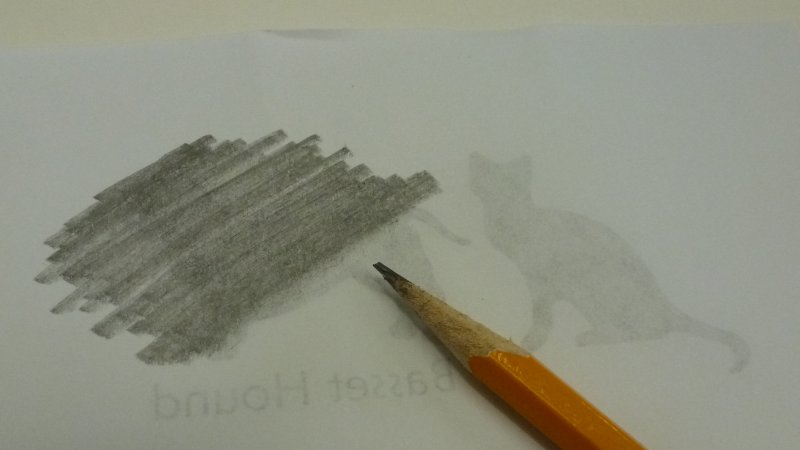
2. Flip the paper over and rub the side (not the point) of the pencil lead over the back of the entire image. You may wish to go over the image a second time in a different direction to lay down more lead.
3. Place the paper right side up on the paper backing of your sticky-backed craft foam. Draw around the image, pressing hard with your pencil to transfer your image to the paper backing on the foam.

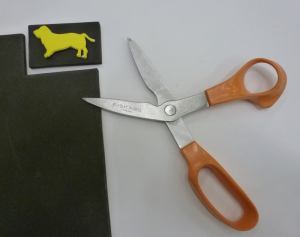
4. With your small scissors, cut out the foam along the transferred pencil line. Be sure to keep the scissors and foam at right angles to each other; this will keep the edge of the stamp square and give a crisp stamped image. Try to avoid pressing your fingernails into the foam while cutting out.
 Completed sticky-back foam pieces.
5. Place the completed shape on the 6mm foam. Cut out a rectangle slightly larger than your sticky-back shape. Peel off the paper backing and stick the sticky foam to the thick foam – Press firmly to ensure that they’re stuck together. Or, if you’re using regular foam and craft glue, spread the glue thinly on the foam shape and stick onto the thick foam; let dry.
 (Dinosaur, fez and bow tie shapes courtesy of Maria.)
Finished! If you’re using sticky foam, you can use your stamp right away.

To use your stamps, press the stamp to the surface of a stamp pad. Alternately, if you have a small stamp pad, dab the ink pad all over the surface of the stamp to ink evenly. Press the inked stamp on paper.

Decorate your stamped image with markers or pens. You can also use multiple stamps together.

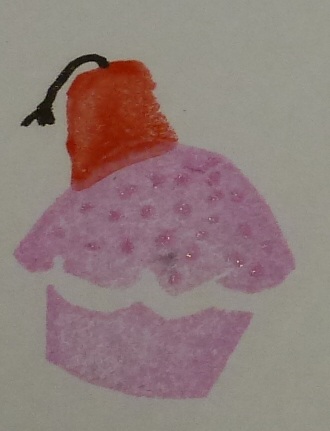
A cupcake with sprinkles and a fez. Because fezzes are cool.

Use multiple stamps in multiple colors to make gift wrap or a background for a scrapbooking page.
Don’t miss a single riveting tutorial! Bookmark our tutorial page and check back on Tuesdays for new ones.
Is there a tutorial you want to see? Leave a comment!


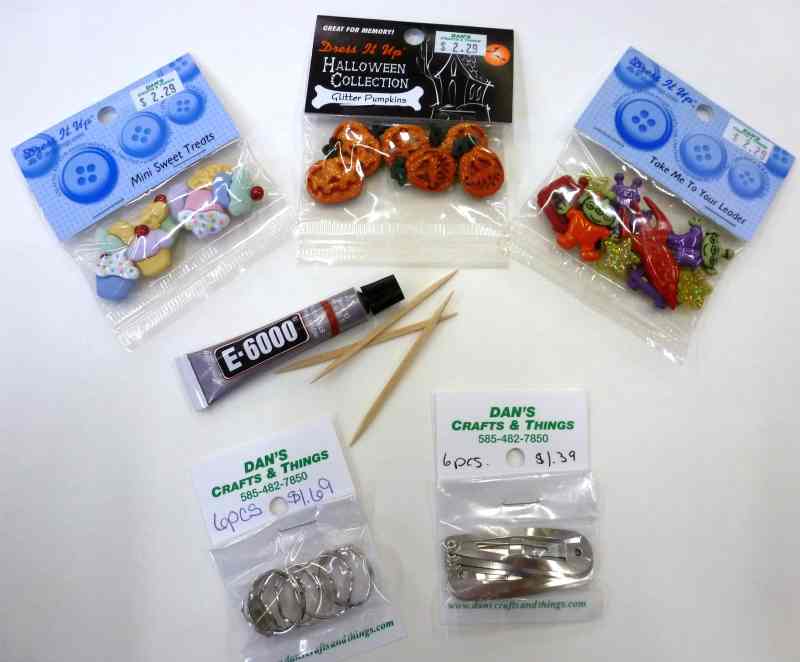
Once again, welcome to Tutorial Tuesday. Today, we’re finishing National Sewing Month with an easy button craft! It’s a quick one, but there will be more button crafts coming soon!
You need:
- Decorative plastic buttons with shanks
- E6000 (this glue has an odor and should be used in a ventilated area)
- toothpicks and scrap paper or cardstock
- snap-style barrettes
- ring bases
- flush cutters or nail clippers

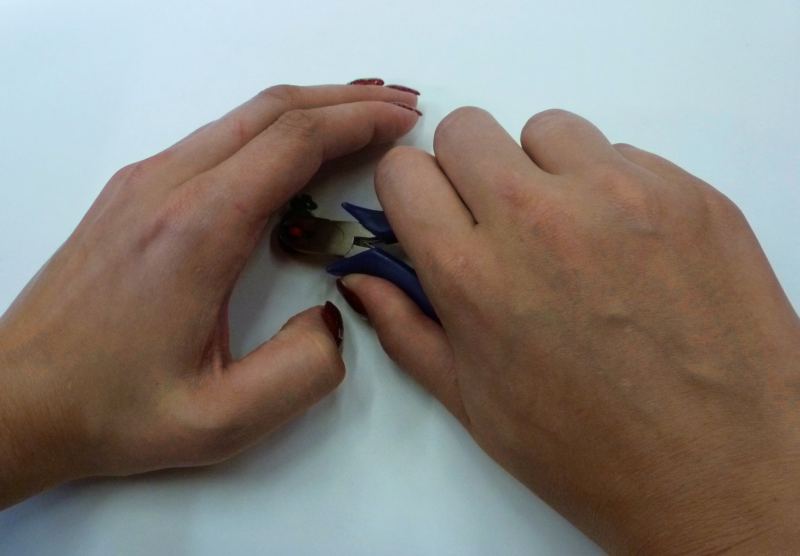
1. Start by removing the shank from the back of the button using your flush cutters or nail clippers. Note: These often fly off when cut – cup your hand over the button while cutting.
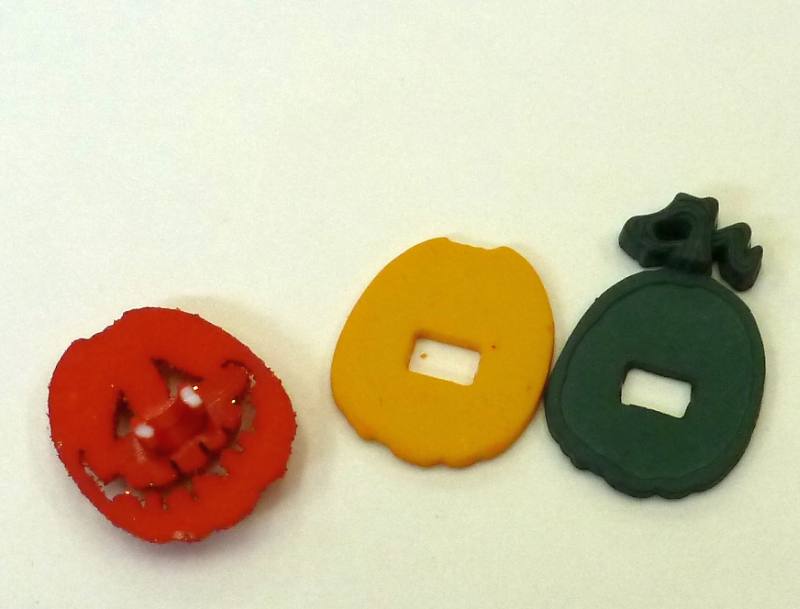
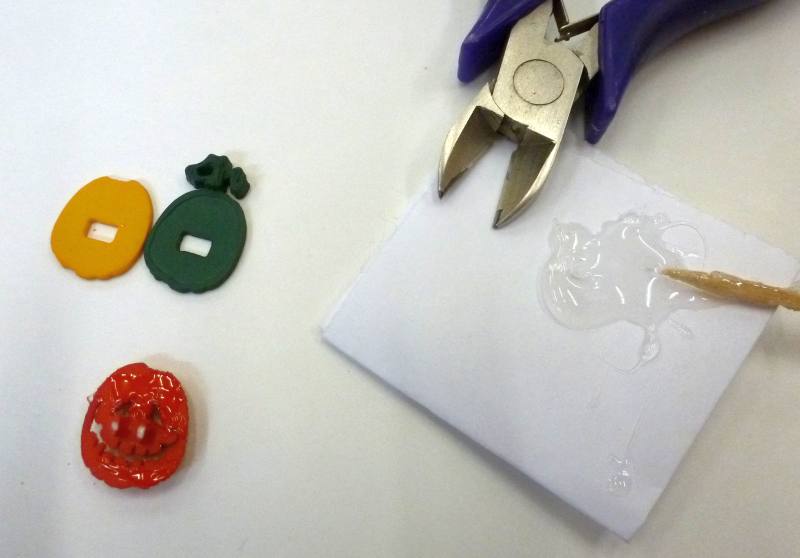
2. Most of these buttons come apart into two (or more) pieces when the shank is cut. Squeeze some glue out onto the scrap paper or card, and apply the glue with a toothpick. Glue all pieces together before continuing. Let dry 30-45 minutes before continuing.
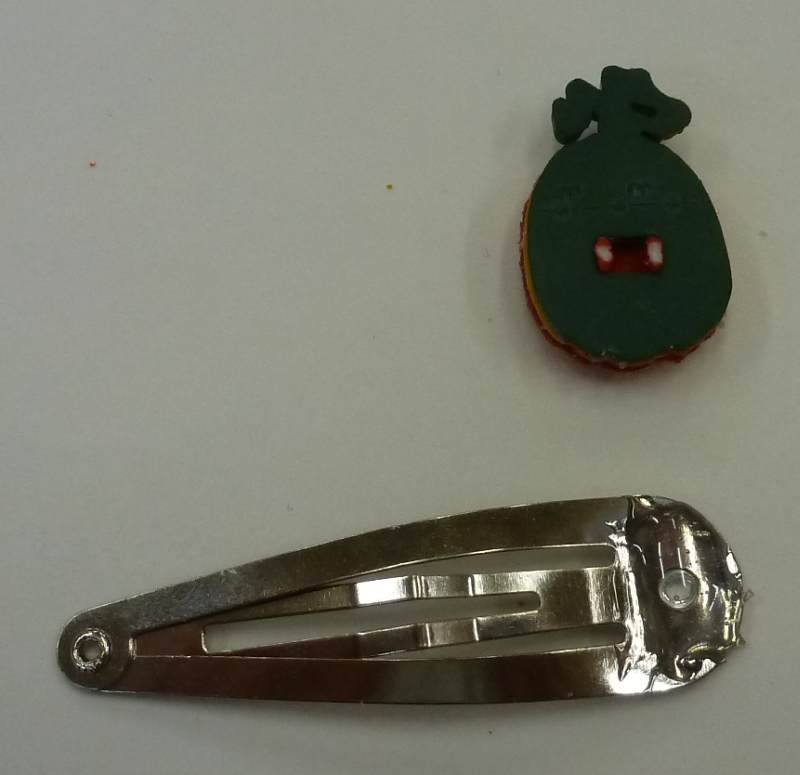

3. For hair clips, prepare two buttons. Apply a small glob of glue to the wide portion of the hair clip. Affix the button to the hair clip and remove excess glue.
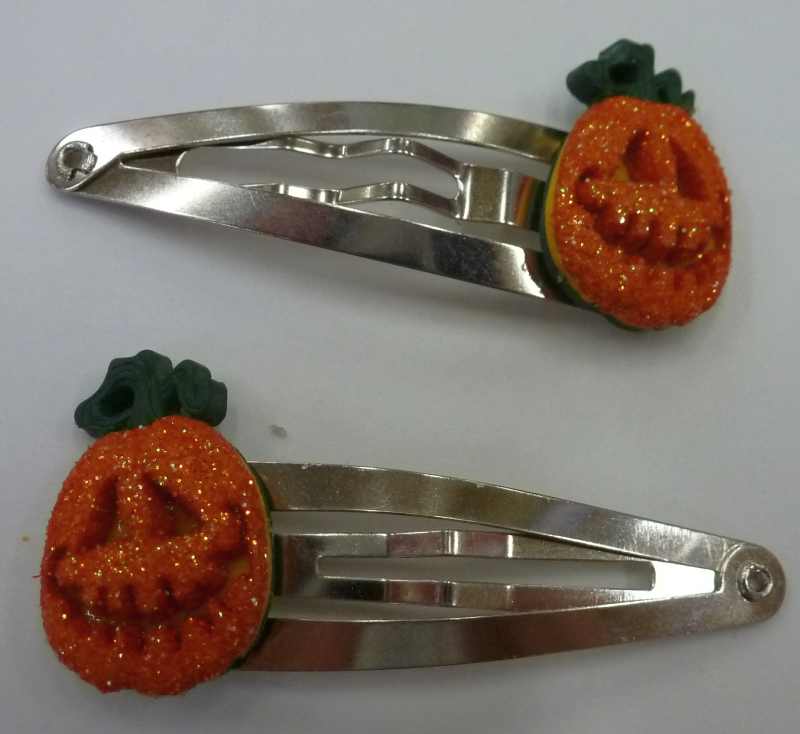 If the hair clips will be worn on opposite sides of the head, the buttons should be on the clips facing opposite directions as pictured above. Otherwise, one would be upside down when worn.

4. To make a ring, prepare one button. Apply a small glob of glue to the ring base.
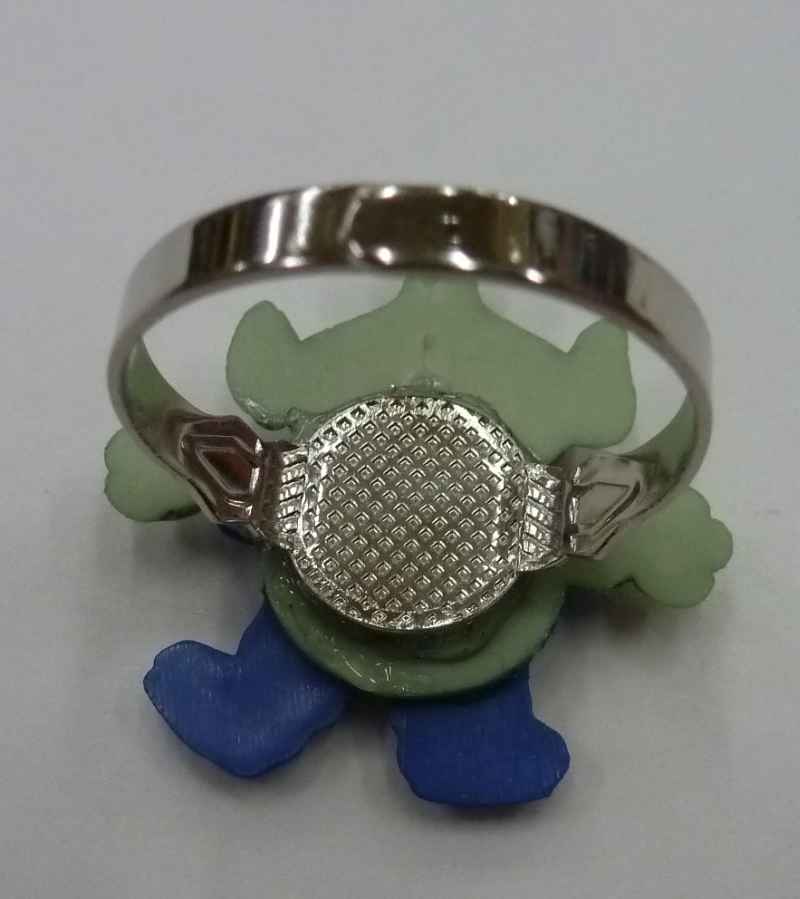
Affix button to ring base and remove excess glue.
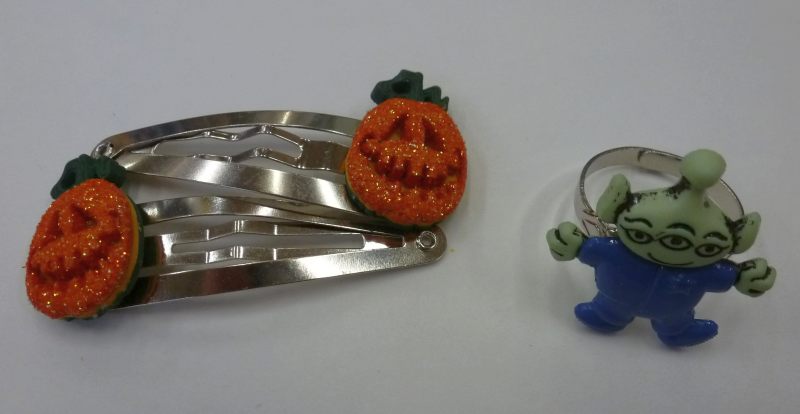
Finished! Pieces should dry for about 24 hours before being excessively handled (but can be picked up and moved after 30-45 minutes). If you missed any big globs of glue, they can be cut off with a sharp craft knife before the glue cures; E6000 cures completely in about 3 days.
Don’t miss a single riveting tutorial! Bookmark our tutorial page and check back on Tuesdays for new ones.
Is there a tutorial you want to see? Leave a comment!
In the last few weeks, we’ve received several new yarns.
Bernat Happy Holidays
These are new colors in the Happy Holidays line; these are subdued solid colors, compared to earlier offerings in this line which have glitter. This is a somewhat soft (but not too soft!) 100% acrylic yarn and is machine washable and dryable. Each ball band has a pattern printed on it for a knit or crochet home decor item.

Sugar cookie

Cranberry

Caramel

Pine bough
Premier City Life
City life is a line we just started carrying. It is a novelty ladder yarn that is great for making jewelry. It is 38% polyester, 26% polyamide, 20% acrylic, 11% wool and 5% metallic – Hand wash and lay flat to dry. There is a jewelry project pattern on each ball band, and we have free jewelry project leaflets for this yarn in the store.

Grenadine Glitz

Orchid Mystery
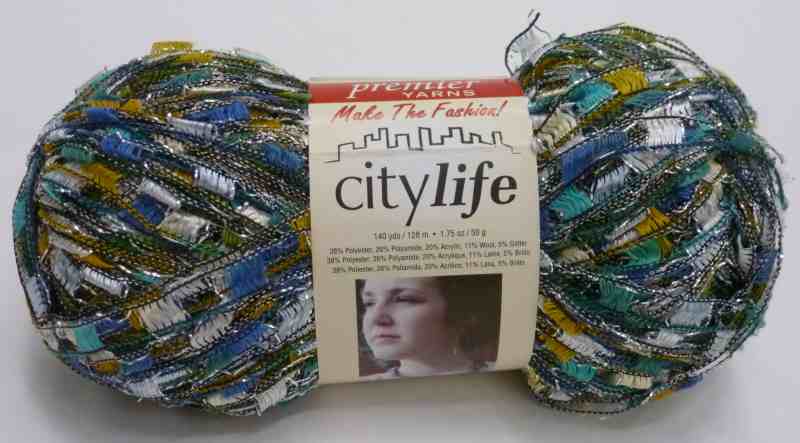
Shell Games

Golden
Bernat pink ribbon yarns
Bernat has expanded its color range of pink ribbon yarns – These are specially labelled versions of certain colorways of your favorite Bernat yarns.
Bernat Satin
Bernat Satin is a very soft 100% acrylic yarn that is machine washable and dryable. Free pattern leaflets for this yarn are available. The pink ribbon yarns are the only colorways of Bernat Satin that we carry.

Mai Tai

White

Grey mist heather
Bernat Handicrafter
Bernat Handicrafter is a 100% cotton yarn that is great for wash cloths and other kitchen items, and can be machine washed and dried. Free pattern leaflets for this yarn are available. The pink ribbon yarns are the only colorways of Bernat Handicrafter that we carry.

Hot pink

White
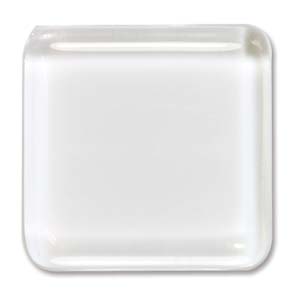
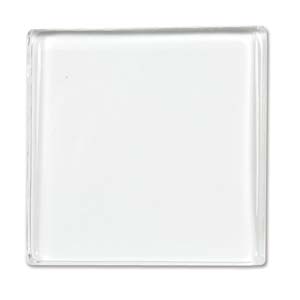
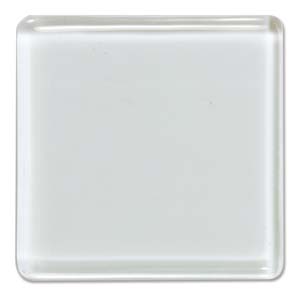
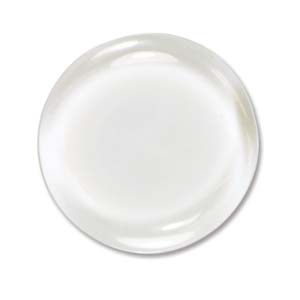
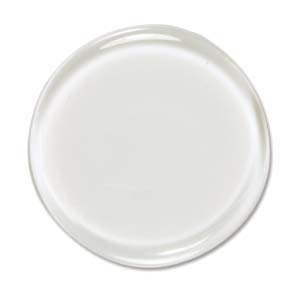
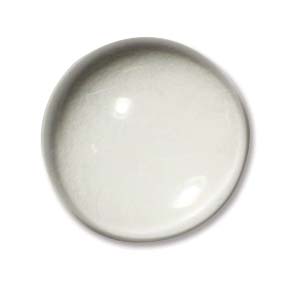
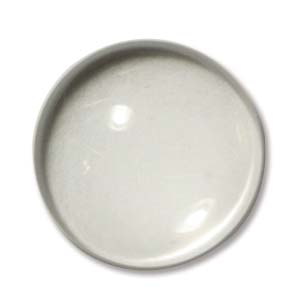
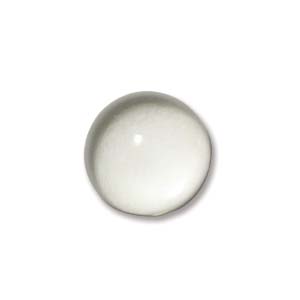
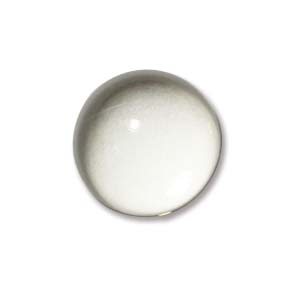
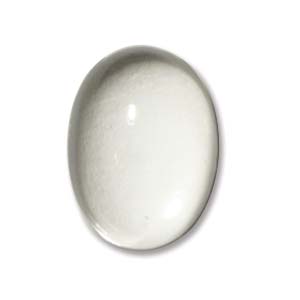
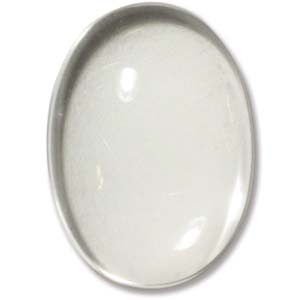
New at Dan’s Crafts and Things – Glass tiles for making jewelry. They come in several shapes and sizes and can be decorated in a variety of ways – Glue a photo to the back, add a glue-on bail and make a pendant. Or glue on a magnet instead of a bail, and make a fridge magnet. Alternatively, you could use a decorative painting technique on the pack instead of gluing on a picture. Check out all of the available varieties on our website.


Pattern by Maria
Tutorial by Sue
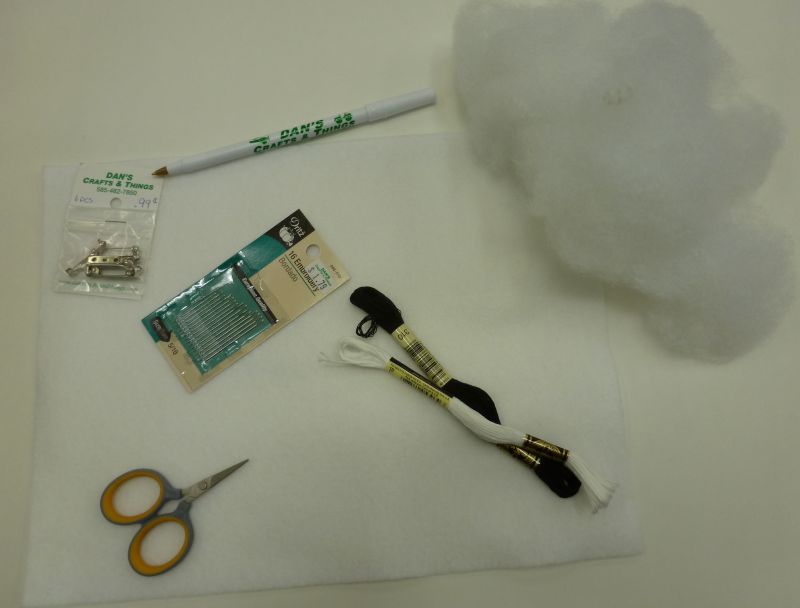
You need:
felt
embroidery floss
a pin back
fiberfill stuffing
a needle
sharp scissors with pointed tips
a ballpoint pen
1. Print out the skull pattern – choose the ‘landscape’ orientation under ‘page setup.’ Cut out pattern.

2. Using the ballpoint pen, trace the skull pattern on the felt twice and cut out on the line.

3. Embroidery floss is made up of six strands. Cut a length of embroidery floss and separate it into two pieces with three strands each. Three strands will be used throughout this project. Using a short length of thread – about 18 inches or so – will keep tangles to a minimum.

4. Choose one piece to be the front. Embroider on the right side of this piece. At this point, trim any fuzz from the edges and ensure all pen lines are trimmed off.

5. Put both pieces together, wrong sides together. Using either whipstitch or blanket stitch, sew around, leaving about an inch or so open.


Stuff, and sew the rest of the way around.


Poke the needle into the seam and push until it comes out the middle of the back of the skull. Pull thread until the edge starts to pull in. Cut thread and push piece back into shape until the thread disappears. This buries your thread end inside your feltie.

6. Sew pin on back, about 1/3 of the way down.

Finished!
Variations:

Instead of embroidery, use felt cutouts or fabric paint for the details. Two different eye patterns and a mustache pattern are included on the pattern sheet.
Don’t miss a single riveting tutorial! Bookmark our tutorial page and check back on Tuesdays for new ones.
Is there a tutorial you want to see? Leave a comment!

Pencil Caterpillars

You Need:
- plain pencils (the ones with six flat sides work better than round ones)
- 1/4″ pom-poms
- 4mm googly eyes
- stamens (used for making flowers)
- craft glue
Have boring pencils? How about making some pencil caterpillars? This is an easy one, but there are some points where you have to wait for the glue to dry. The pencils with six flat sides work better than the round ones because they’ll sit flat when you set them down in between steps to dry.
Each caterpillar uses one pencil, five or six pom-poms, two eyes and one stamen.

1. Dot some glue on the pencil, right below the metal part and attach the first pom-pom (This will be the head). Let dry.


2. Make two tiny dots of glue on the front of the head (You may wish to dot it on with a toothpick). Attach eyes.

3. Now we’re going to bend the stamen to make the antennae.

Bend the stamen in half.

Bend the stamen in half the other way, to make an ‘L’.
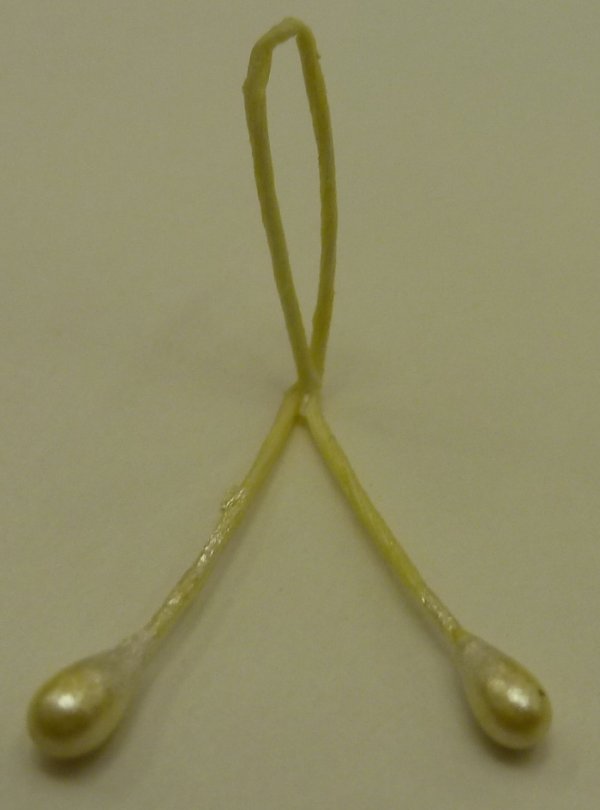
Cross the two ends at the second bend.

4. Dot some glue behind the head and attach the antennae. You may need to hold this for a moment until the glue starts to set up. Let dry.
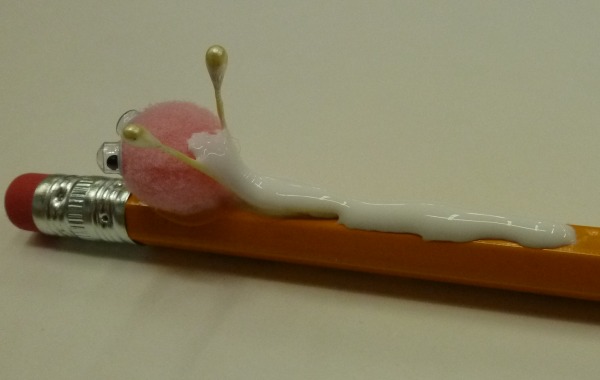
5. Run a line of glue from the back of the head and down the pencil for about two inches.

Attach the rest of the pom-poms. Apply more glue if necessary to get all the pom-poms on. Let dry.
All done! Now you can make a whole bunch of pencil caterpillars to liven up your boring pencils!

Variations:
As both of these variations involve putting pom-poms on multiple sides of the pencil, I just stuck the pencil into a piece of Styrofoam to hold it upright while the glue dried.
 You can make the caterpillar look like he’s crawling around the pencil by curving the glue line around the pencil, instead of putting it on in a straight line.
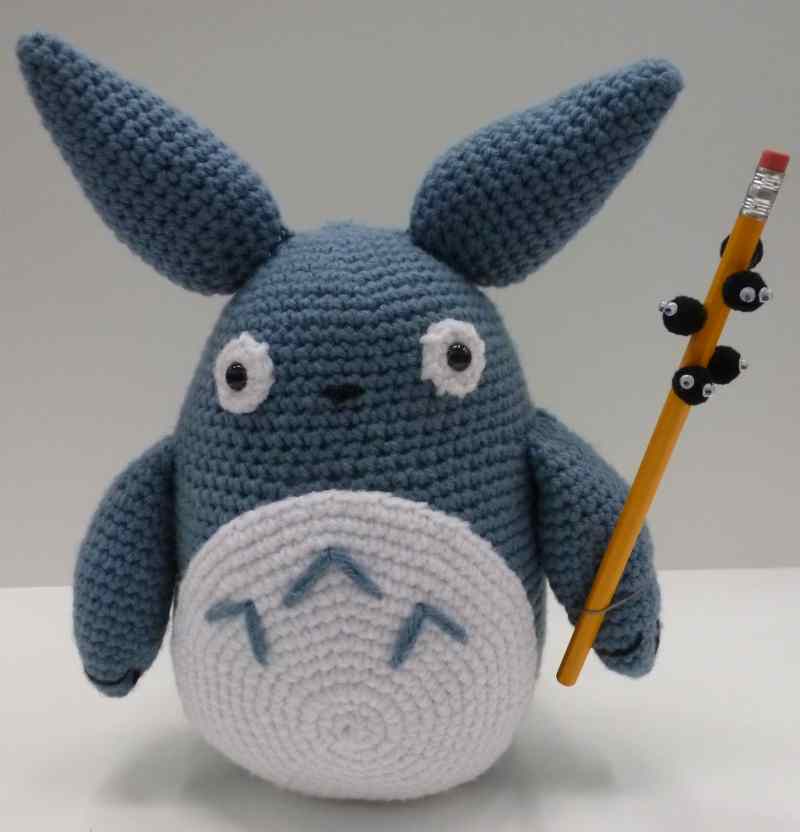
A soot sprite pencil would make a fun gift for an anime fan or your neighbor Totoro. Glue black pom poms randomly around the pencil. When the glue is dry, apply eyes as in step 2.
Don’t miss a single riveting tutorial! Bookmark our tutorial page and check back on Tuesdays for new ones.
Is there a tutorial you want to see? Leave a comment!
