Tutorial Tuesday – Skull Feltie Pins

Pattern by Maria
Tutorial by Sue
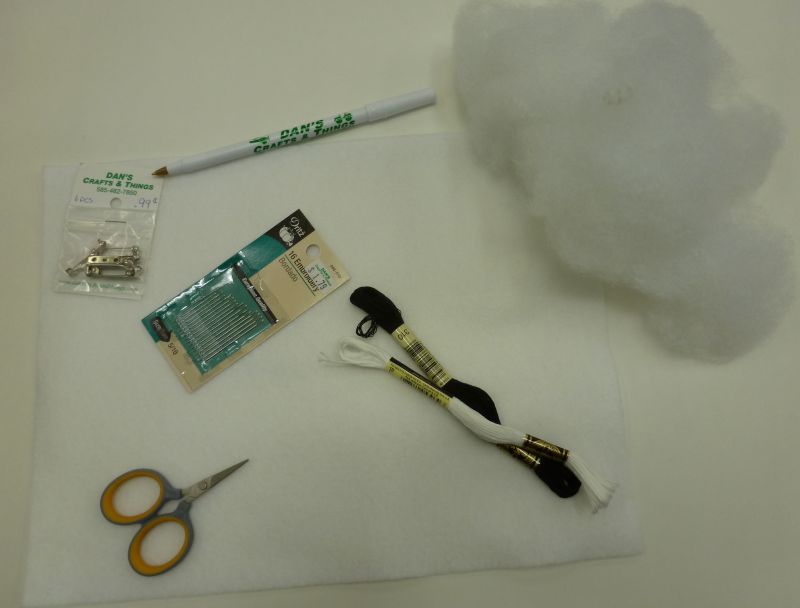
You need:
felt
embroidery floss
a pin back
fiberfill stuffing
a needle
sharp scissors with pointed tips
a ballpoint pen
1. Print out the skull pattern – choose the ‘landscape’ orientation under ‘page setup.’ Cut out pattern.

2. Using the ballpoint pen, trace the skull pattern on the felt twice and cut out on the line.

3. Embroidery floss is made up of six strands. Cut a length of embroidery floss and separate it into two pieces with three strands each. Three strands will be used throughout this project. Using a short length of thread – about 18 inches or so – will keep tangles to a minimum.

4. Choose one piece to be the front. Embroider on the right side of this piece. At this point, trim any fuzz from the edges and ensure all pen lines are trimmed off.

5. Put both pieces together, wrong sides together. Using either whipstitch or blanket stitch, sew around, leaving about an inch or so open.


Stuff, and sew the rest of the way around.


Poke the needle into the seam and push until it comes out the middle of the back of the skull. Pull thread until the edge starts to pull in. Cut thread and push piece back into shape until the thread disappears. This buries your thread end inside your feltie.

6. Sew pin on back, about 1/3 of the way down.

Finished!
Variations:

Instead of embroidery, use felt cutouts or fabric paint for the details. Two different eye patterns and a mustache pattern are included on the pattern sheet.
Don’t miss a single riveting tutorial! Bookmark our tutorial page and check back on Tuesdays for new ones.
Is there a tutorial you want to see? Leave a comment!
