Tutorial Tuesday – Fun with Decorative Buttons, Part 1

Once again, welcome to Tutorial Tuesday. Today, we’re finishing National Sewing Month with an easy button craft! It’s a quick one, but there will be more button crafts coming soon!
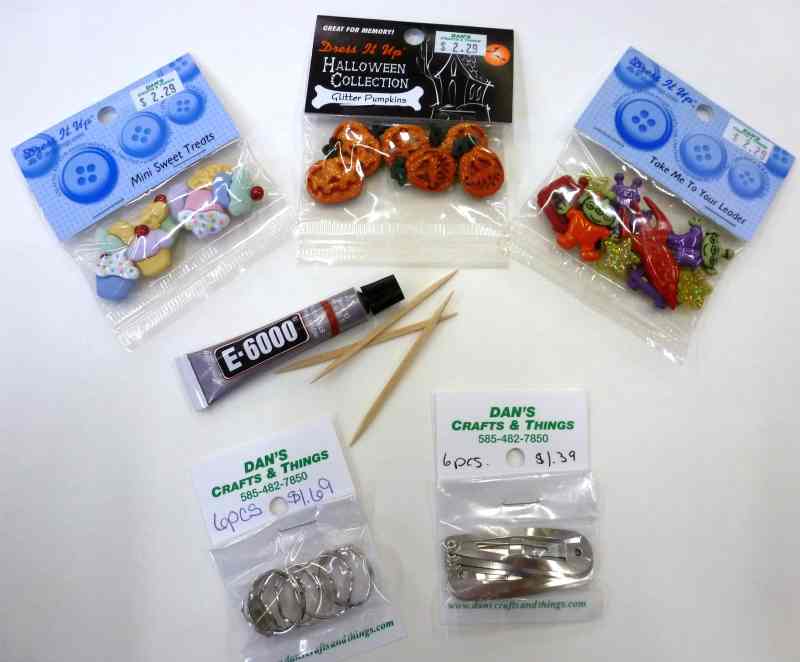
You need:
- Decorative plastic buttons with shanks
- E6000 (this glue has an odor and should be used in a ventilated area)
- toothpicks and scrap paper or cardstock
- snap-style barrettes
- ring bases
- flush cutters or nail clippers

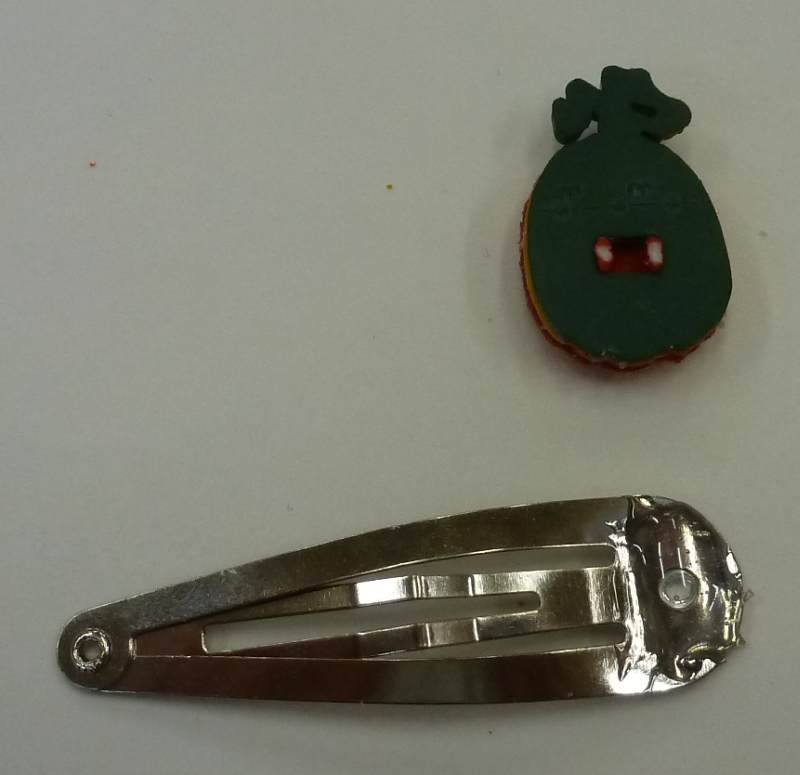
1. Start by removing the shank from the back of the button using your flush cutters or nail clippers. Note: These often fly off when cut – cup your hand over the button while cutting.
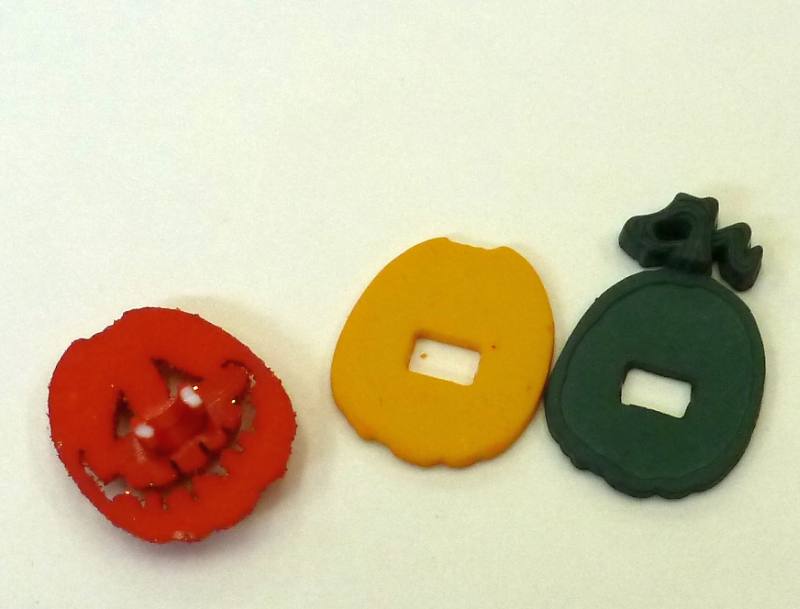
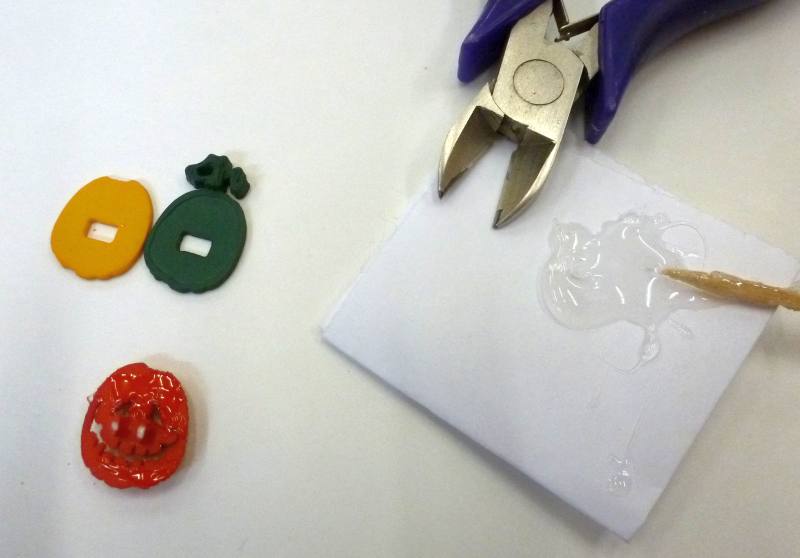
2. Most of these buttons come apart into two (or more) pieces when the shank is cut. Squeeze some glue out onto the scrap paper or card, and apply the glue with a toothpick. Glue all pieces together before continuing. Let dry 30-45 minutes before continuing.

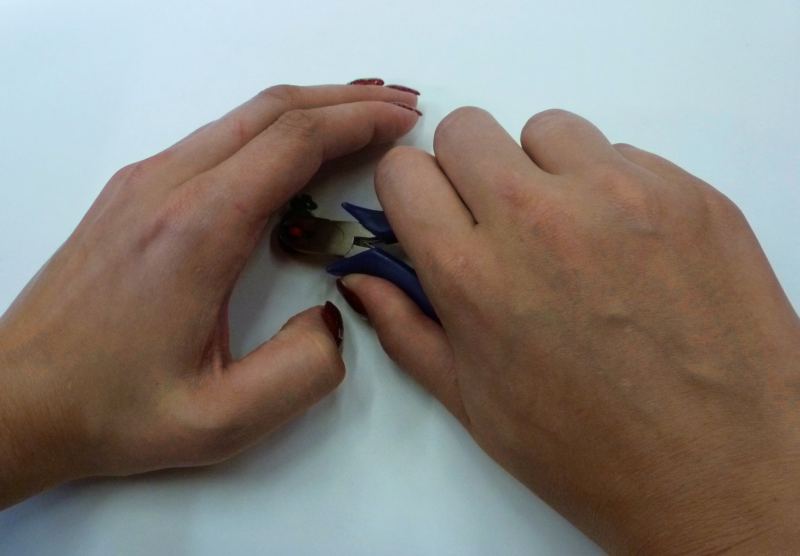
3. For hair clips, prepare two buttons. Apply a small glob of glue to the wide portion of the hair clip. Affix the button to the hair clip and remove excess glue.
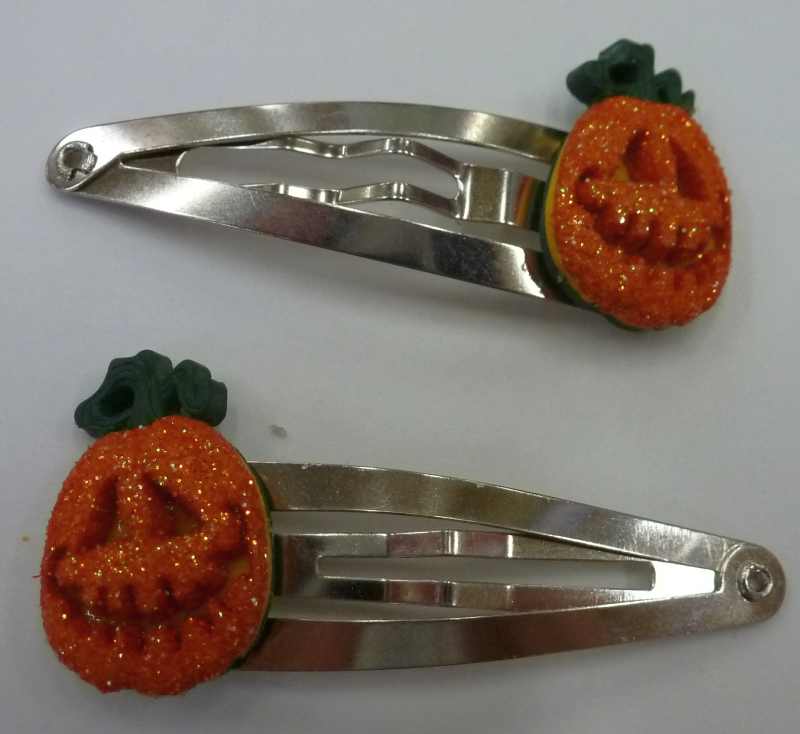 If the hair clips will be worn on opposite sides of the head, the buttons should be on the clips facing opposite directions as pictured above. Otherwise, one would be upside down when worn.

4. To make a ring, prepare one button. Apply a small glob of glue to the ring base.
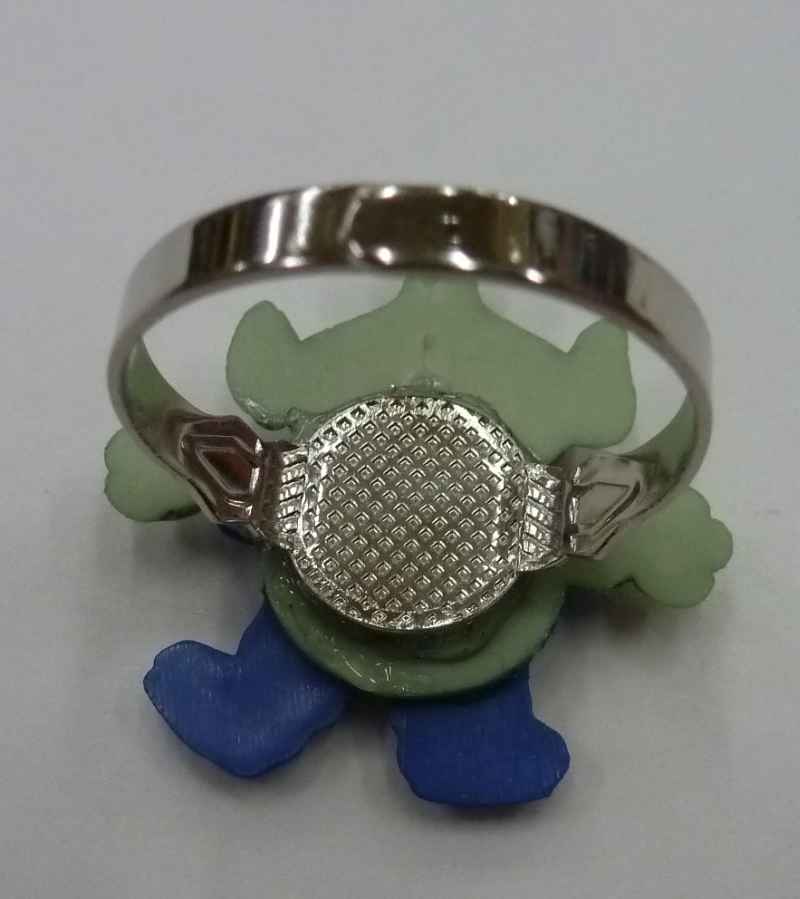
Affix button to ring base and remove excess glue.
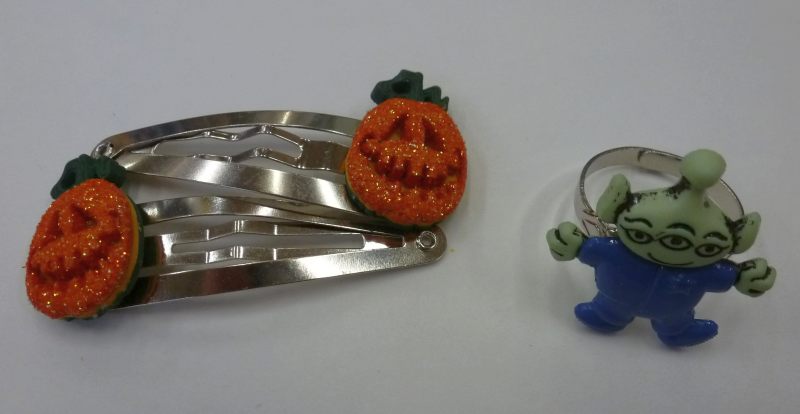
Finished! Pieces should dry for about 24 hours before being excessively handled (but can be picked up and moved after 30-45 minutes). If you missed any big globs of glue, they can be cut off with a sharp craft knife before the glue cures; E6000 cures completely in about 3 days.
Don’t miss a single riveting tutorial! Bookmark our tutorial page and check back on Tuesdays for new ones.
Is there a tutorial you want to see? Leave a comment!

This is so neat! Do you sell Spider-man buttons? My daughter is obsessed with spider-man and barrettes – would be a perfect combo!
We don’t carry licensed character buttons. However, you could trace a picture of Spider-Man onto shrink plastic and make the barrettes with that. The plastic, when shrunk, is only a little thinner than some of the thinner, single-color buttons I’ve used to make these barrettes before.