Tutorial Tuesday – Ball Chain Bracelet
Happy Tutorial Tuesday! how’s your summer going? I hope it’s full of fun craft activities! Today’s tutorial is a fun bracelet made with embroidery floss and ball chain!

You Need:
- 12″ of ball chain
- DMC embroidery floss
- Scissors
- Ruler
- Wire cutters
- Glue (optional)
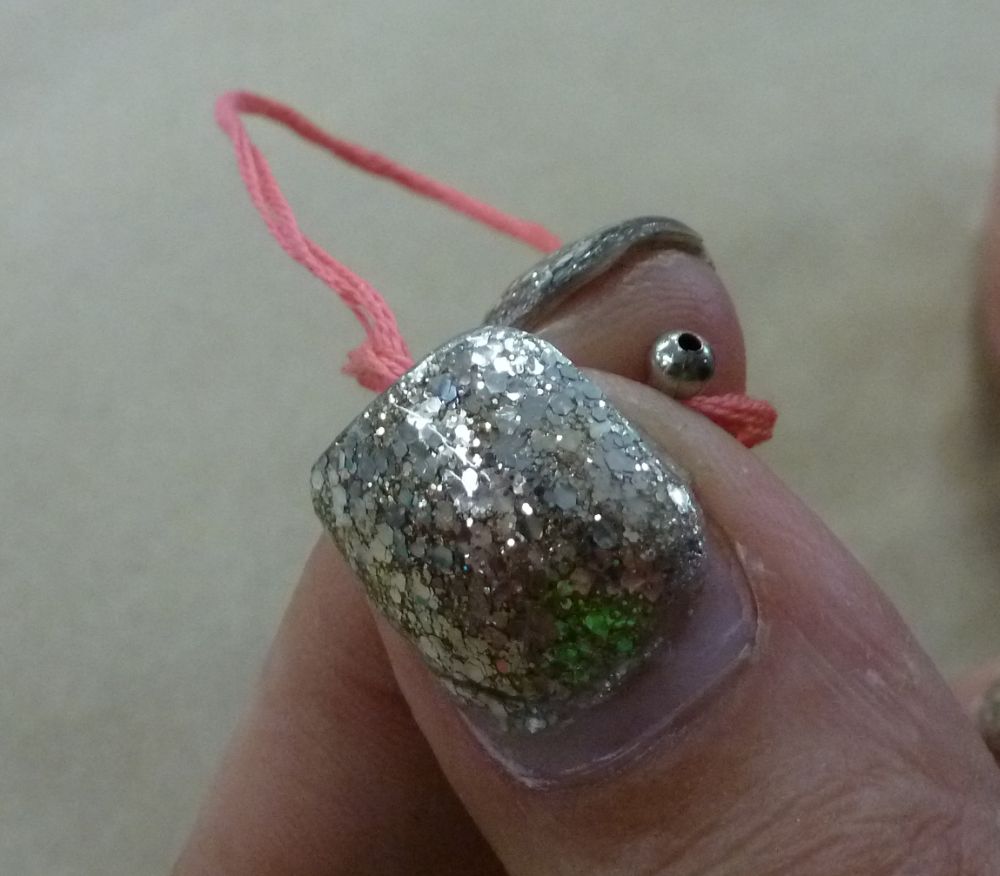
1. Cut your ball chain into two 6″ lengths. Cut two 32″ pieces and one 24″ piece of embroidery floss.

2. Leaving a 10″ tail, tie one of the 32″ pieces of floss under the first ball of both chains.

3. Wrap floss around chain downward and diagonally in one direction.
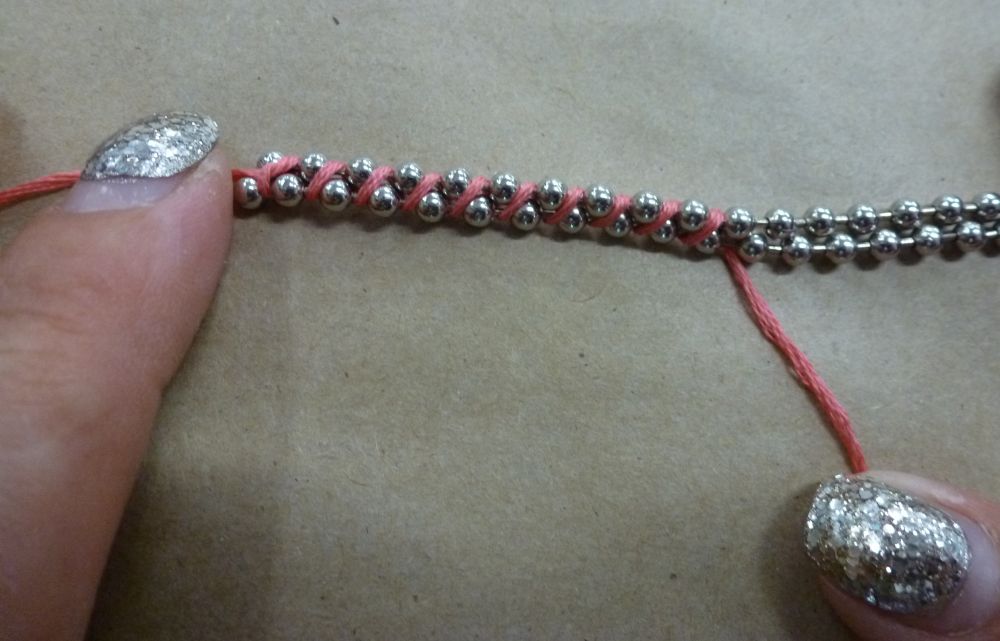
4. Continue all the way to the bottom and knot the floss above the last ball of both chains. Your chain will end up a little twisty after this step. Never fear – this will be remedied soon!

5. Starting at the opposite end from where you started in step 2, tie the second 32″ piece of floss (again leaving a 10″ tail) around both chains under the first ball. Wrap around both chains in the opposite direction from step 3.

When you’ve wrapped all the way down the chain, you’ll see that it’s flattened out from the previous step.

6. When you’ve finished, take both tails from each side and cross them.

7. Take your 24″ piece of floss and fold it in half. lay this under the crossed tails of your bracelet.

Tie a knot around the bracelet tails.

8. This next step will be familiar to those of you who have made hemp bracelets before.
Cross the left strand over the tails and under the right strand.

Cross the right strand under the tails and bring it up through the loop created by the left strand. Pull tight.
Now, reverse the process – Cross the right strand over the tails and under the left strand. Cross the left strand under the tails and up through the loop created by the right strand. Pull tight.

Repeat these two knots five times each, so you have ten knots.

9. Tie the ends together and trim. Optional: Put a dot of glue on the knot to keep it from unraveling.

10. Cut excess tails to the desired length so it can fit over your wrist. Tie knots in the ends of the tails and trim.

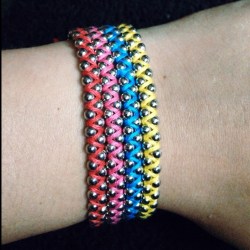
Finished!
Variations:


You can use either big ball chain or little ball chain for this project. You can also try making this bracelet with thin hemp or Chinese knotting cord for a different look!
Thanks to Rebecca for once again being a wonderful hand model, and to Victoria for taking the pictures. Don’t miss a single riveting tutorial! Bookmark our tutorial page and check back on Tuesdays for new ones.
Is there a tutorial you want to see? Leave a comment!

Cool bracelets