Tutorial Tuesday – Variations on the Single Rubber Band Bracelet Pattern

We’ve all been bitten by the rubber band bracelet bug here at Dan’s! I’ve found a few different variations on the single bracelet pattern I’d like to share with you!
A Different Way to Finish Off a Single:
The usual directions for making a single result in one long loop next to the clip. I really don’t like that long loop – I’d rather the loop be doubled, as it matches the rest of the loops. Here’s how to do that on the loom:
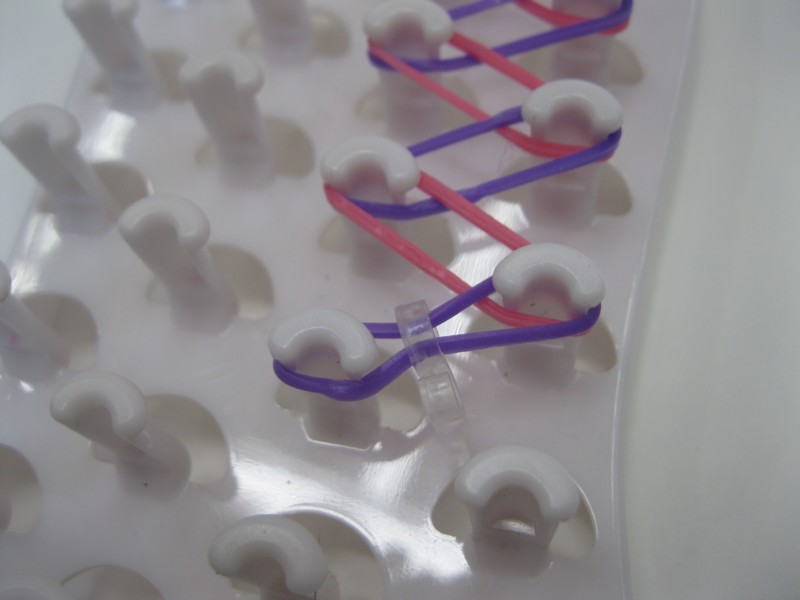
1. After loading the loom, attach the clip to the last band.

2. Hold the clip. Use the hook to pick up the free half of the last loop, and put it on the next peg.

3. While still holding the clip, pick up the next loop with the hook and put on the next peg.
4. Let go of the hook, and continue with the single pattern as usual.

5. Remove from loom and attach the free side of the hook to the free side of the bracelet.
Single Bracelet with Yarn Inclusion
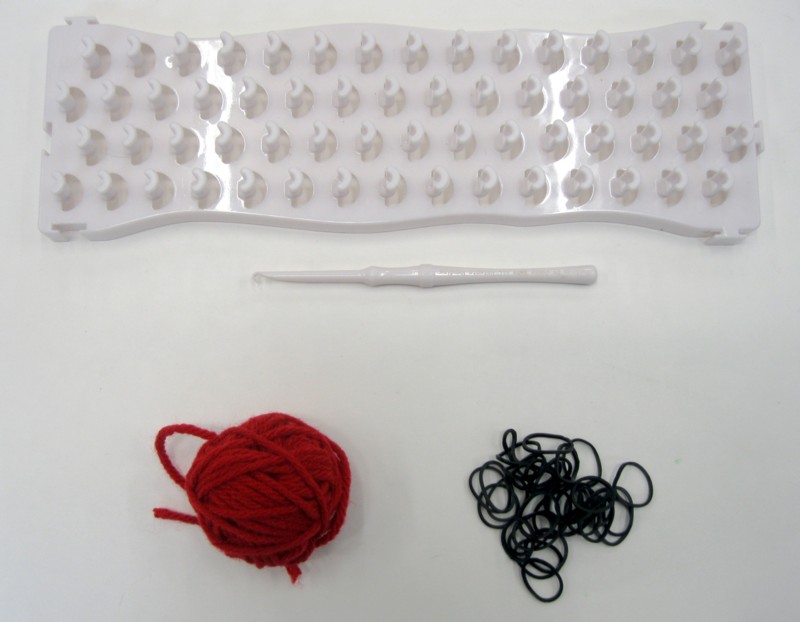
You Need:
- Rubber band loom and hook
- Worsted-weight yarn
- Rubber bands
- Clear tape

1. Cut three strands of yarn 18″ long

2. Knot the end and braid the whole length.
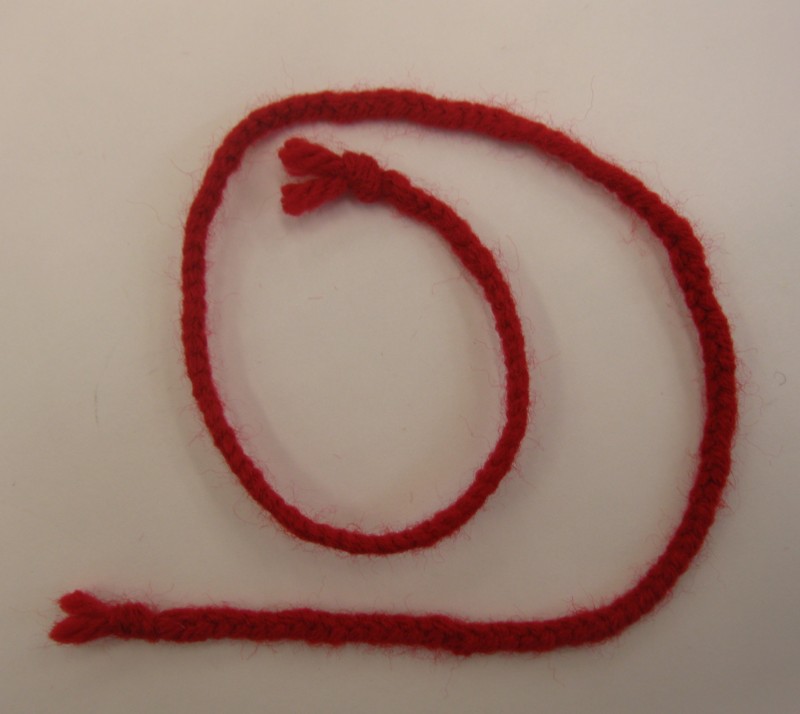
3. Knot the end and trim.
This braid is 14″, about twice my wrist measurement of 7.5″. If you have smaller wrists, you may wish to make the braid slightly shorter. It should still be big enough to tie around your wrist.

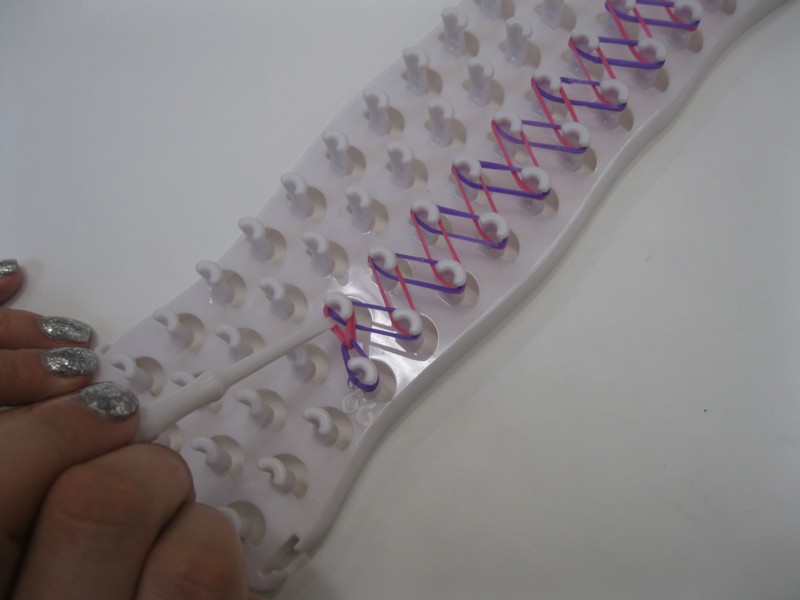
4. Load the loom as usual for a single.

5. Center the braid over the loom.
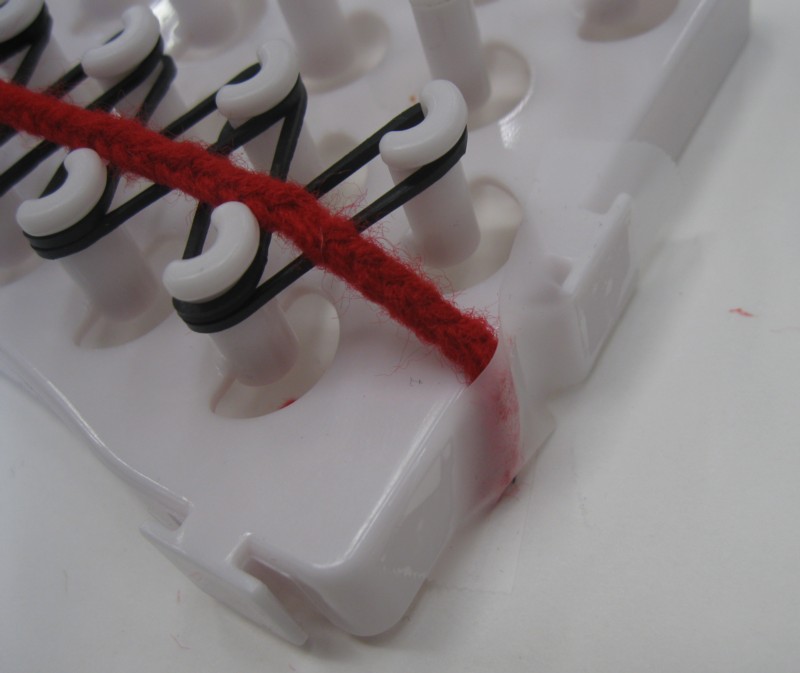
Tape the ends down.

6. Continue with the single pattern, enclosing the yarn in the bracelet as you work.

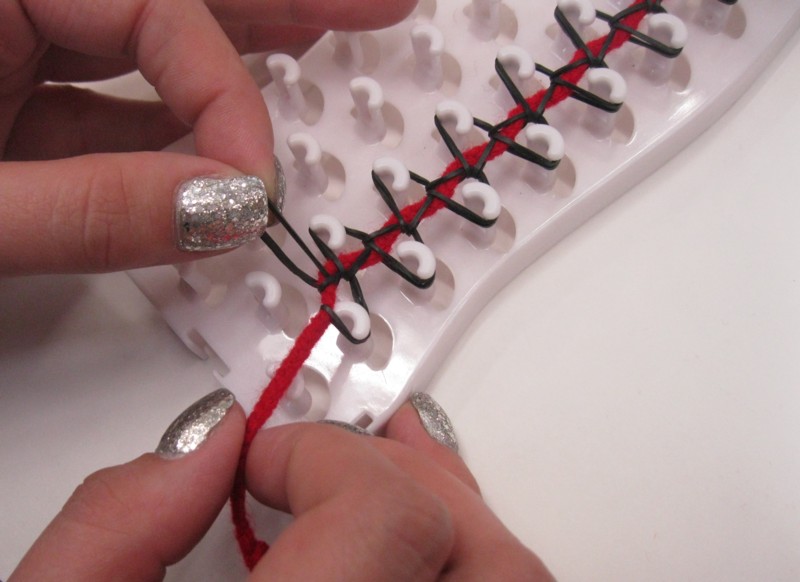
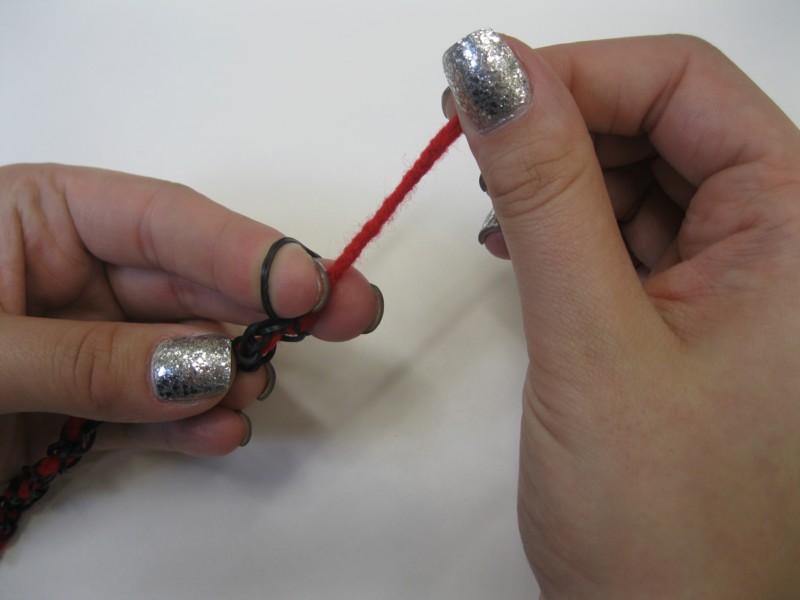
7. Remove the tape from the yarn end. Take the first loop off the peg; it’ll be long.
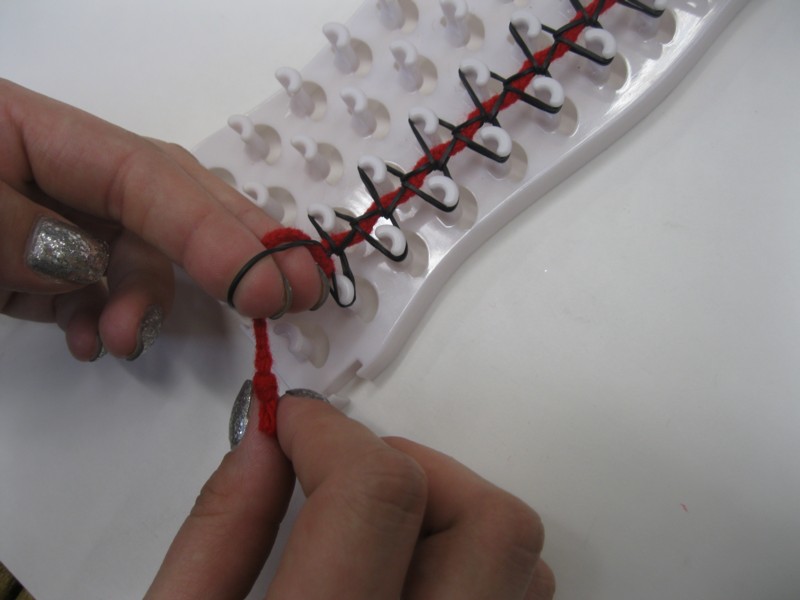
8. Pull the braided yarn end through the rubber band. Twist the rubber band and pull the yarn end through a second time.

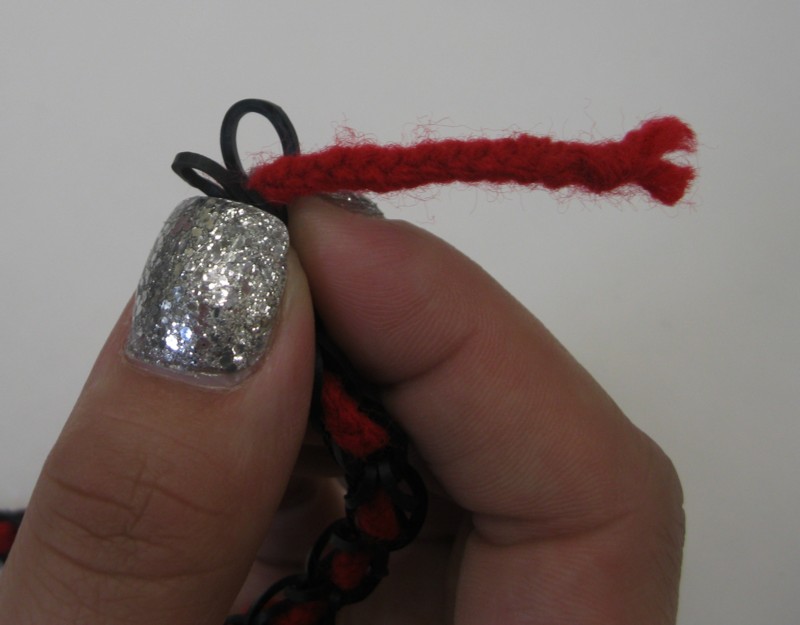
9. Pull the bracelet off the loom. Pinch the last loop together.
Pull yarn end through the last loop.
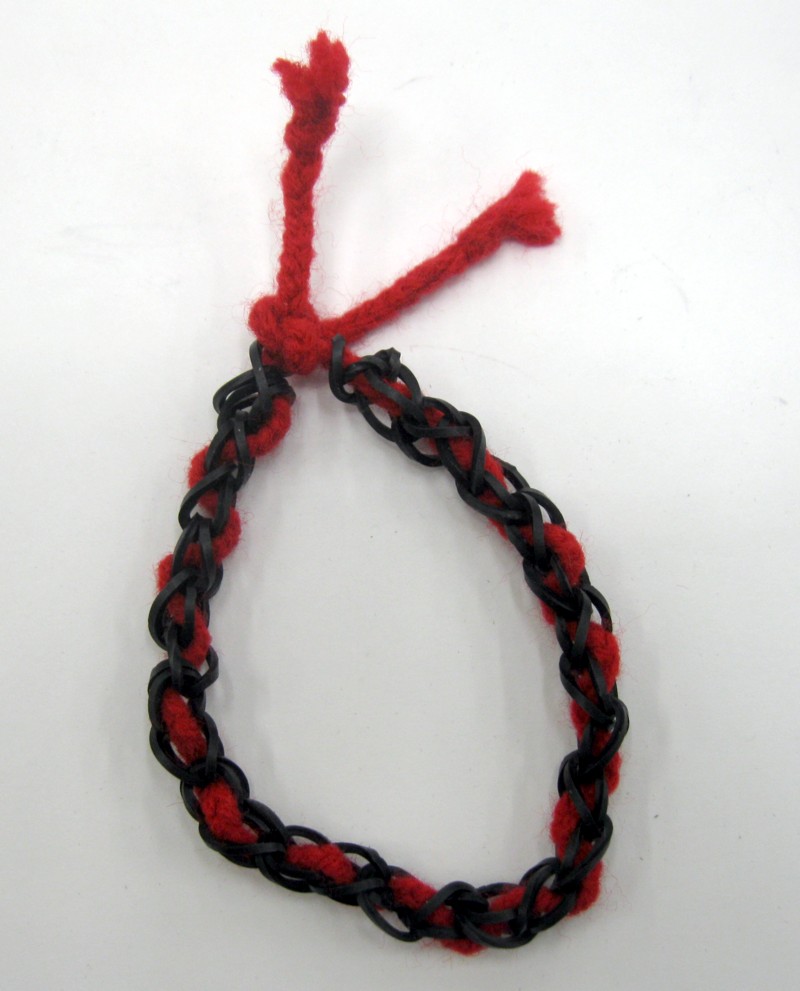
Finished!
Single Rubber Band Pattern with Buttons

You Need:
- Rubber band loom and hook
- Rubber Bands (I used 25)
- Buttons with a shank (I used 5)
- Clip

1. To insert the band, pinch in half and push through the shank. You may wish at this point to prepare all the buttons like this before starting.
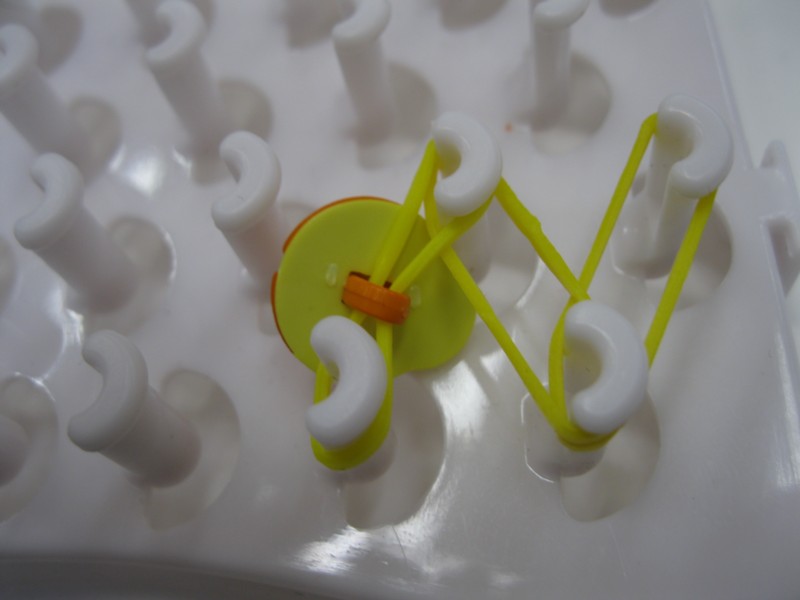
2. Place two rubber bands on the loom. The third rubber band will be one with a button on it. Push the buttons down between the pegs as you go.
Load the loom, alternating four plain rubber bands with one rubber band with a button on it. Be sure to point the tops of all of the buttons towards the closest edge of the loom (the right edge, if your loom is loaded as pictured). Otherwise, the buttons could end up flipped in opposite directions, like this:


Load the loom and end with three plain rubber bands. Continue making like a regular single.

Finished!
You can also make a ring using this same method.

Seven or nine bands should be enough for most rings. An odd number works best, as you can put the button on the center band. In this picture, I had to push the button to the side to accommodate the size.
Make up the ring as you would a regular single bracelet.

Finished!
Thanks to Rebecca for again being my wonderful hand model. Don’t miss a single riveting tutorial! Bookmark our tutorial page and check back on Tuesdays for new ones.
Is there a tutorial you want to see? Leave a comment!
