Tutorial Tuesday – Fun With Decorative Buttons, Part 2

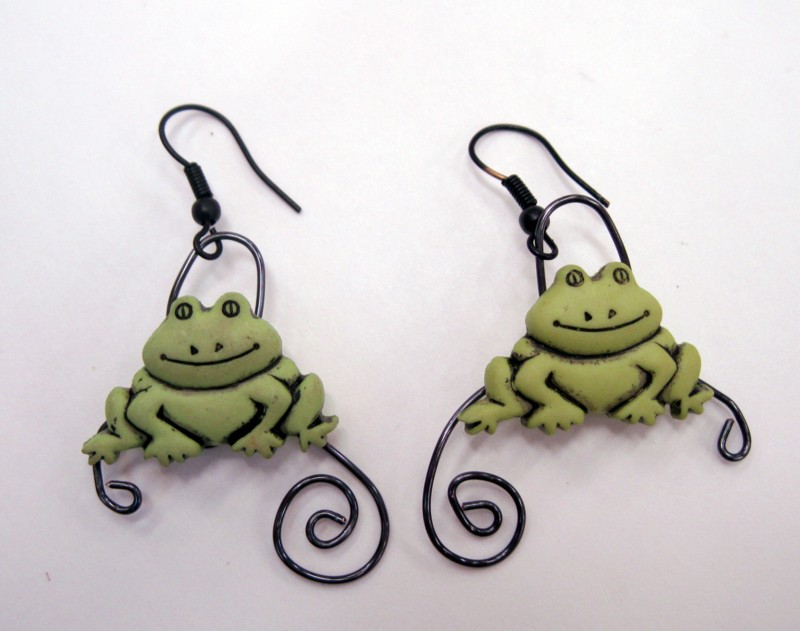
We have a special treat for this Tutorial Tuesday – Lisa is sharing her method for making awesome earrings with decorative shank buttons and 20 gauge wire! In this tutorial, Lisa shows us three different ways to make button earrings – The first way is with a button with a horizontal shank; it’s probably the easiest. The second way is with a button with a vertical shank; it’s still pretty easy, but there are a few extra steps in the middle. Lastly, Lisa shows us how to add beads and fancy wire loops.
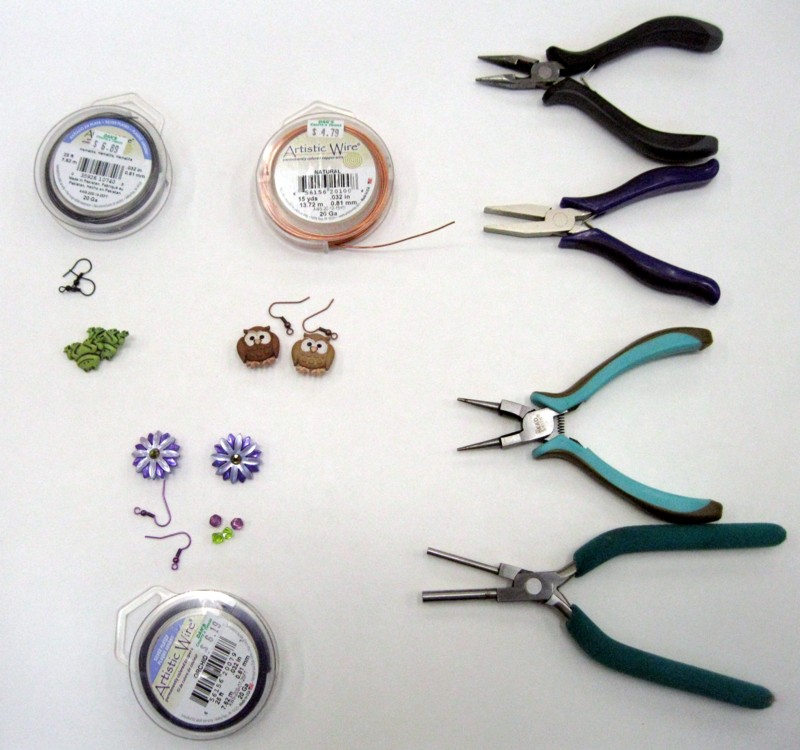
You Need:
- Two decorative shank buttons
- 20 gauge jewelry wire
- Earring findings
- Beads (optional)
- A ruler
- A Sharpie marker
- Round-nose pliers
- Chain-nose pliers
- Flat pliers
- Wire cutters (if none of your other pliers have cutters)
- Bail-making pliers (optional)
How to make earrings out of buttons with a horizontal shank:
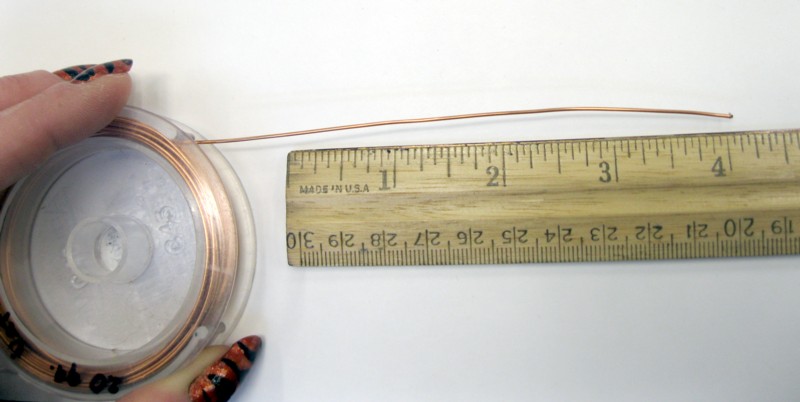
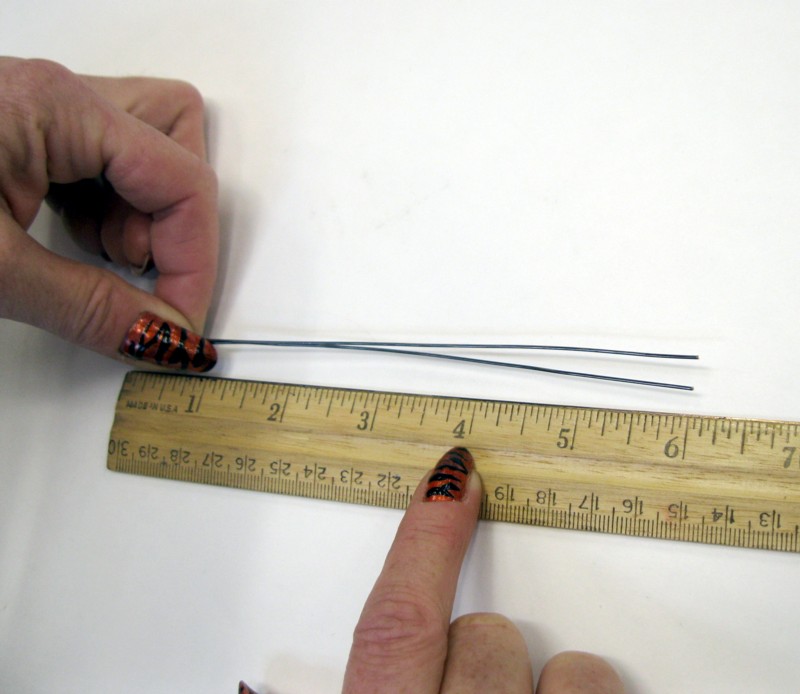
1. Measure two 4″ pieces of your 20 gauge wire. Straighten the wires by running them between your fingers a few times.
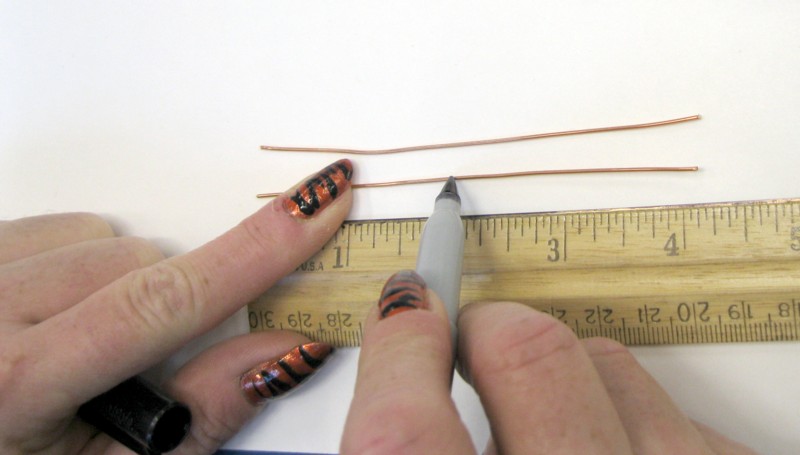
You will be using either the round-nose pliers or the bail-making pliers for the next step. If you are using round-nose pliers, lightly mark the halfway point of each length of wire. If you are using bail-making pliers, consult step 2 in the next section.
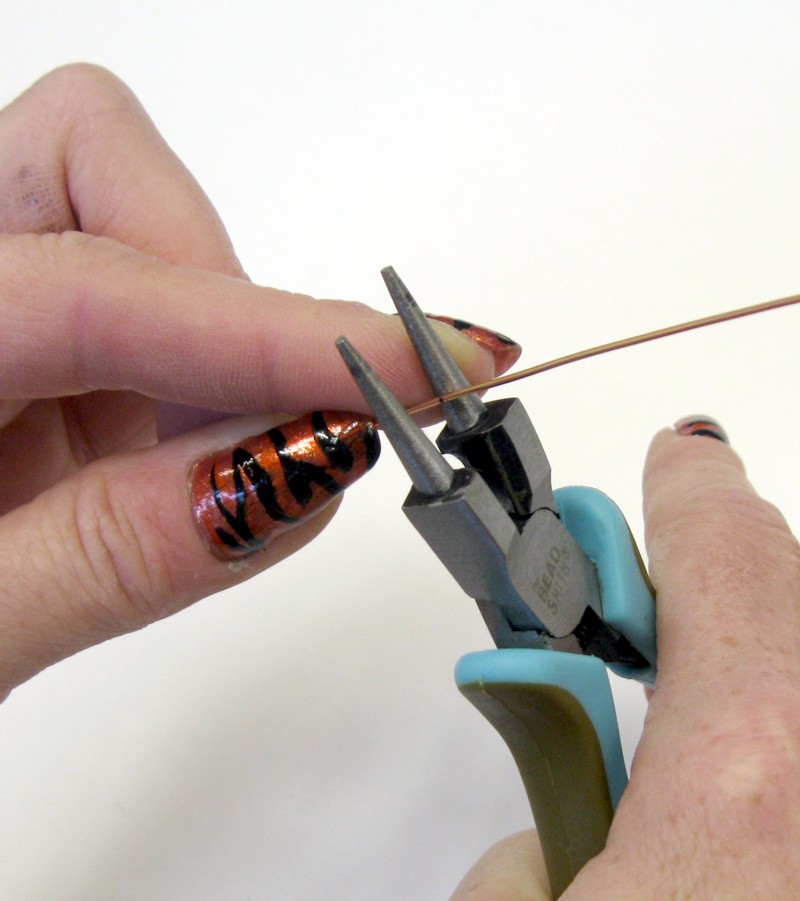
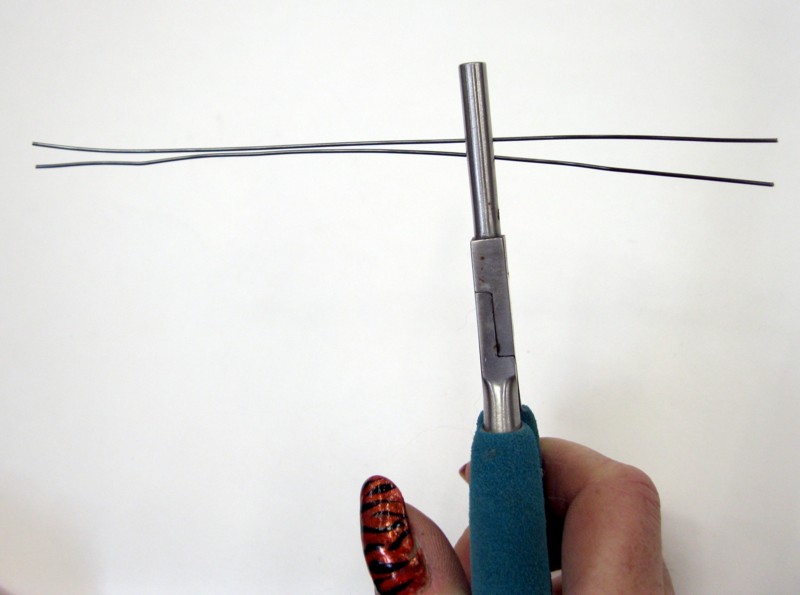
2. Grasp the wire on the marked point with the round-nose pliers.
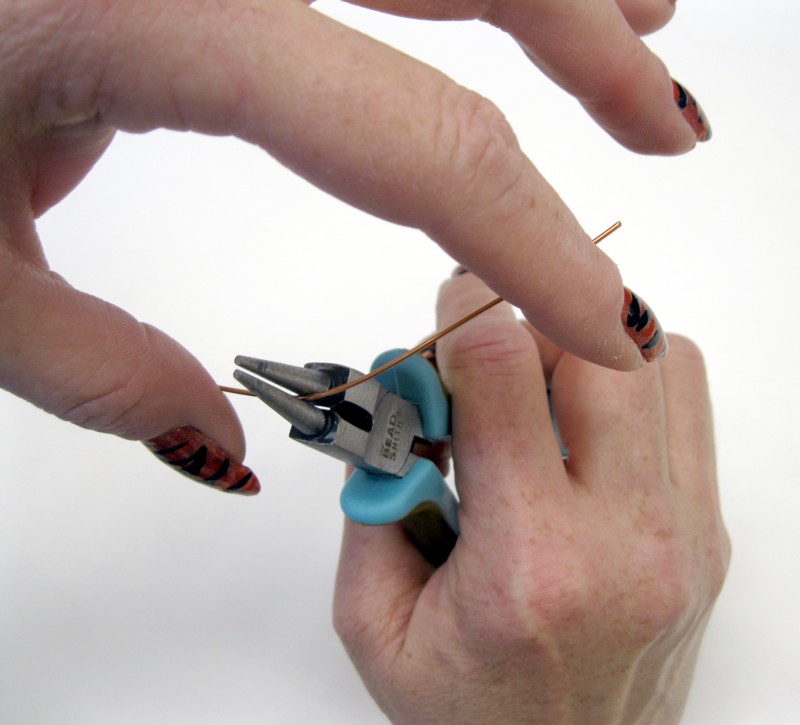
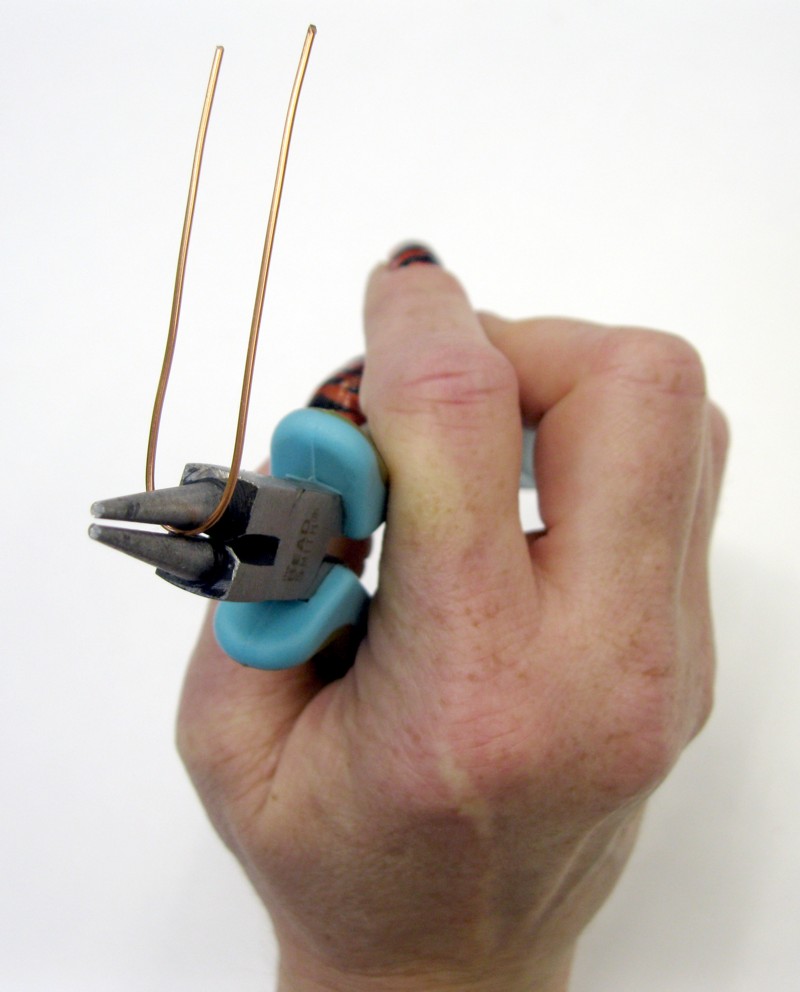
Push the ends of the wire back until they are about parallel to each other.
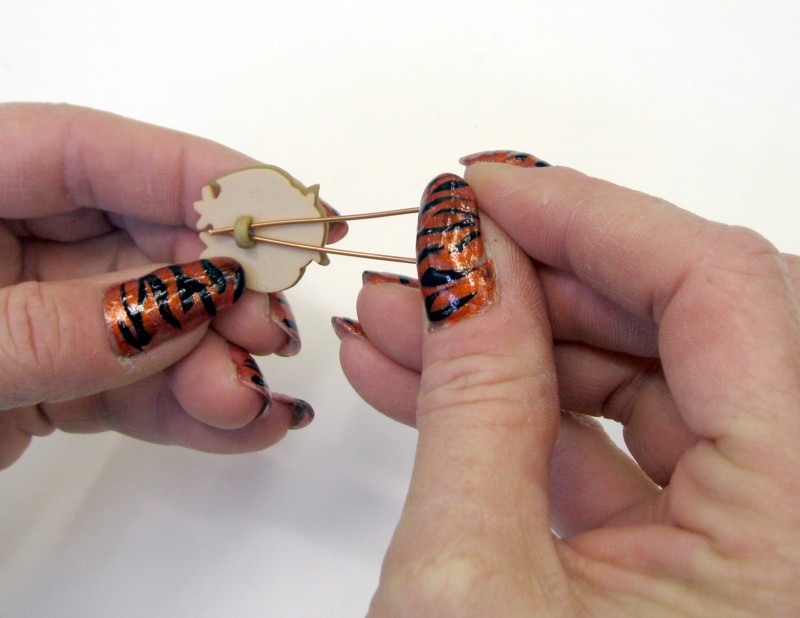
3. Push the two ends of the wire through the button shank. The ends should cross each other as pictured.

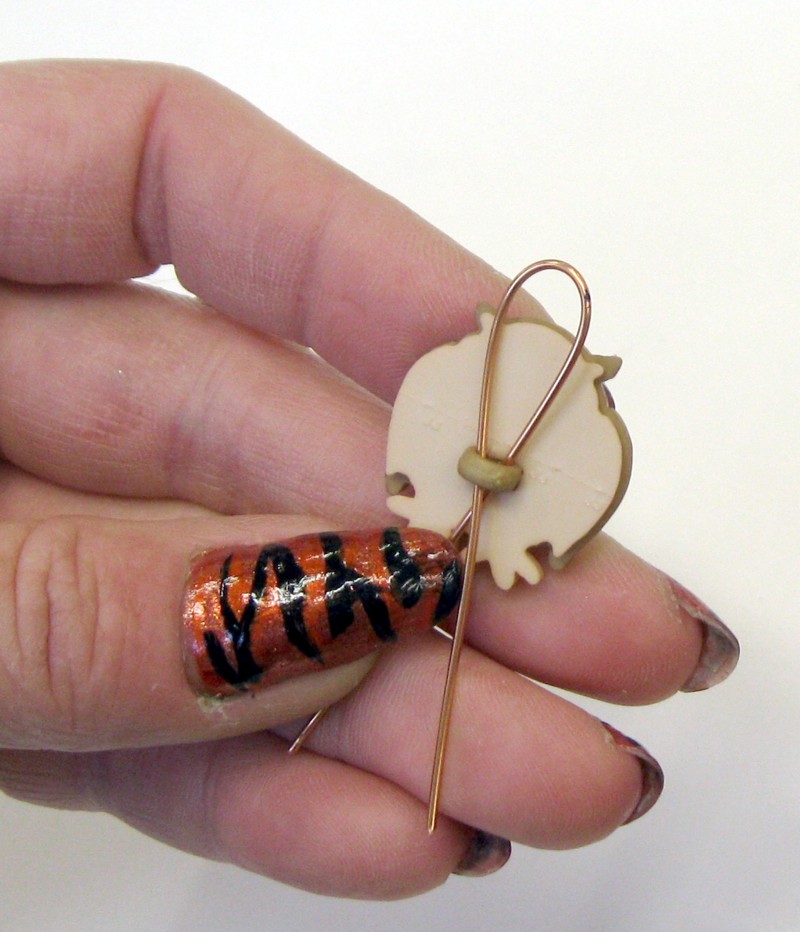
4. Take one end and push it up. Repeat on other side.
5. With your chain-nose pliers, grasp one end and tuck it into the shank.
Grasp the end of the wire, and continue pulling through. You have formed a loop around one side of the shank.

Repeat on the other side.

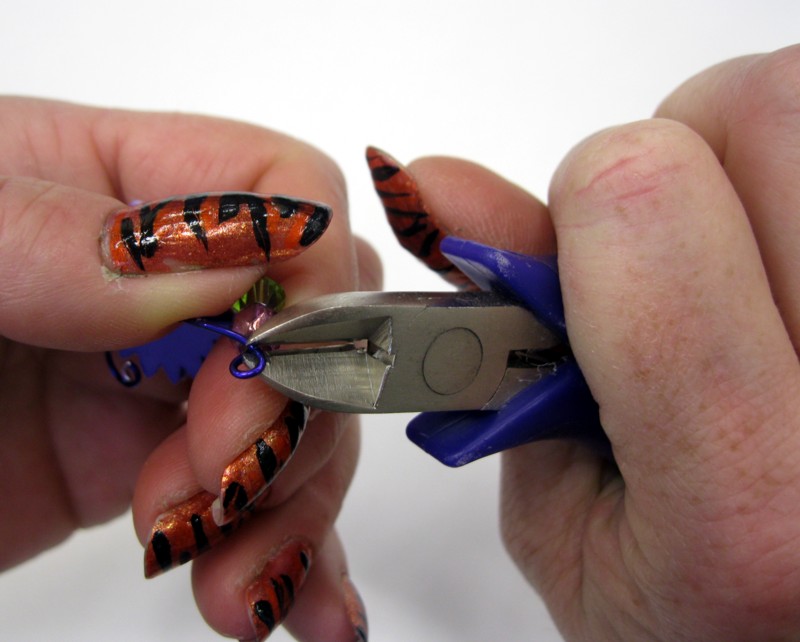
6. With your round-nose pliers, turn a loop at the end of one of the wires.
Repeat on the other side.


7. With your chain-nose pliers, open the loop on the earring finding. Attach it to the large wire loop and close the loop on the earring finding.
Finished!
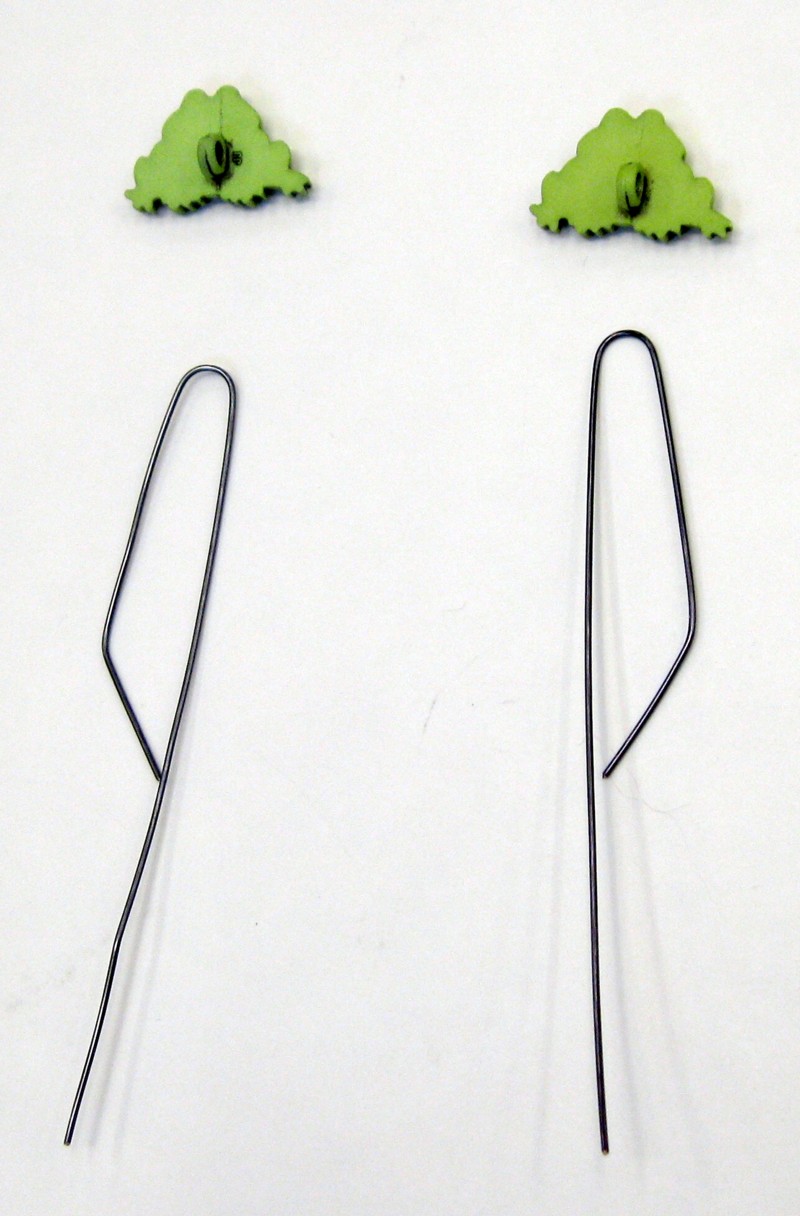
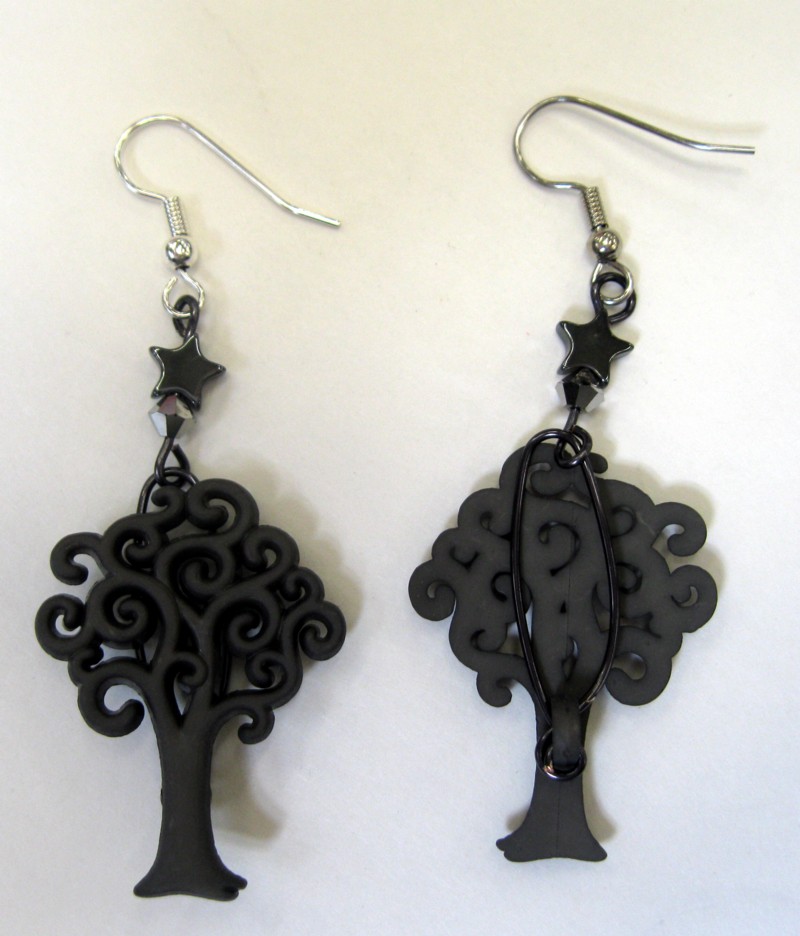
How to make earrings out of buttons with a vertical shank:
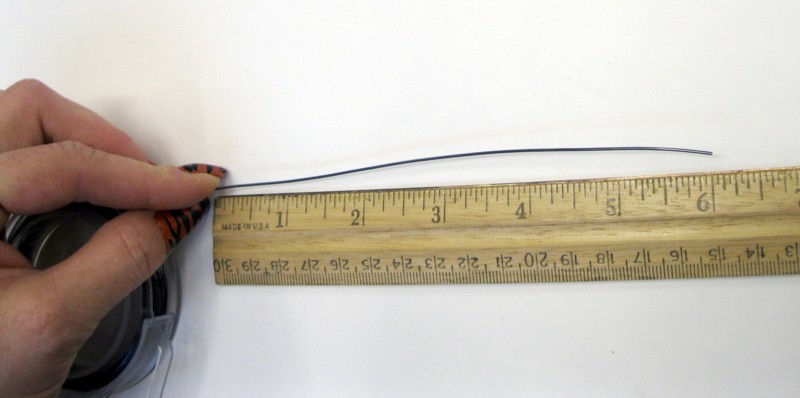
1. Cut two 6-inch lengths of wire and straighten them between your fingers.
2. If you are using round-nose pliers, follow step 2 of the previous set of directions for marking and bending the wire at 4″.
If you are using bail-making pliers, hold both pieces of wire at 4 inches.
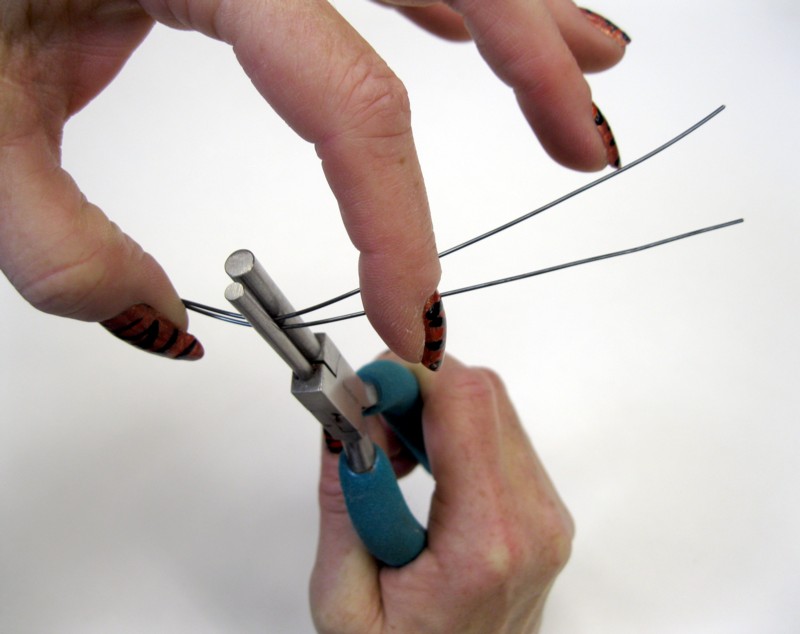

Bend until both ends are parallel.

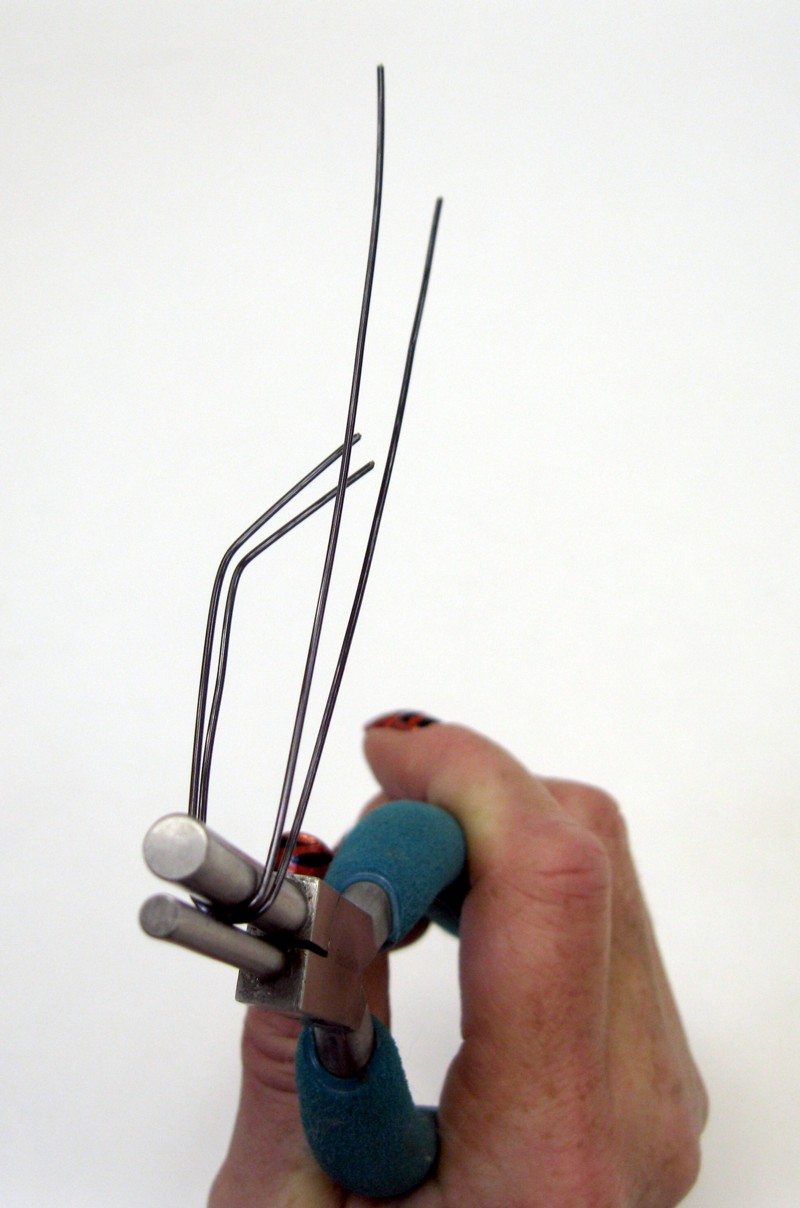
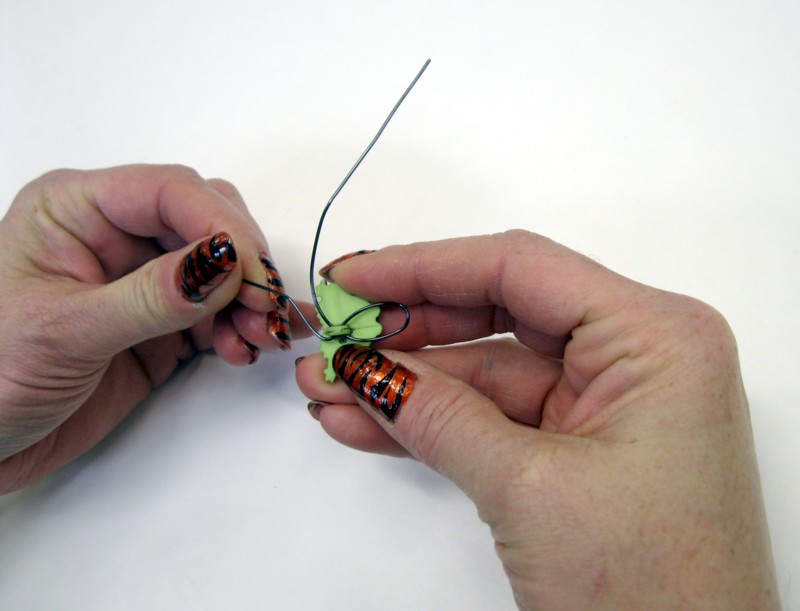
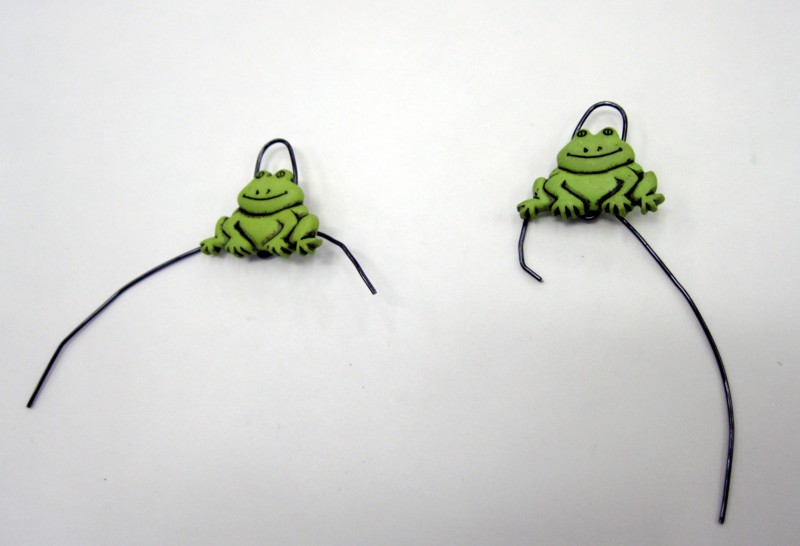
3. Pinch the shorter end between your thumb and forefinger and bend at approximately a 45-degree angle.
Since the earrings will be mirror images of each other, lay the pieces out as pictured so you can keep them straight before doing the next few steps.
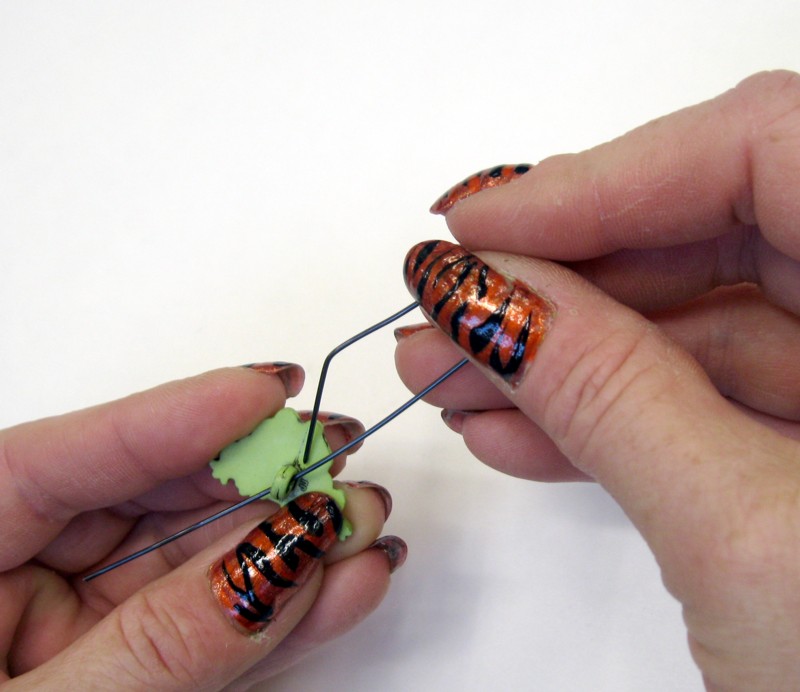
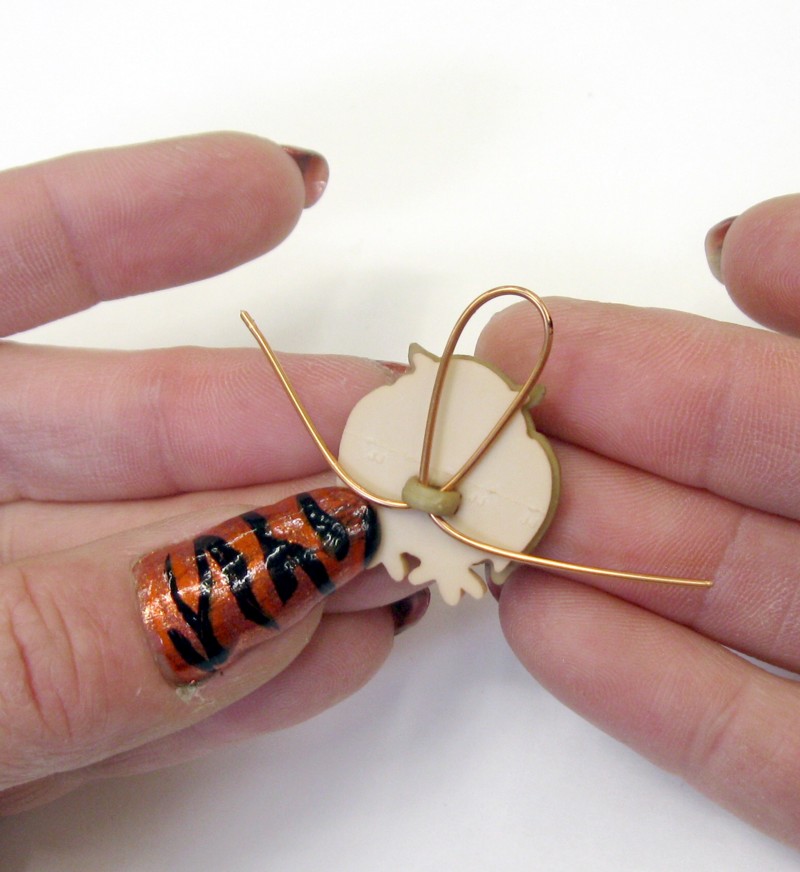
4. Insert the long end of the wire into the shank.
Insert the short end into the shank.
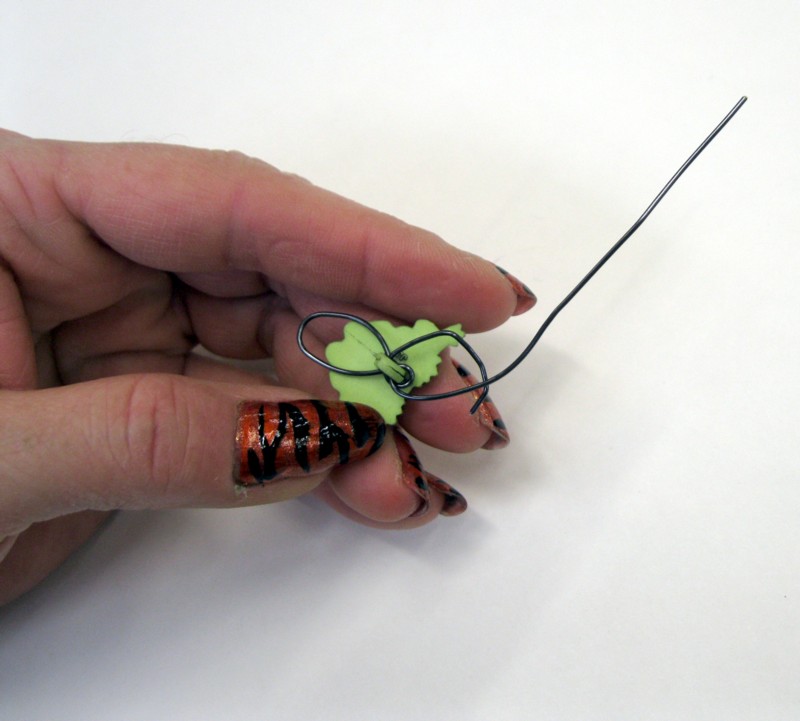
5. Grab the loop and push down. The ends will naturally curl up as you push down.

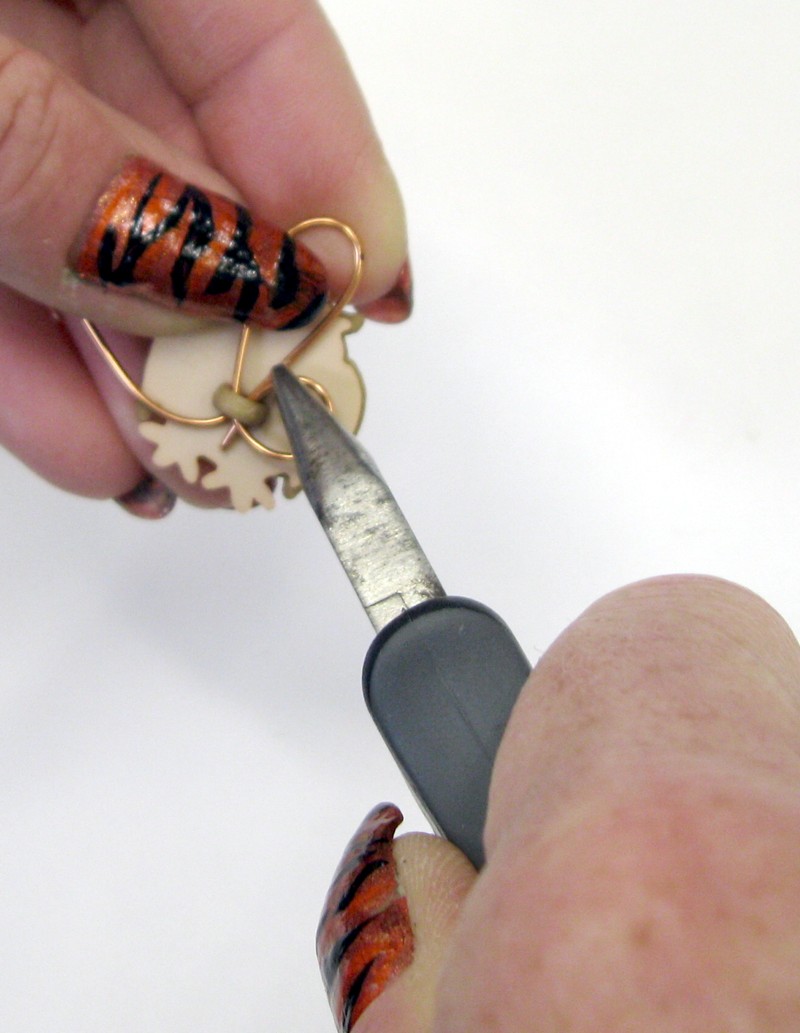
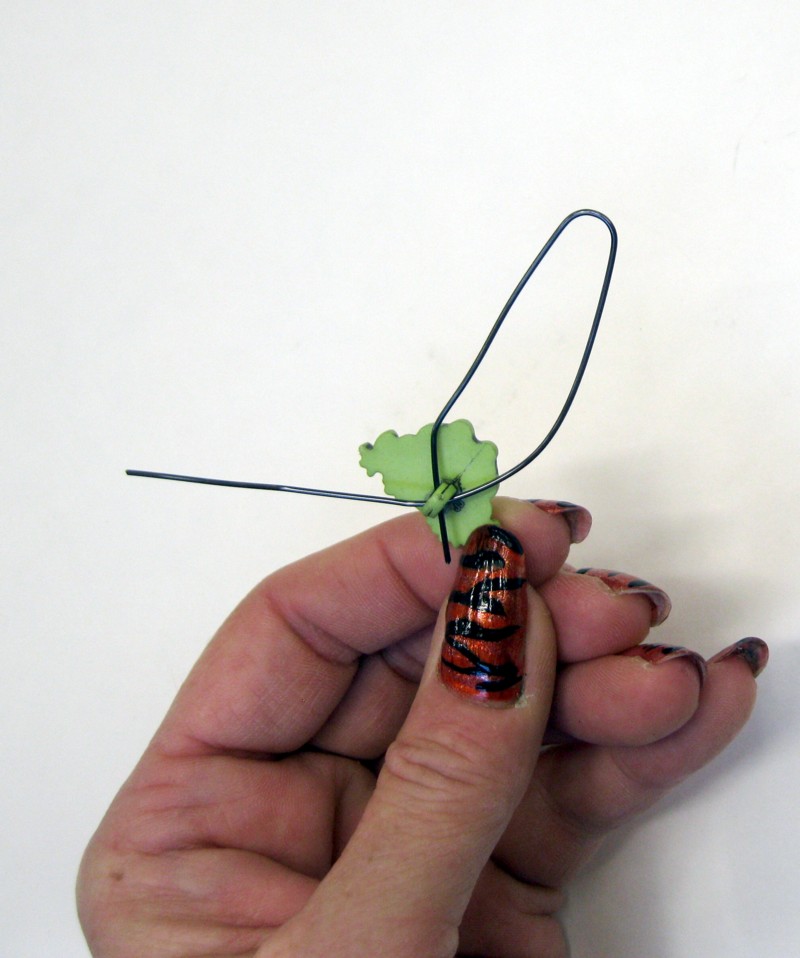
6. Cross the two wire ends under the bottom of the shank by pushing the bottom wire up and the top wire down (so they are pointing 180-degrees from where they were).

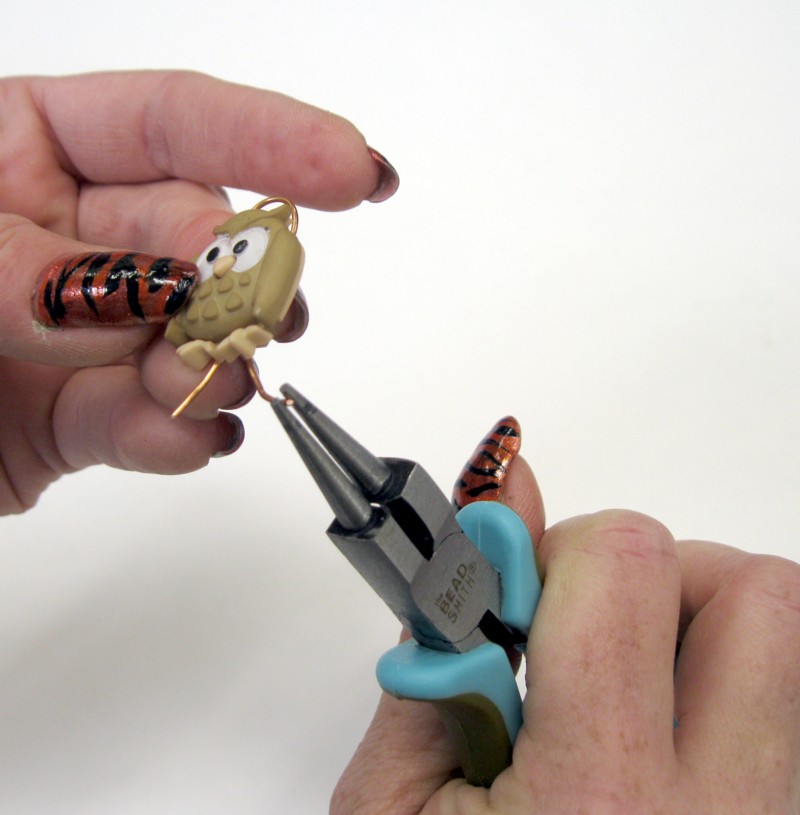
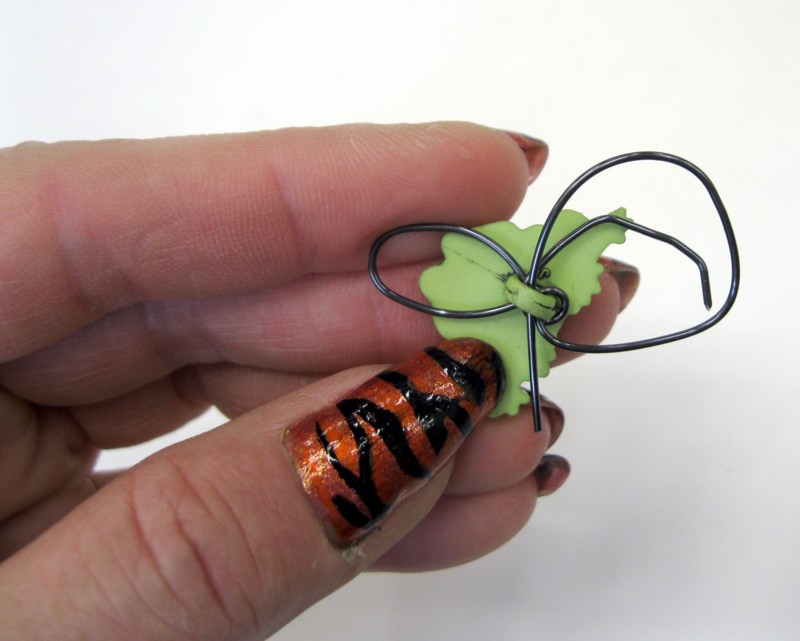
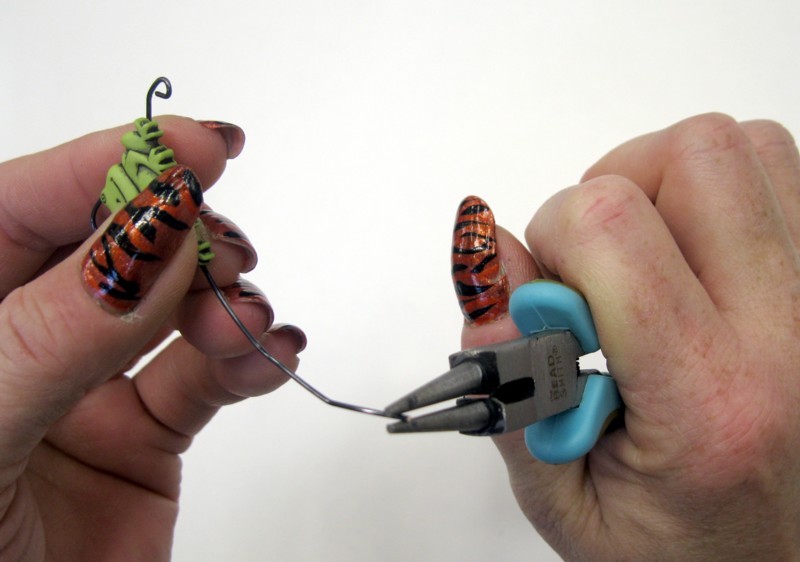
7. Holding the short end with the chain-nose pliers, bring it up and insert into the shank.
Pull the short end all the way through. It is important to hold the top loop when you pull the end tight.
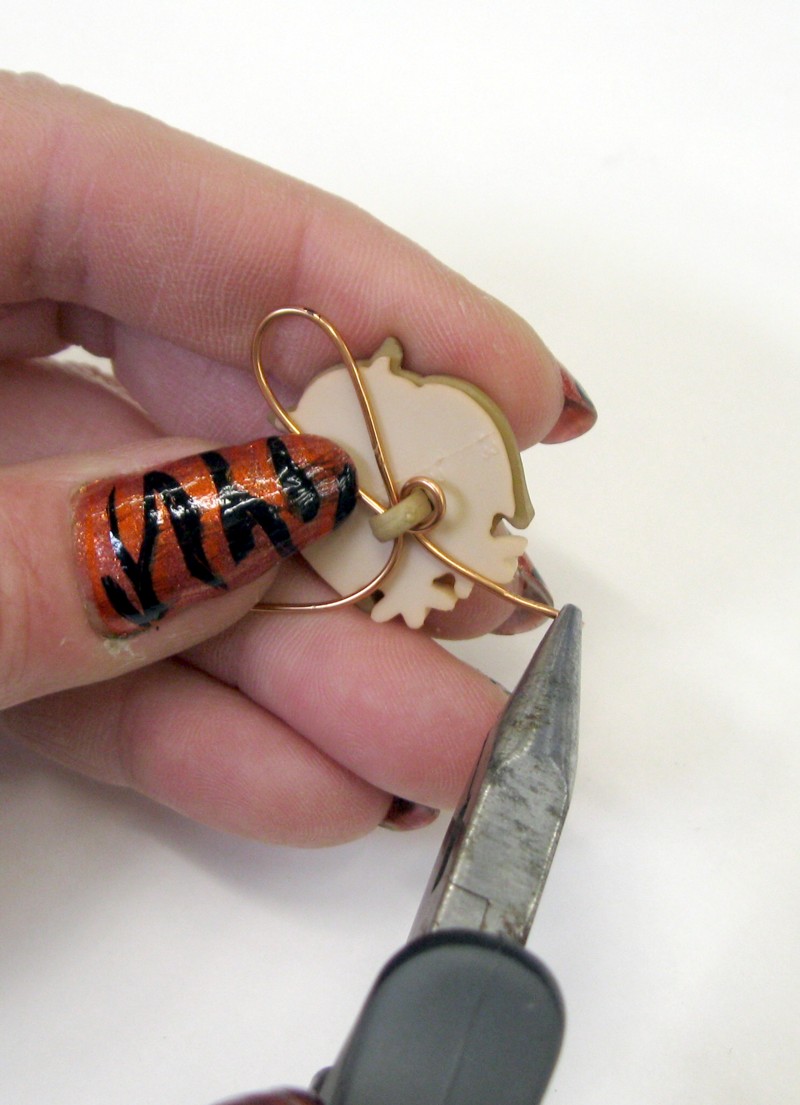
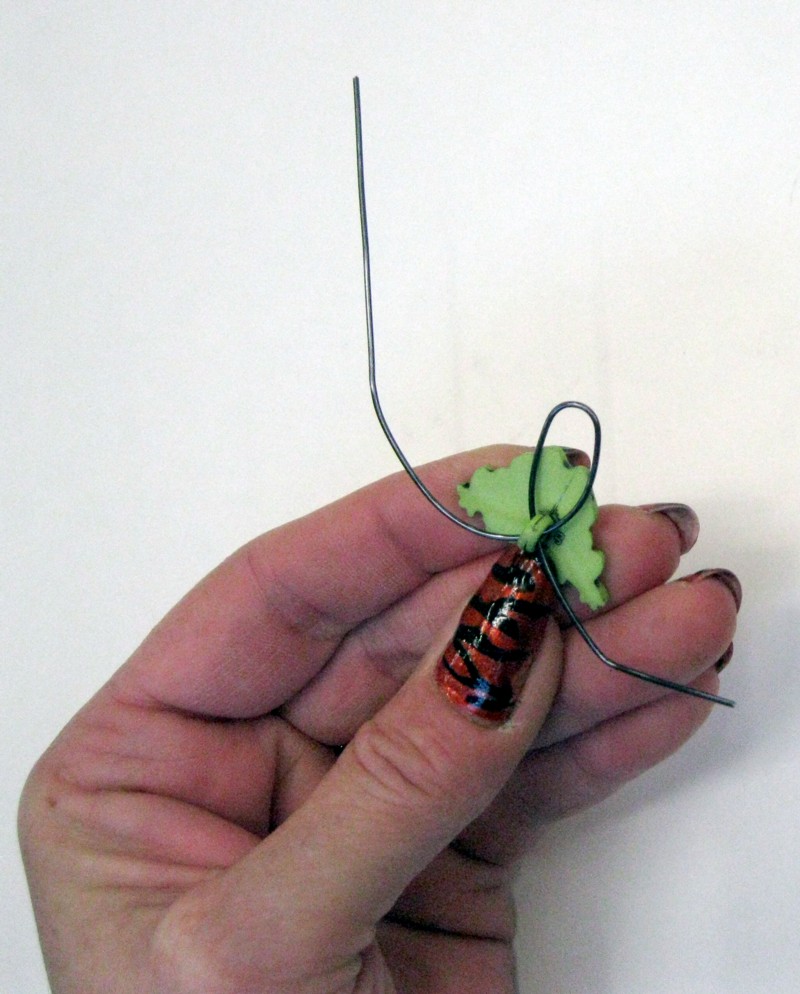
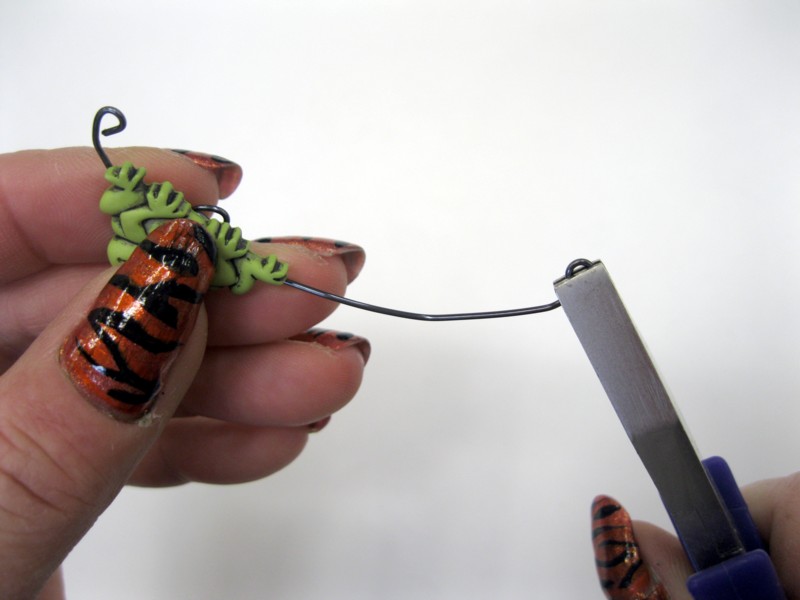
8. Insert the long end into the shank (it might be a tight fit).
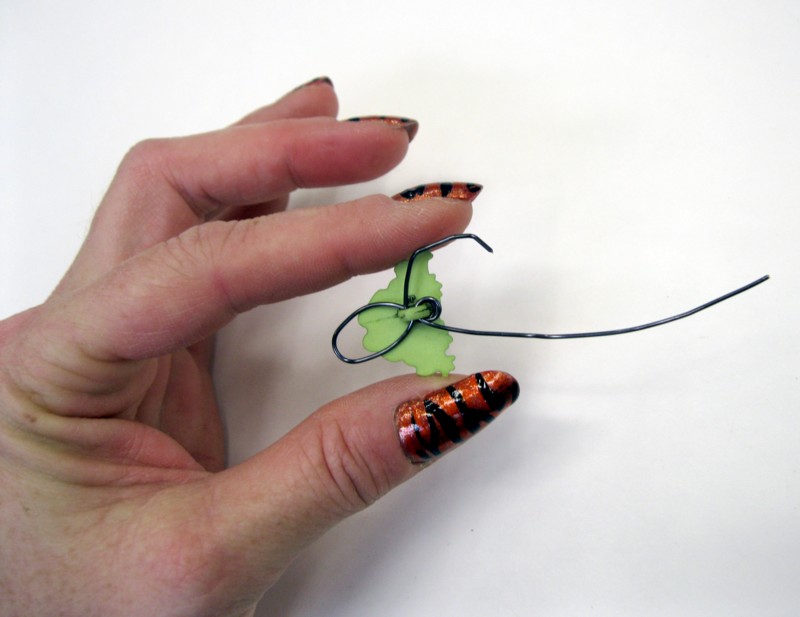
Pull all the way through. Remember to hold the top loop when you pull the end tight.

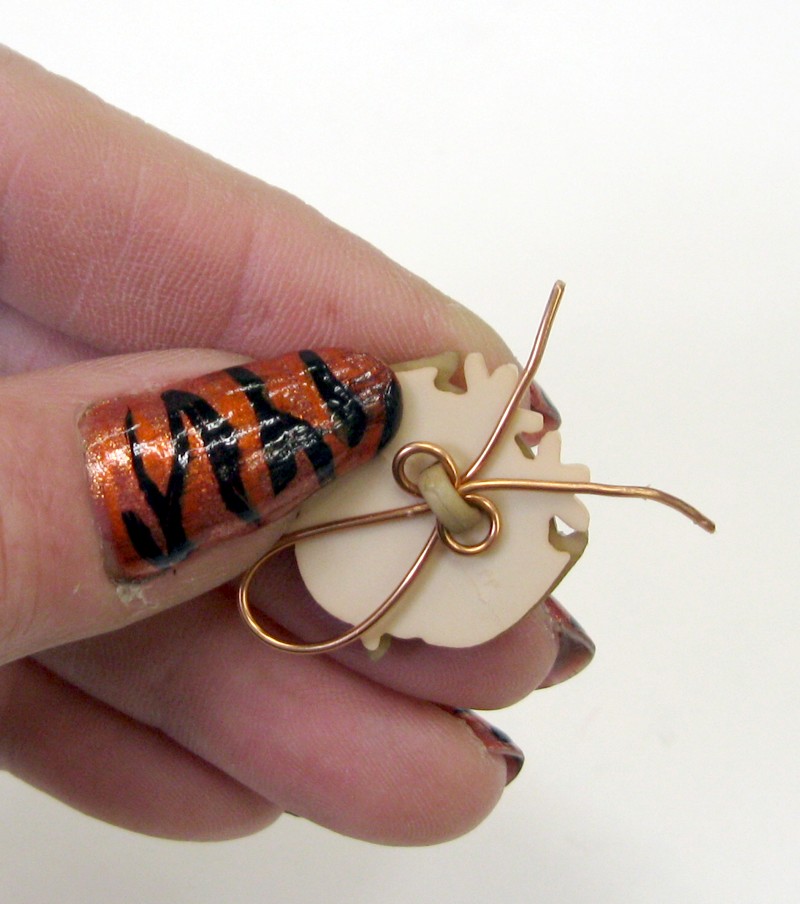
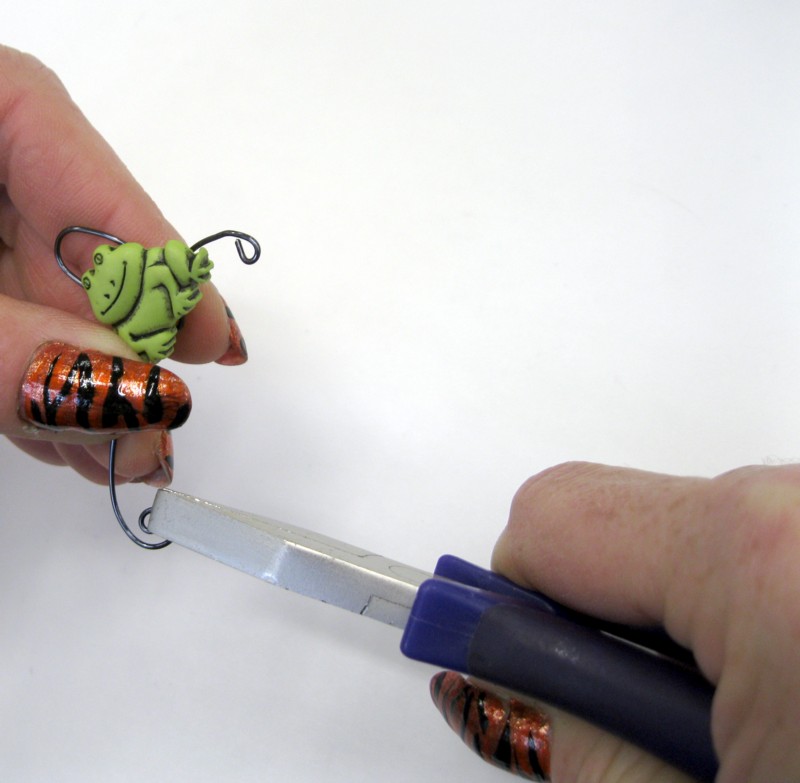
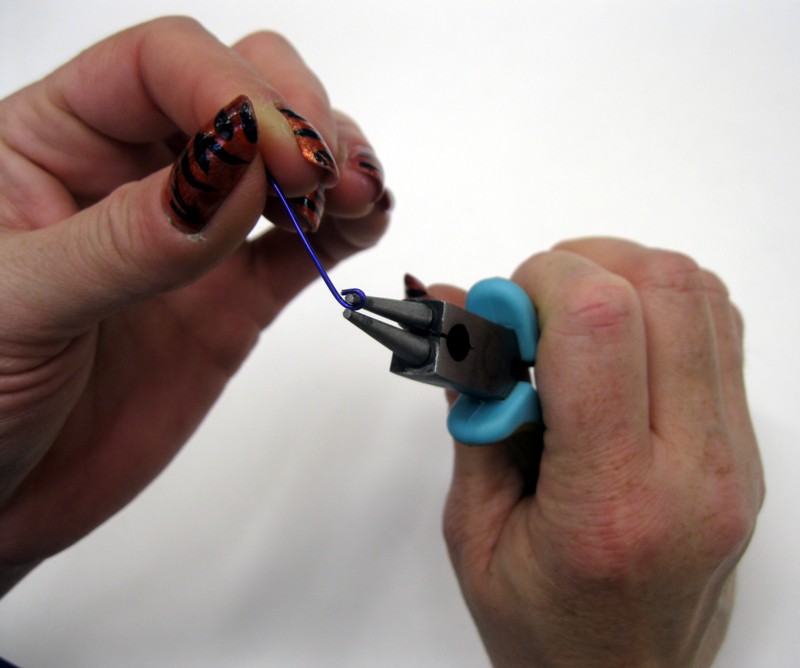
9. Turn a loop in the short end with the round-nose pliers.

10. Turn a loop at in the long end with the round-nose pliers.
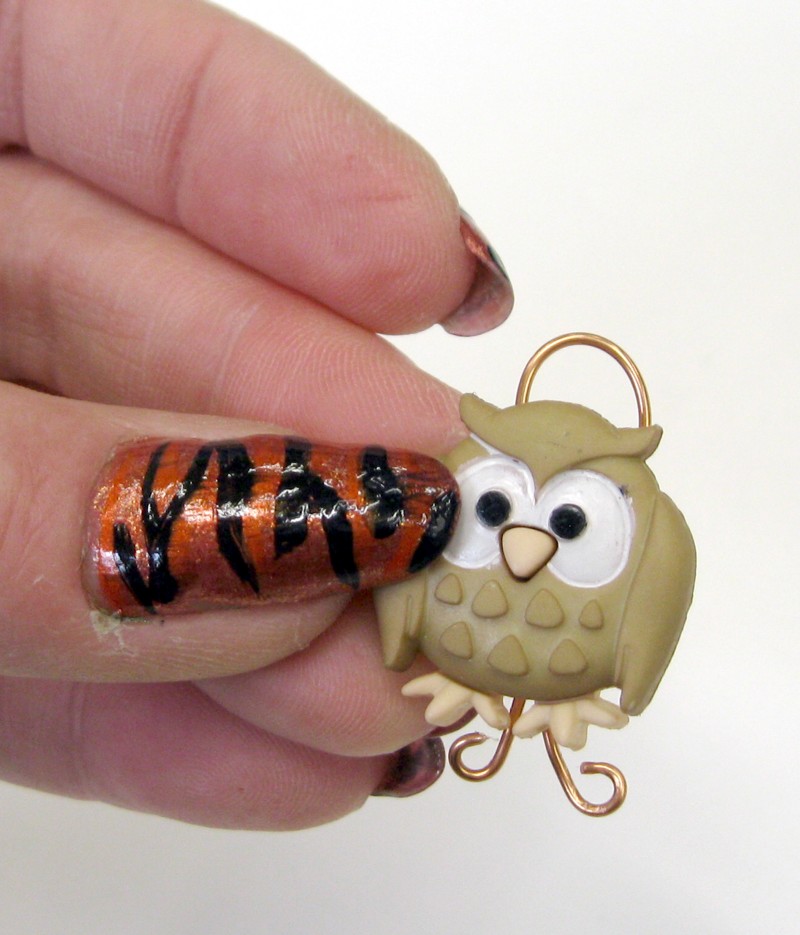
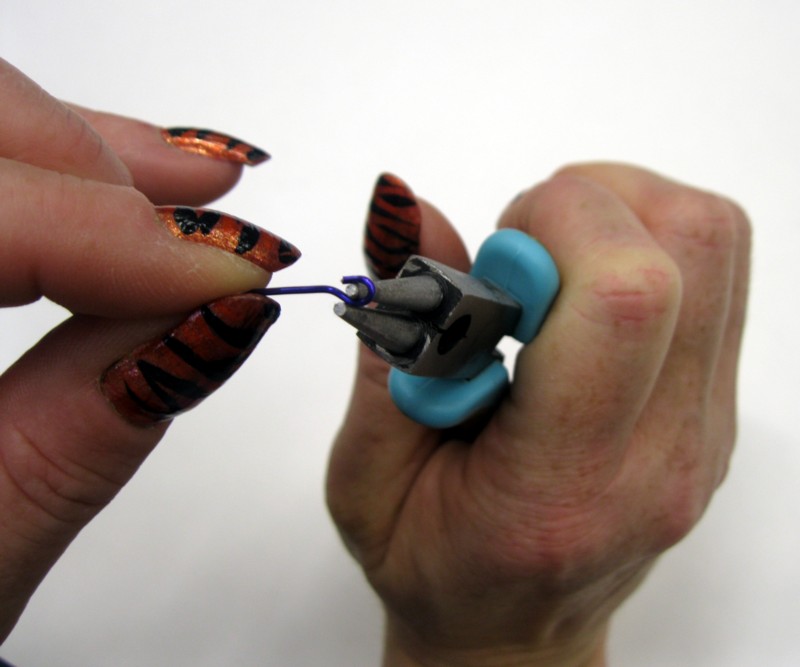
11. Grasp the loop on the long wire with the flat pliers and roll into a coil.
12. Open the loop on the earring finding with the chain-nose pliers and attach to the top of the wire loop. Close the loop on the earring finding.
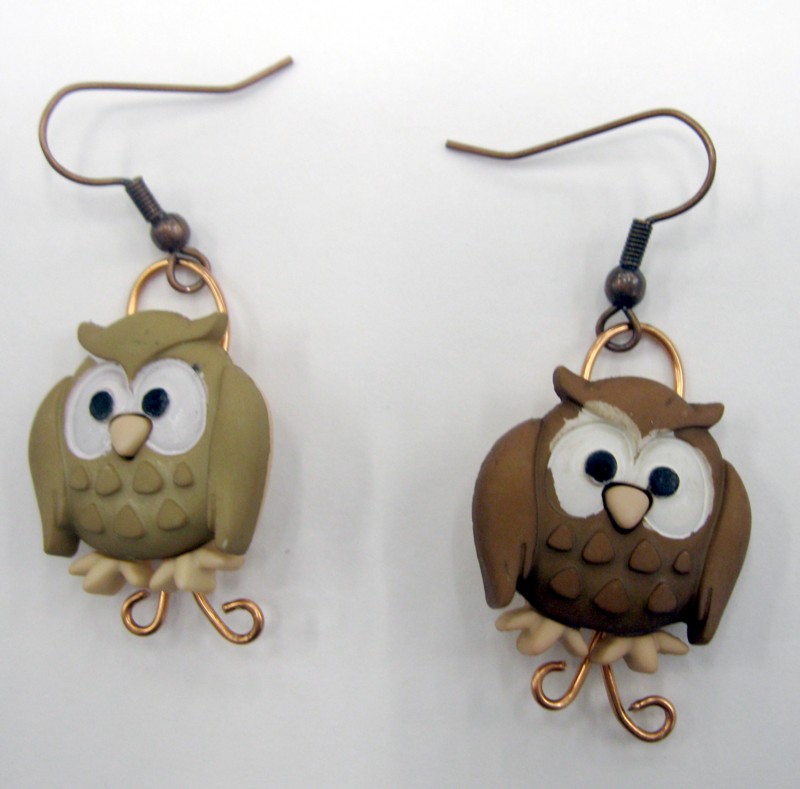
Finished!
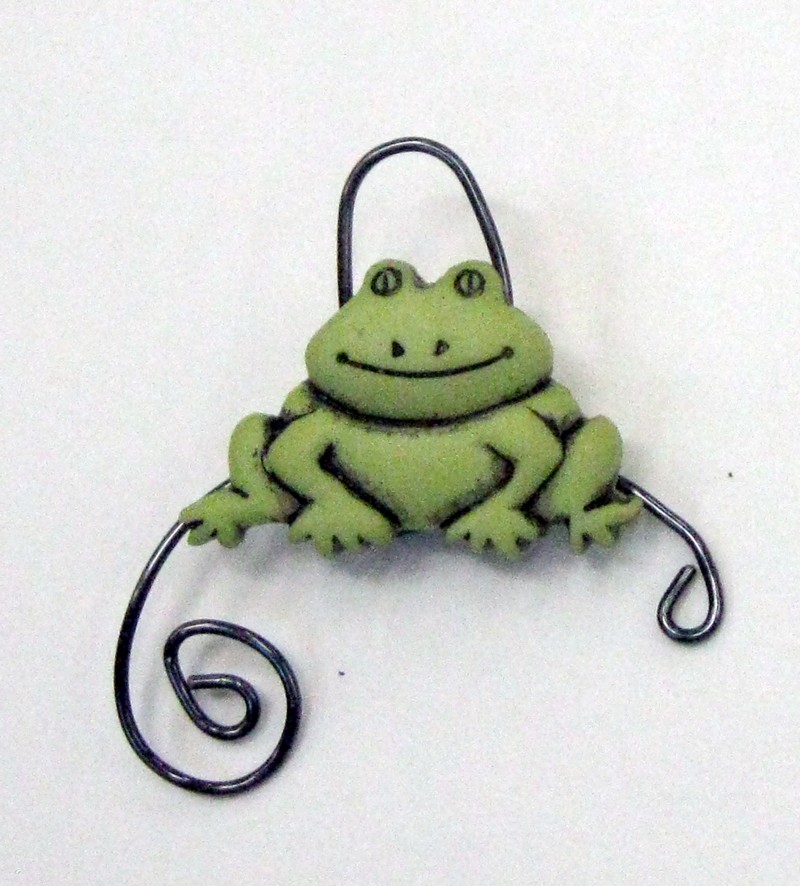
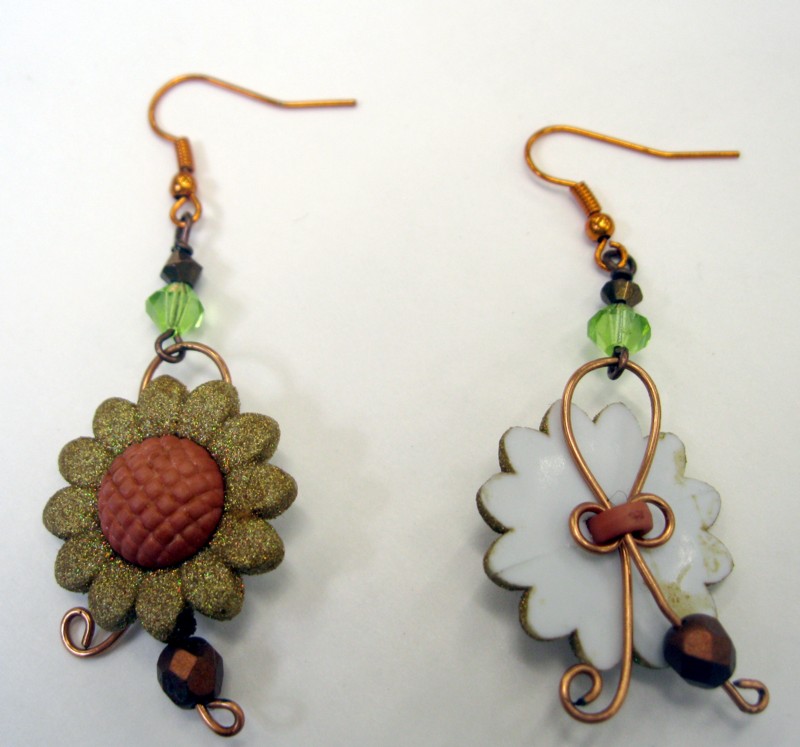
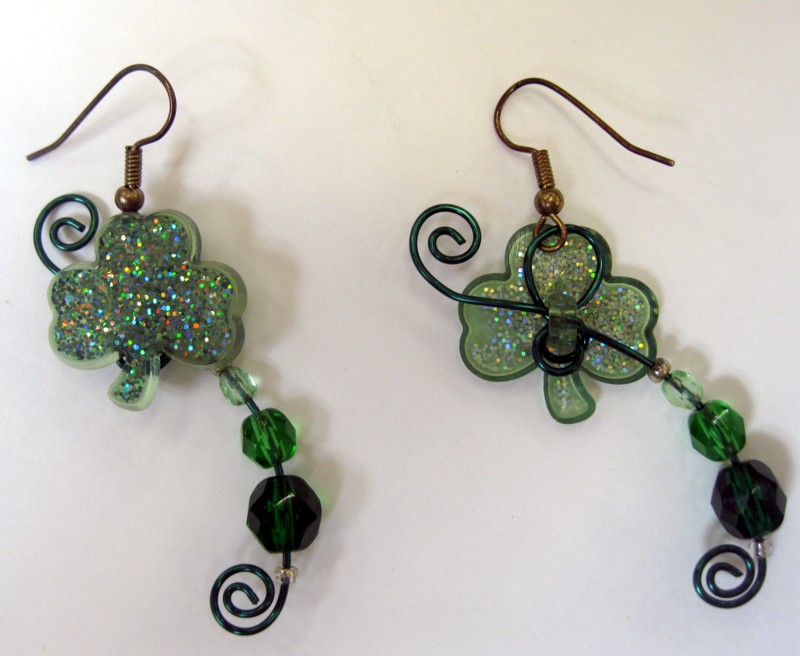
Making button earrings with beads and fancy loops:
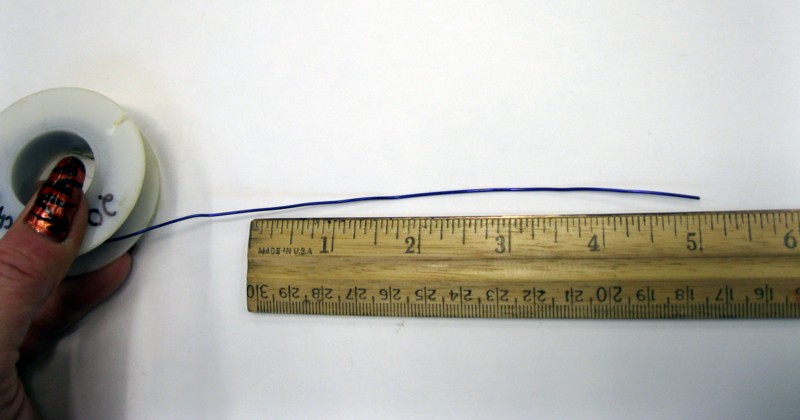
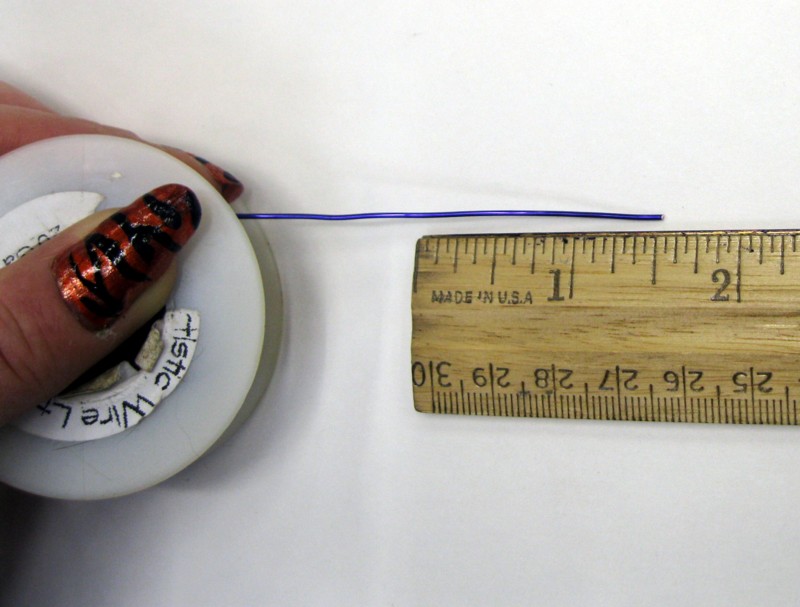
1. Cut two 5-inch lengths of wire and straighten with your fingers.


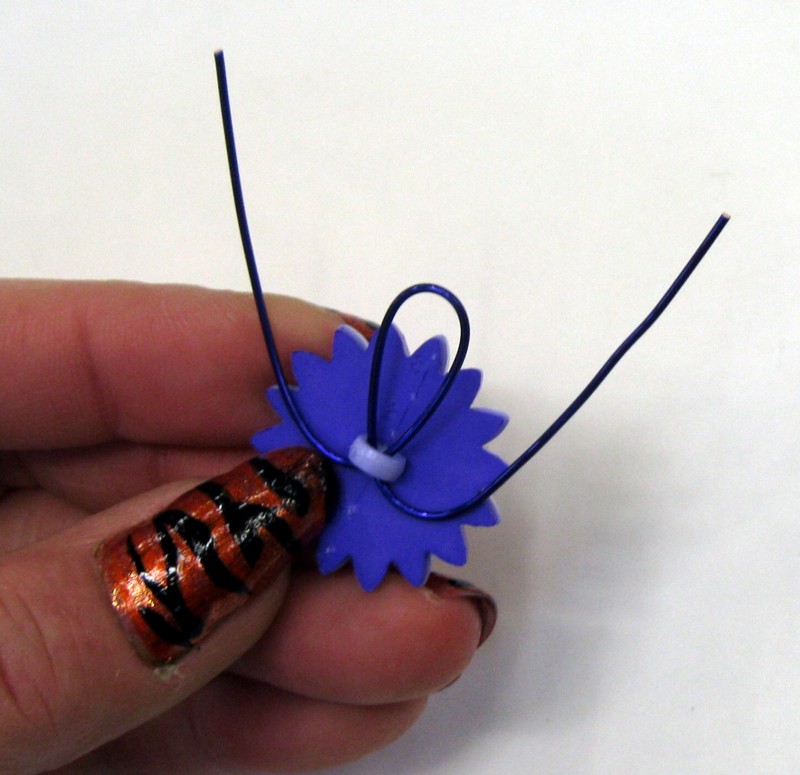
2. Bend both pieces in half.


3. Push the two ends of the wire through the button shank. The ends should cross each other as pictured.
4. Push both wire ends up.
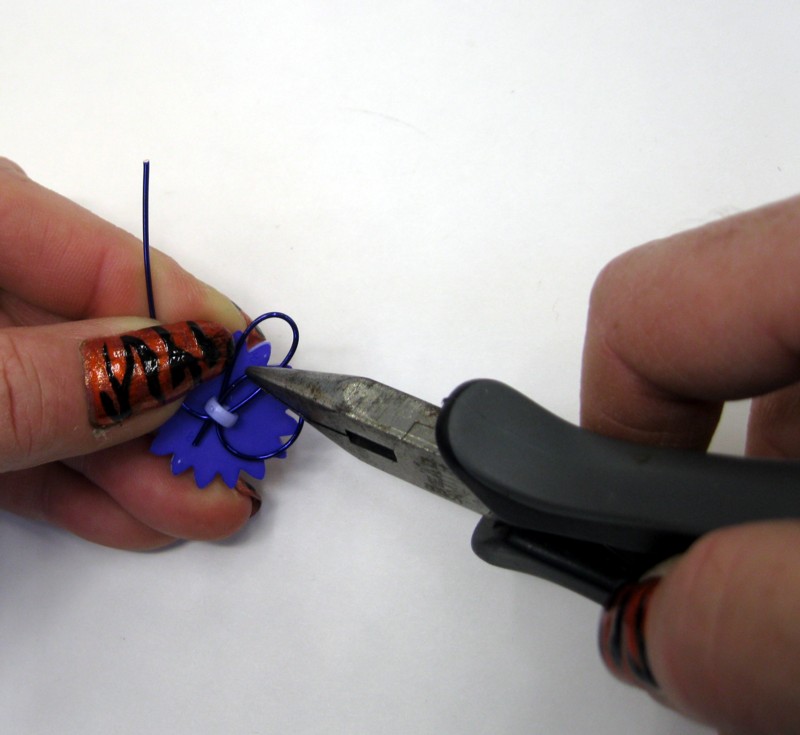
5. Hold the end of the wire and insert through the top of the shank. Pull tight. Repeat on other side.
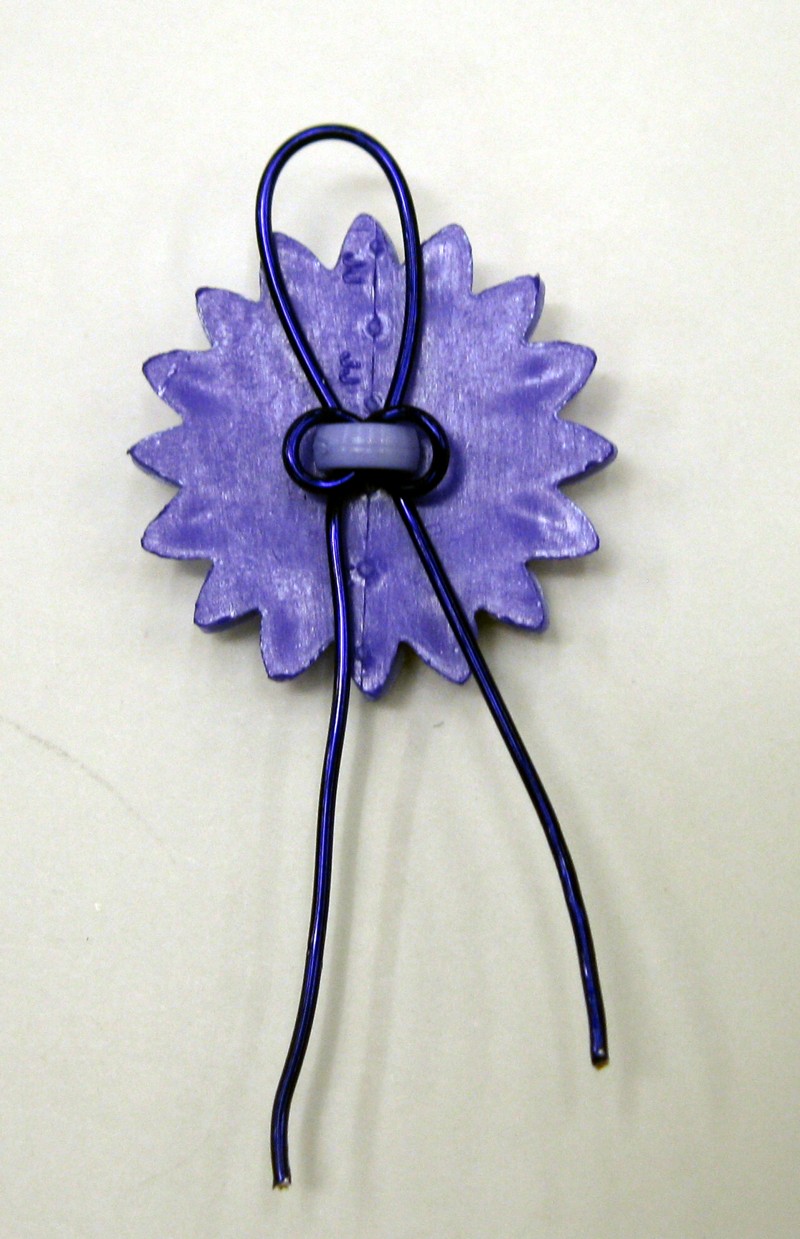
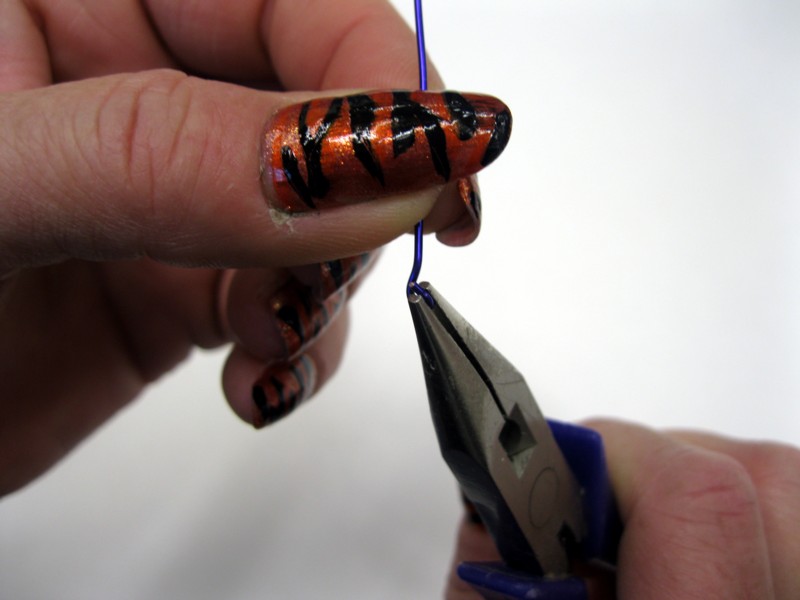
6. Turn a loop at the end of each side with the round-nose pliers.
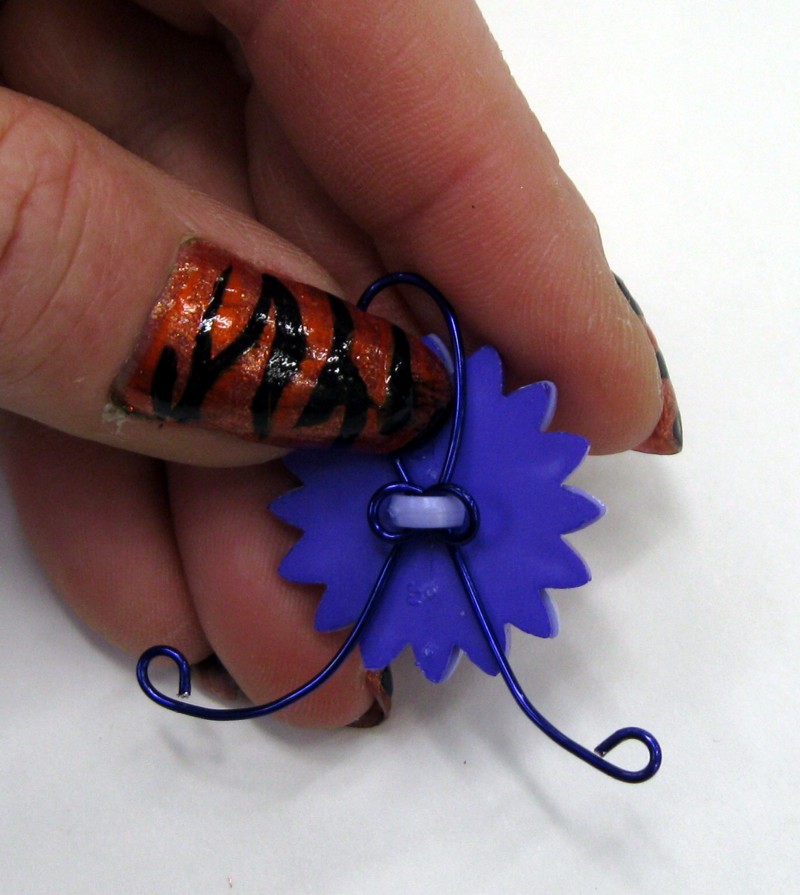
Add an extra half-turn to each loop.

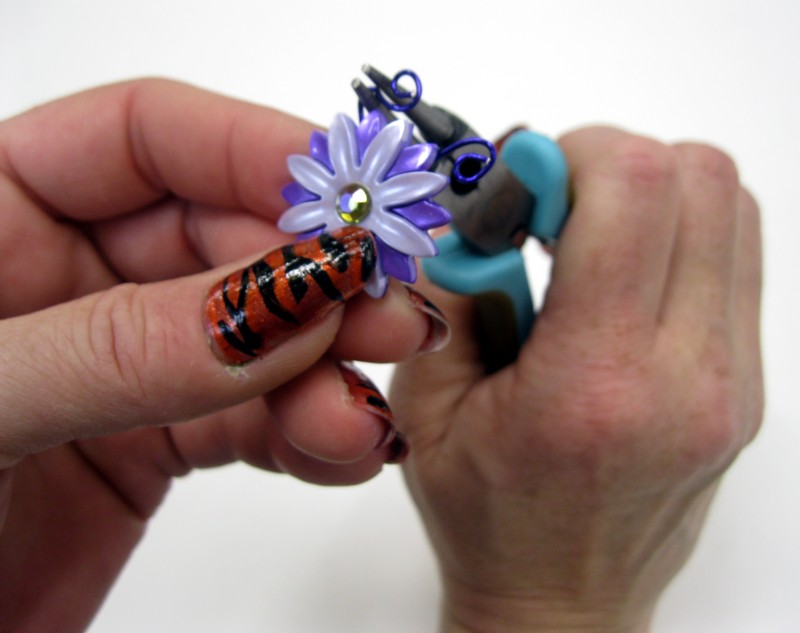
Add a few extra bends in the one side.
7. Cut a piece of wire approximately 1.5″ long.
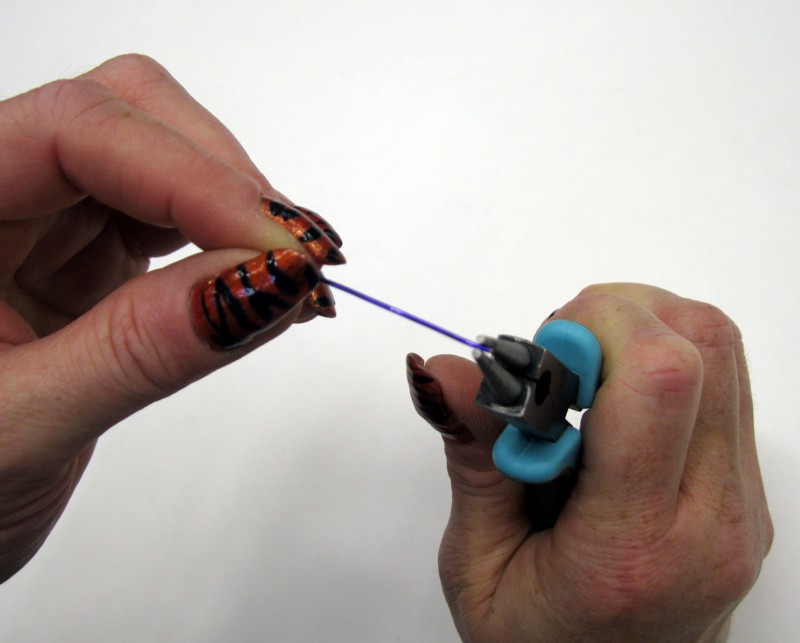
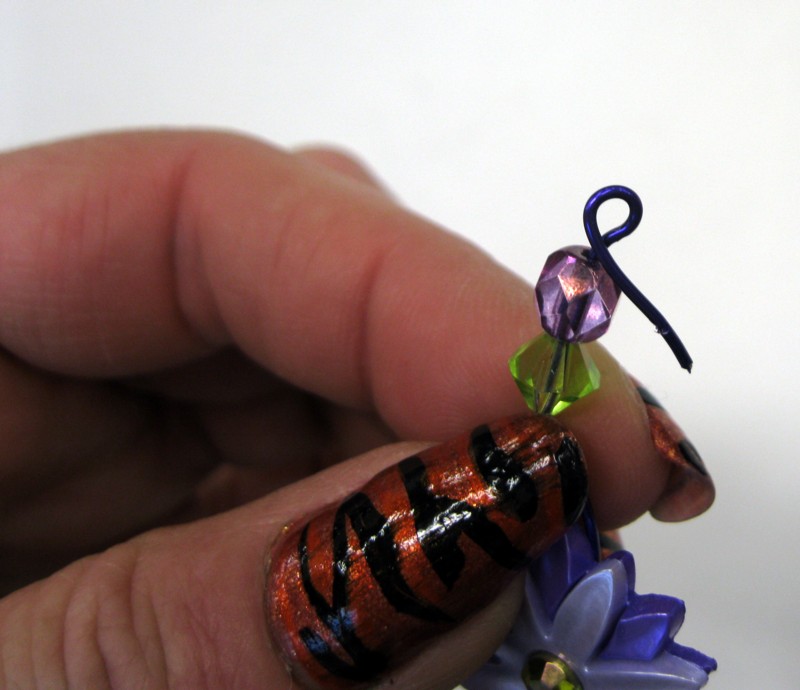
8. Turn a loop in one end with the round-nose pliers.
Put a bend at the top of the loop.
9. Open the loop with the chain-nose pliers.
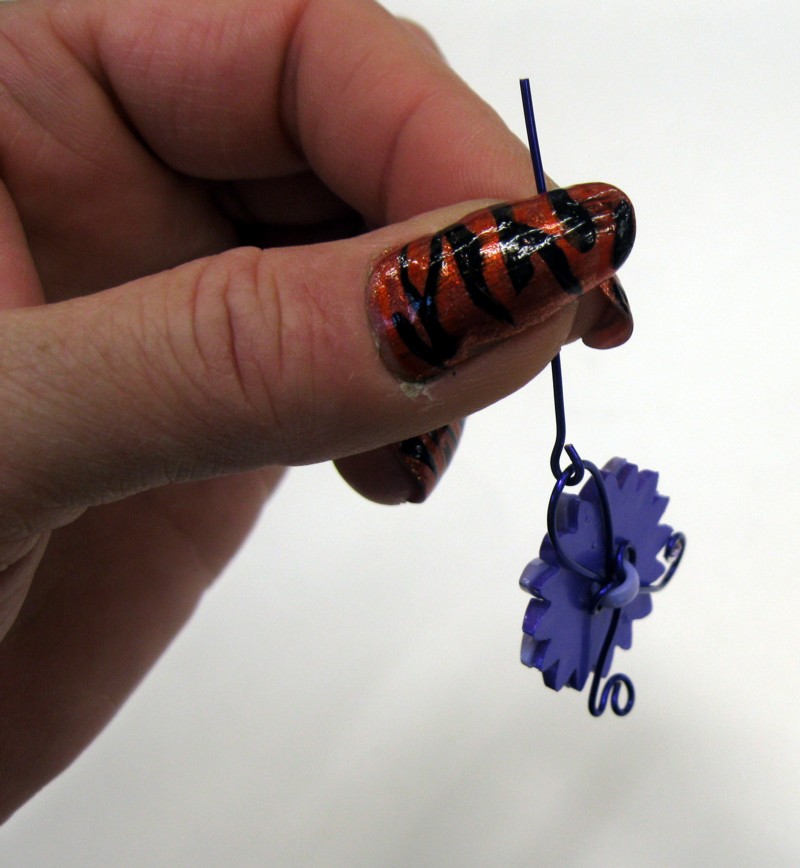
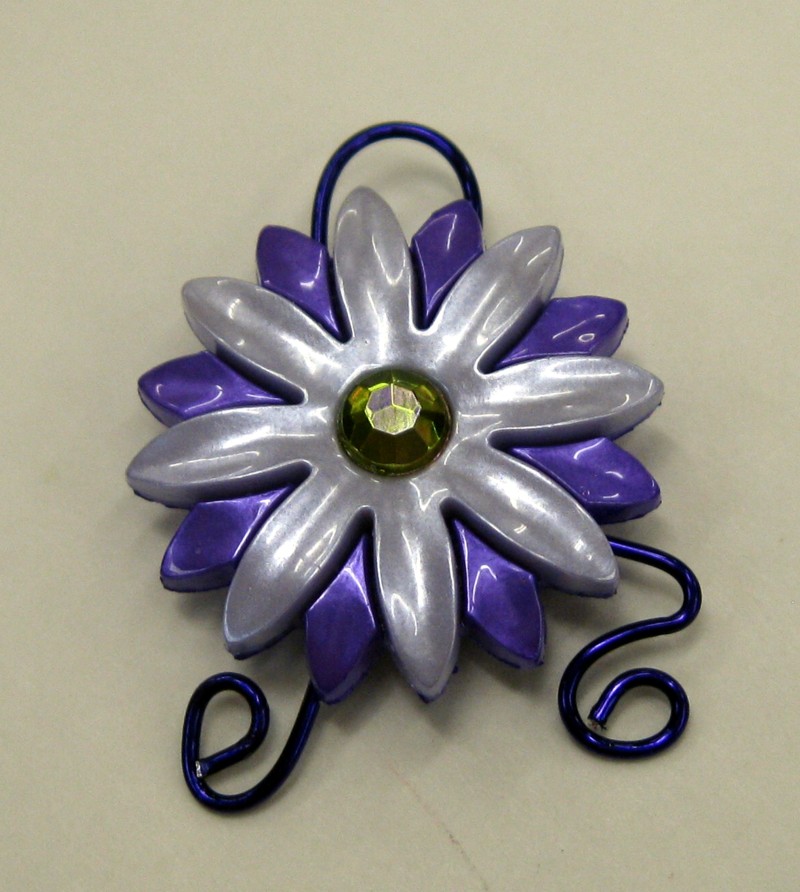
Attach the button charm and close the loop.

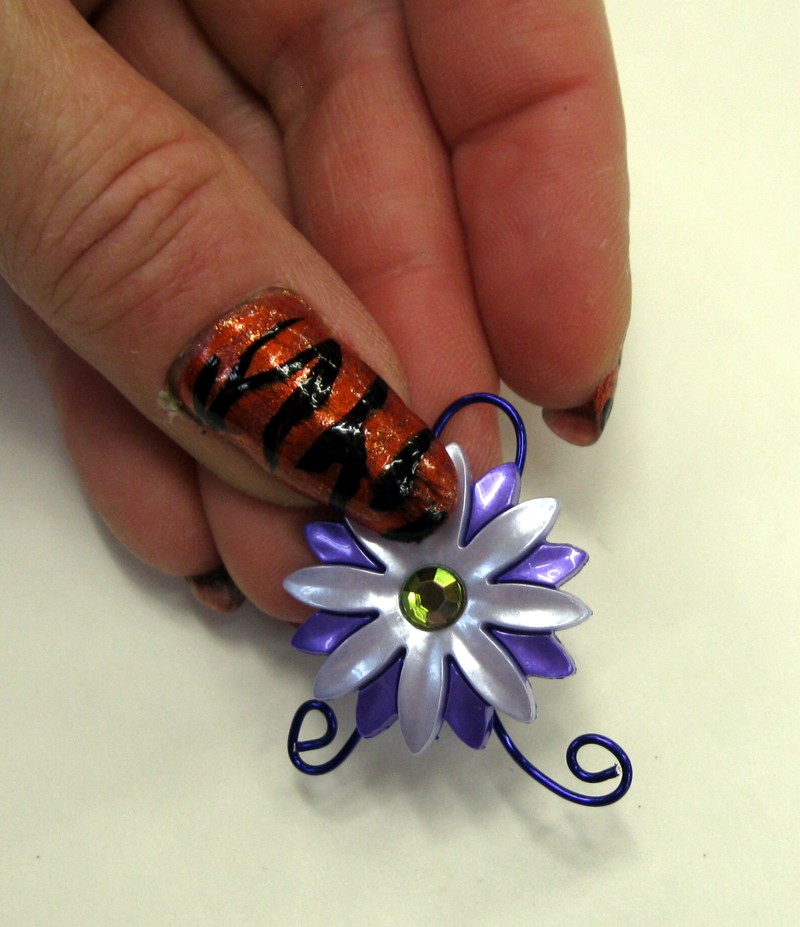
10. Add beads.
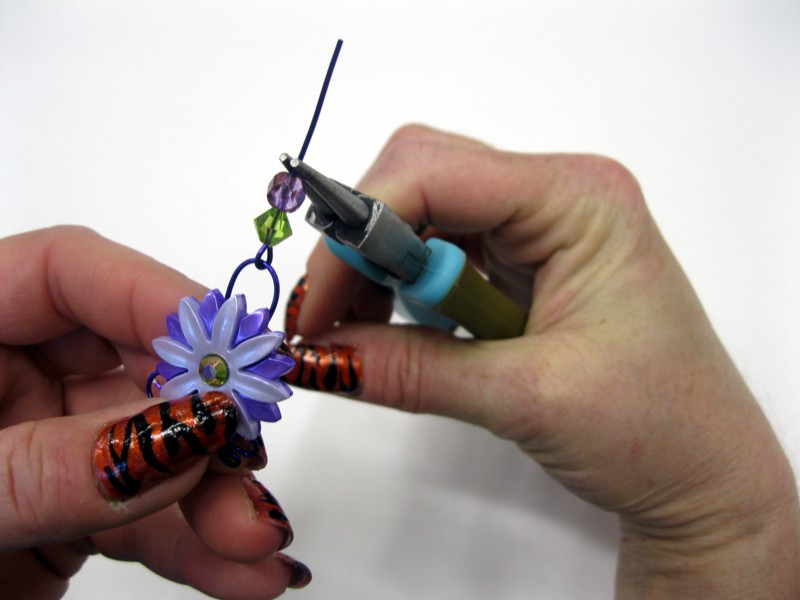
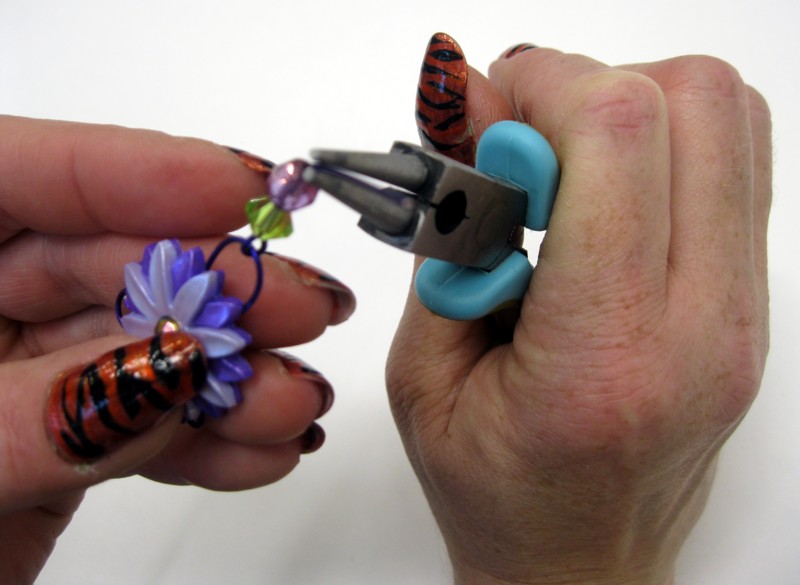
11. Make a 90-degree bend with the round-nose pliers.
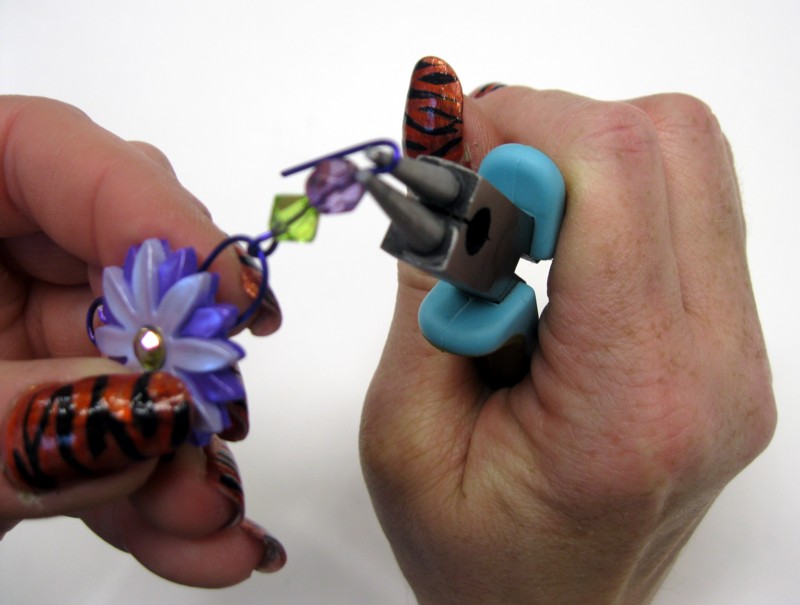
12. Turn a loop. (there may be some excess, depending on the size of your beads)
13. Cut off the excess, if any.

Open the loop on an earring finding and attach to the completed loop.
Finished!
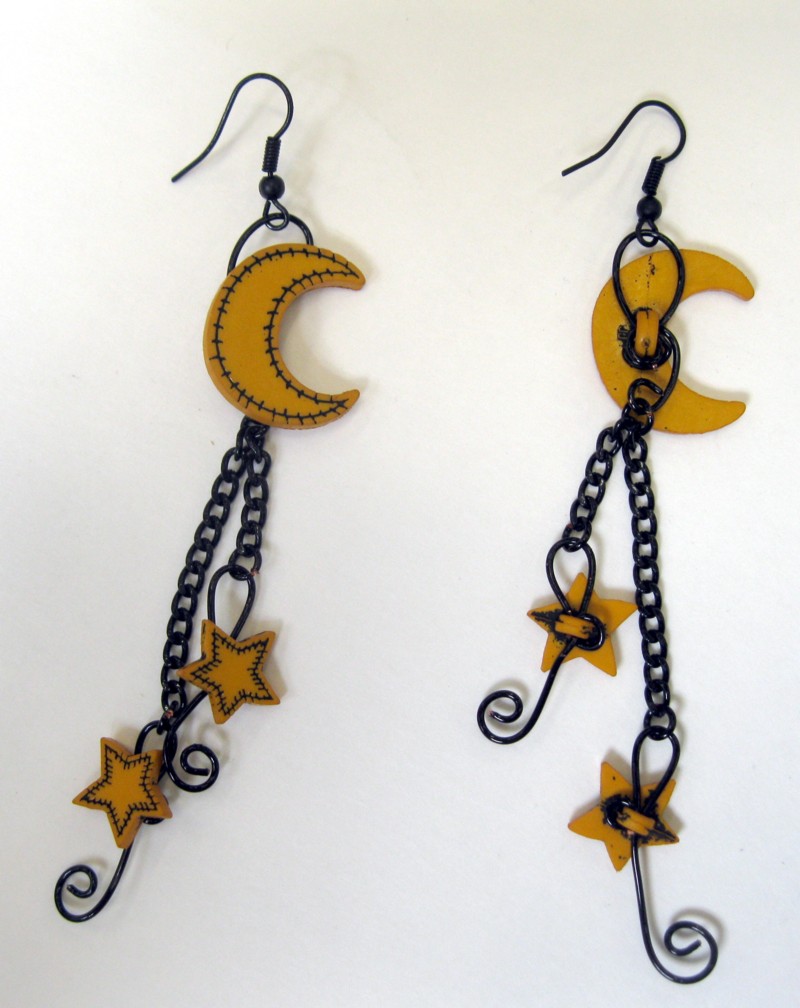
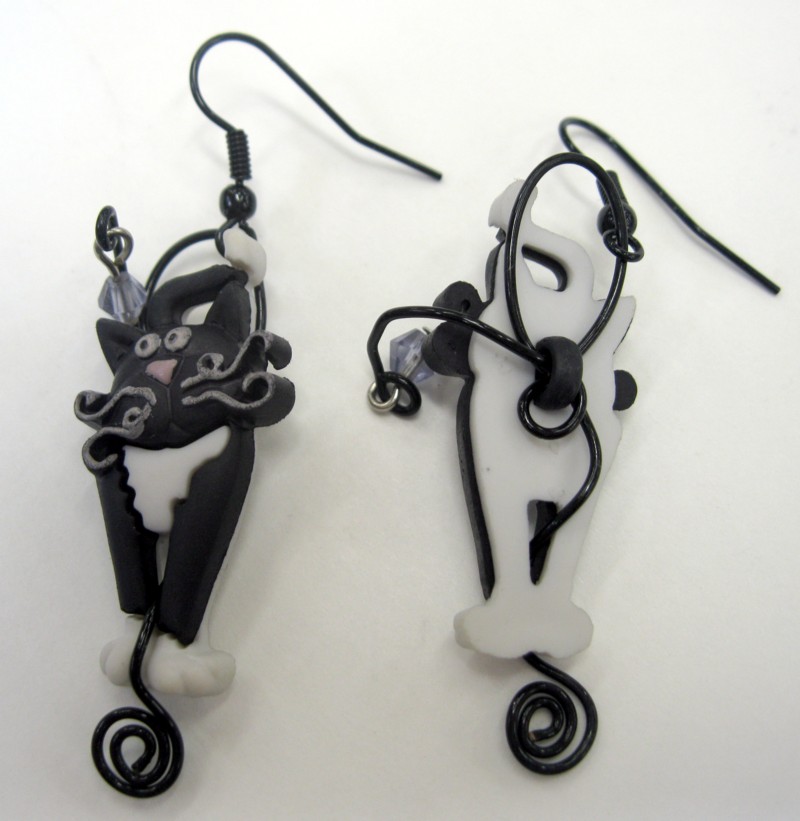
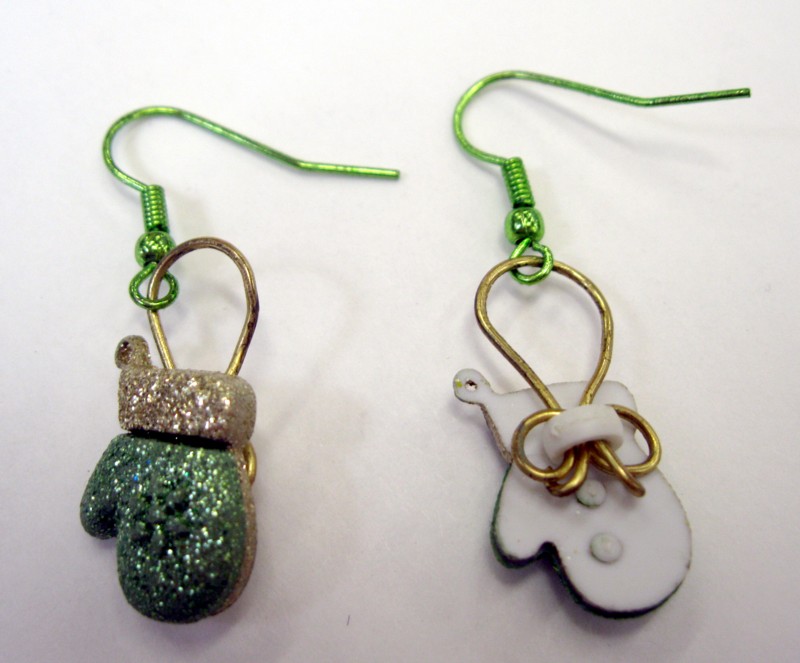
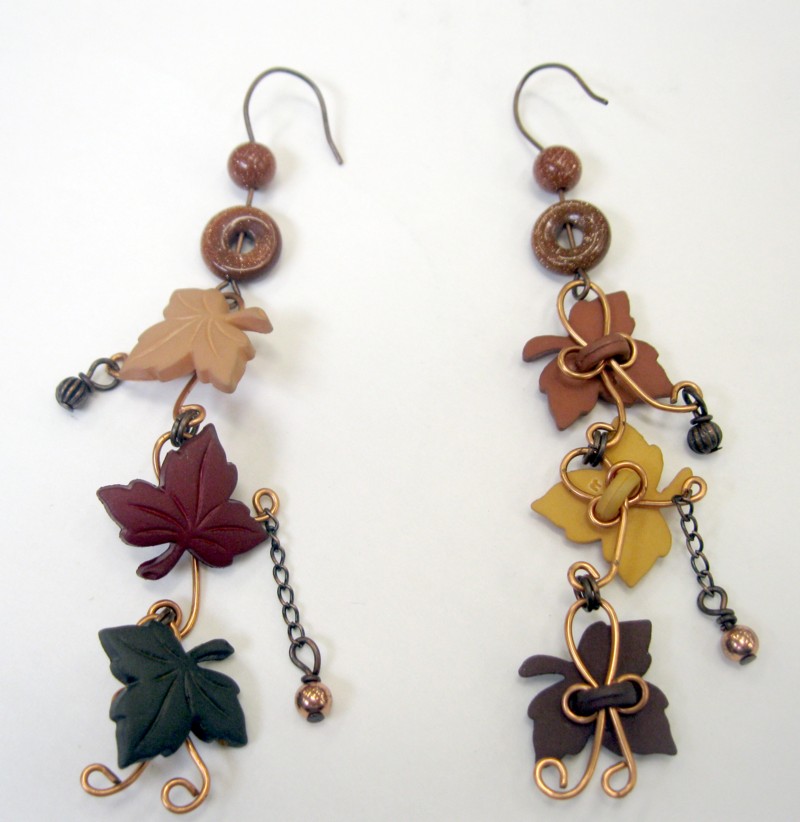
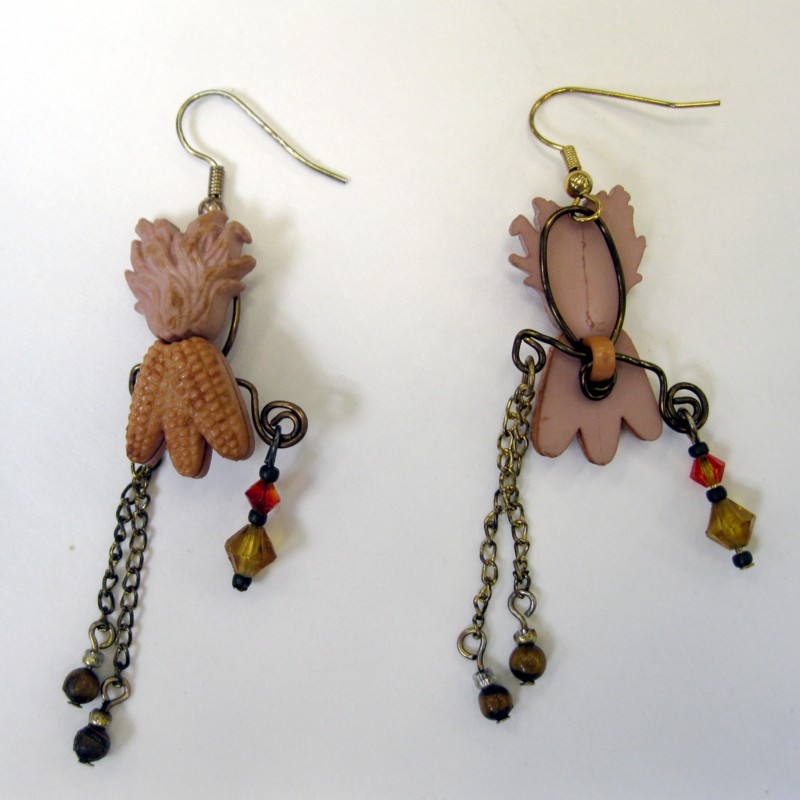
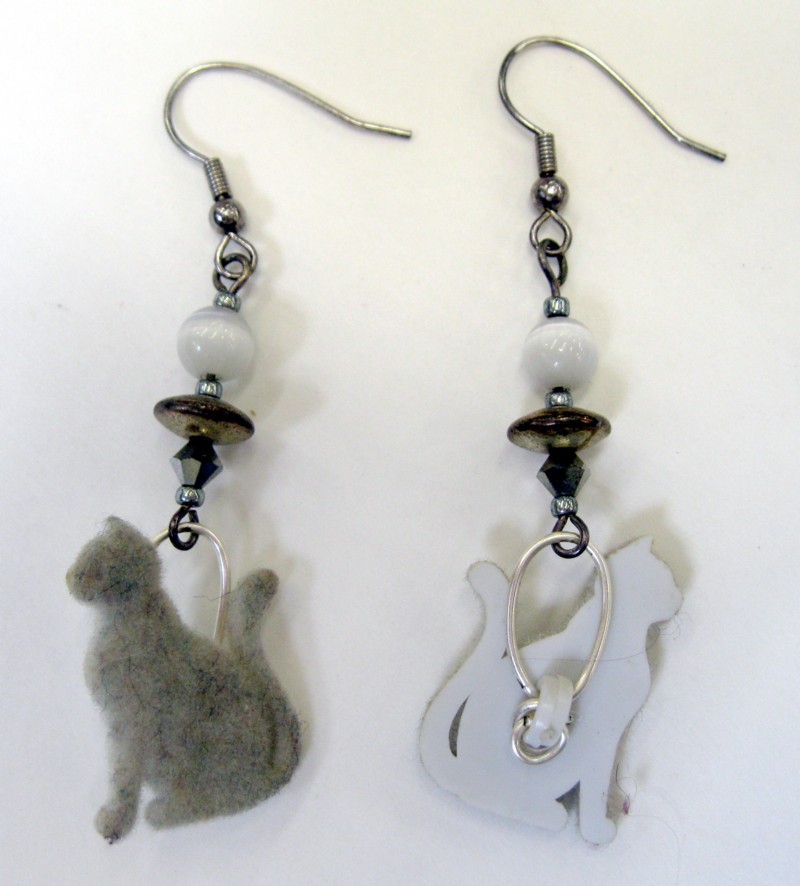
Variations:

Don’t miss a single riveting tutorial! Bookmark our tutorial page and check back on Tuesdays for new ones.
Is there a tutorial you want to see? Leave a comment!
