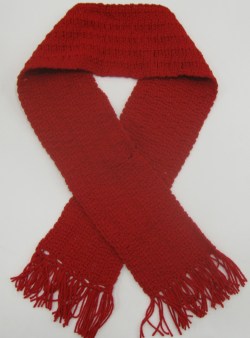
Tutorial Tuesday – A Red Scarf Pattern, and How to Apply Fringe
Welcome to this week’s Tutorial Tuesday! I’m changing things up a little this week; I’m giving you a crochet pattern. Don’t worry, it’s easy. You only need to know how to chain (abbreviated ch in many patterns) and single crochet (abbreviated sc). Here’s a handy guide if you’re a bit rusty.
Why are we making red scarves? Every year, Trillium Health (formerly AIDS Care Rochester) collects handmade red scarves to sell on World AIDS Day. Funds from the sale of these scarves help fund Trillium Health’s AIDS/HIV programs. Dan’s Crafts & Things is proud to support Trillium Health’s Red Scarf Project by being a collection site for red scarves.
How can you help? Make a red scarf (any shade of red, not just bright red); any craft is welcome – knitting, loom knitting, crocheting, sewing, weaving, etc. Bring your handmade red scarf to Dan’s Crafts & Things for collection by Thursday, November 14th.
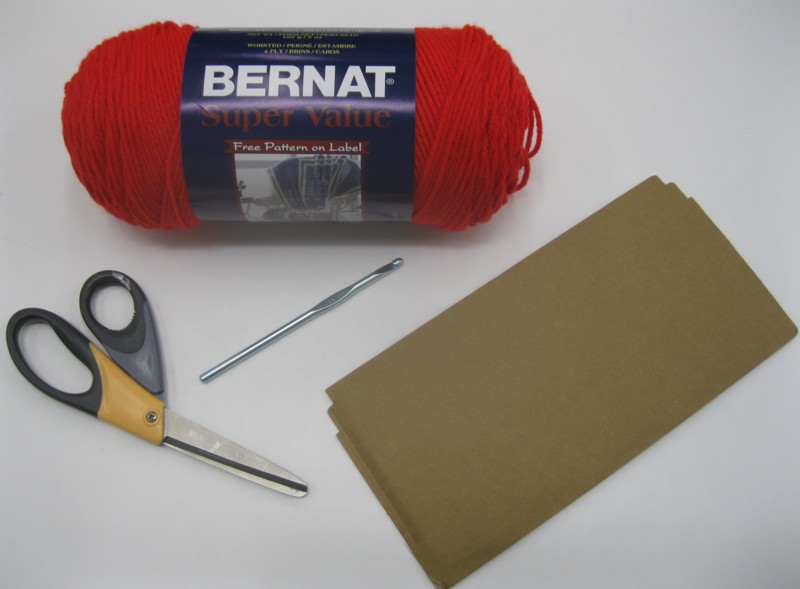
Materials:
- 1 Skein of Bernat Super Value yarn – 7 ounces/426 yards (I used Berry; Burgundy, True Red and Cherry Red are also great reds in this line)
- A size I-9 crochet hook
- Scissors
- Yarn needle
- A long piece of cardboard to make fringe (The one I used was 5″ wide)
Chain 27
Row 1: Single crochet in the second chain from the hook. Single crochet in the next chain. *Chain 3. Skip 3 chains. Single crochet in each of next two stitches. Repeat from * across the row. You should have six groups of two single crochets and five groups of chains. Chain one and turn.
Row 2: Single crochet in each of the next 2 single crochets. Chain 3. Repeat these steps across the row. Single crochet in each of the last two single crochets. Chain one and turn.
Repeat row 2 until the scarf is the desired length. Omit the last chain on the last row. Cut yarn, leaving a 6″ – 8″ tail. Pull the tail through the last loop on the hook to fasten off. Weave in ends using the yarn needle.
Adding fringe:

Wrap yarn around the cardboard.
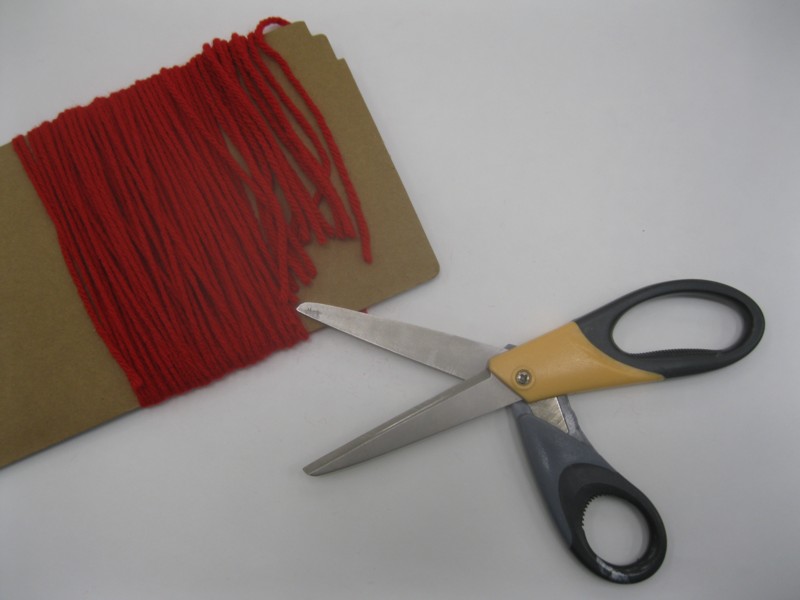
Cut yarn along one side of the cardboard.
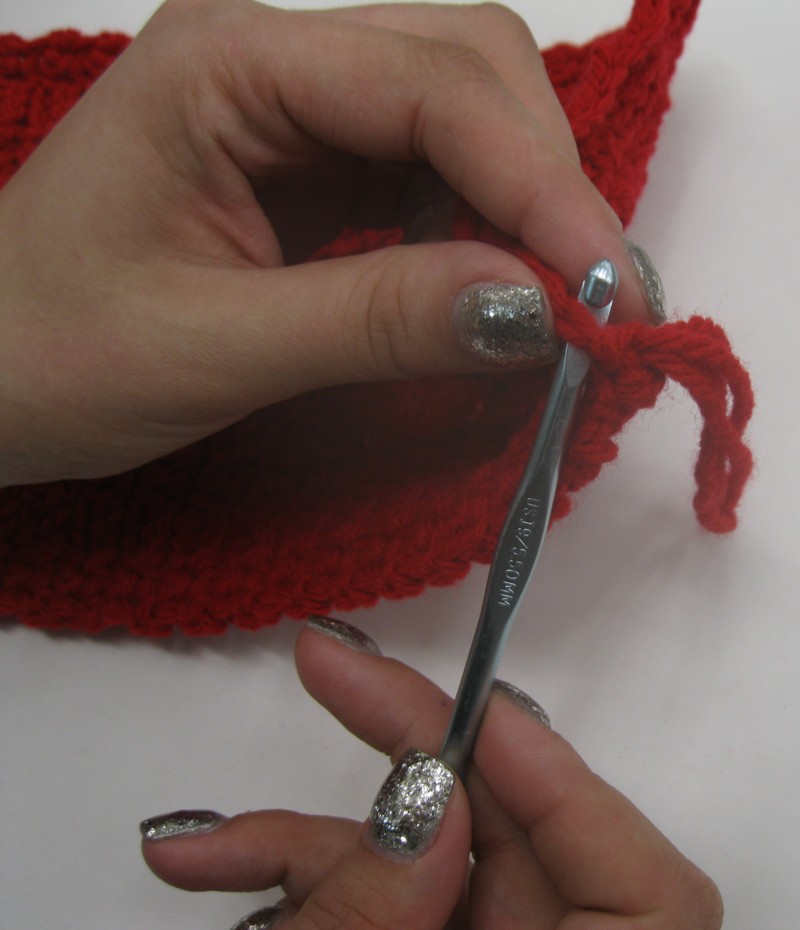
Insert crochet hook into a stitch on the end of the scarf.
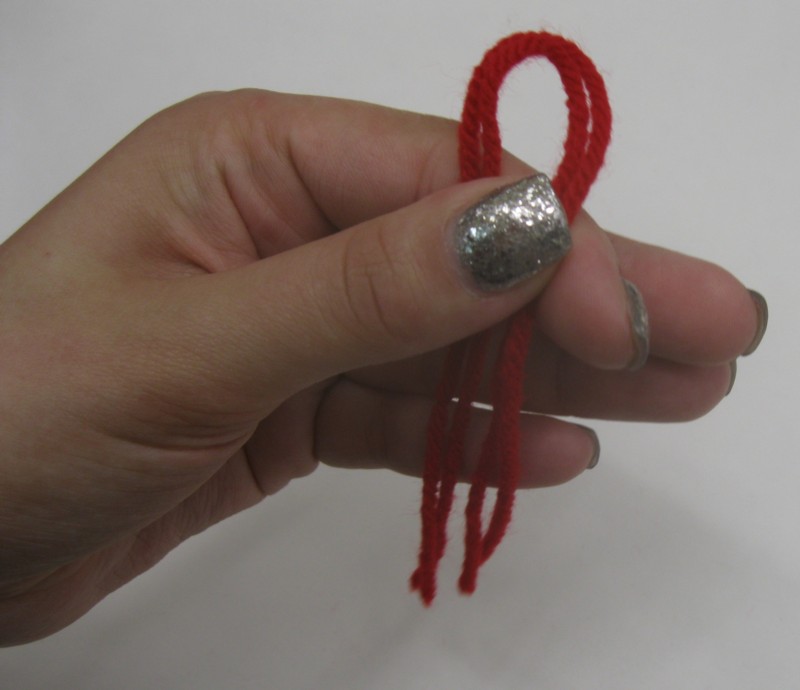
Take two pieces of yarn and fold in half.
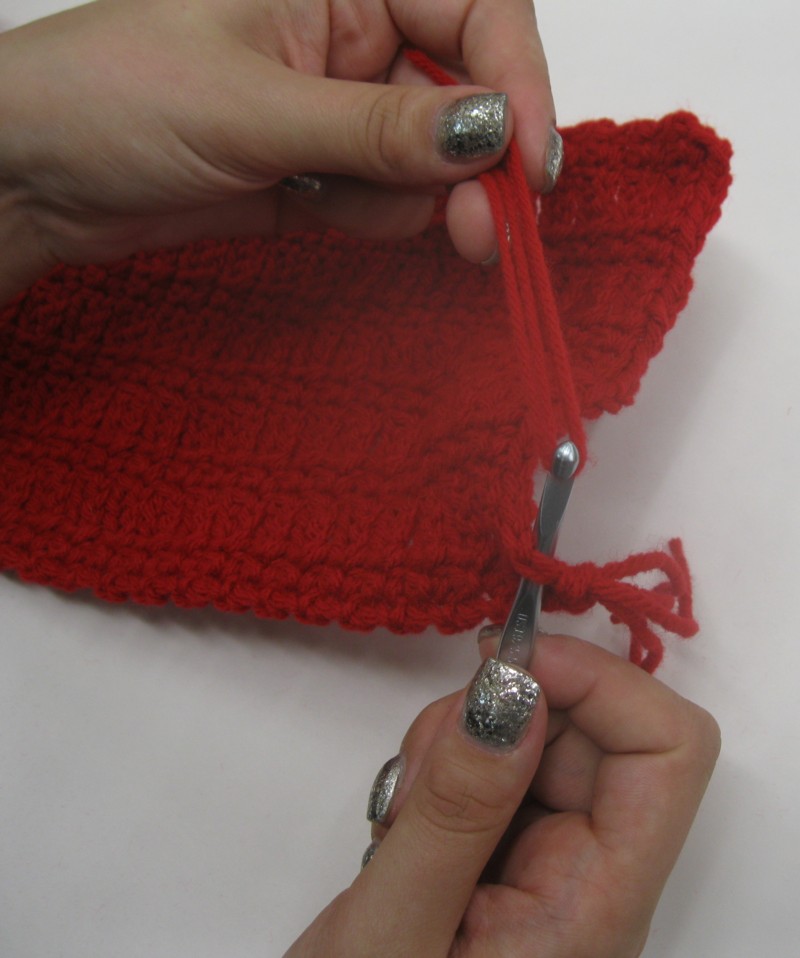
Grab middle of yarn with hook.
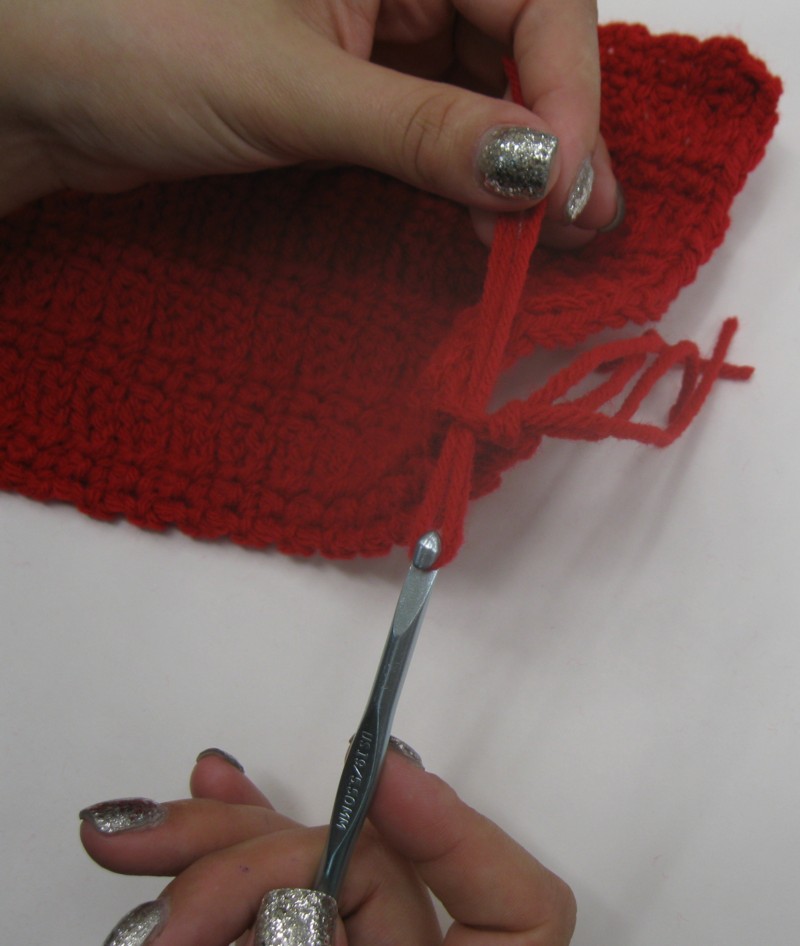
Pull yarn part way through.
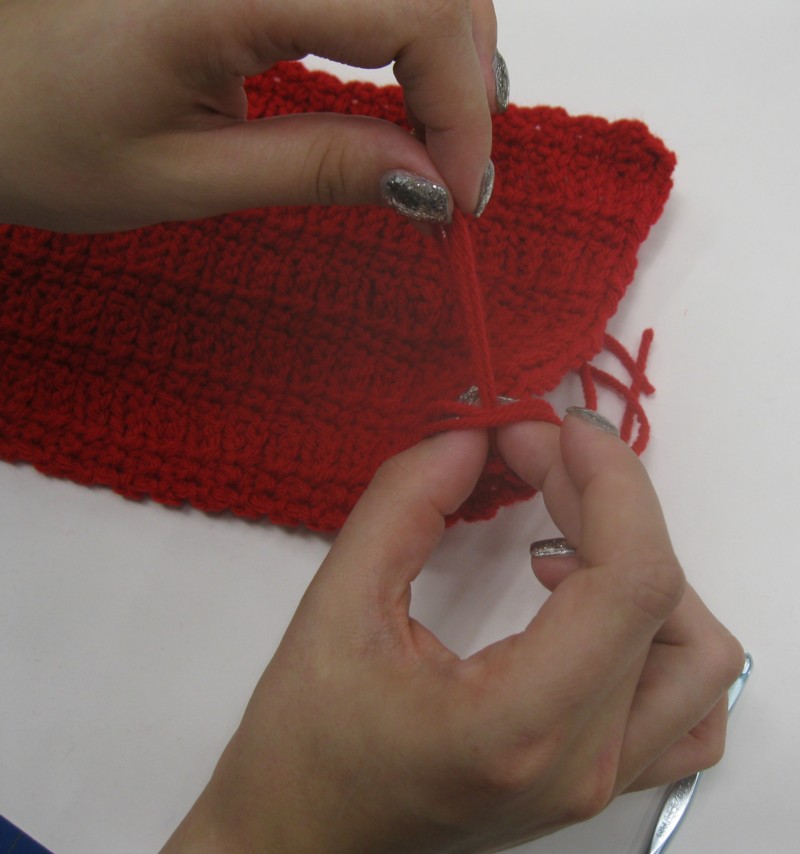
Insert fingers into loop and pull the tail through.
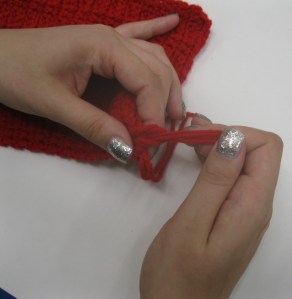
Pull tight.
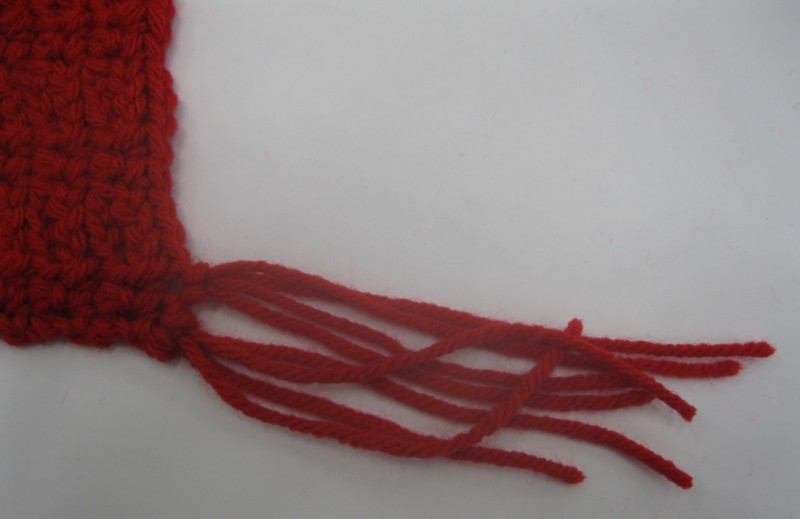
Put one group of fringe in each single crochet, and one group in the middle chain of each 3 chain group. Fringe across both ends.
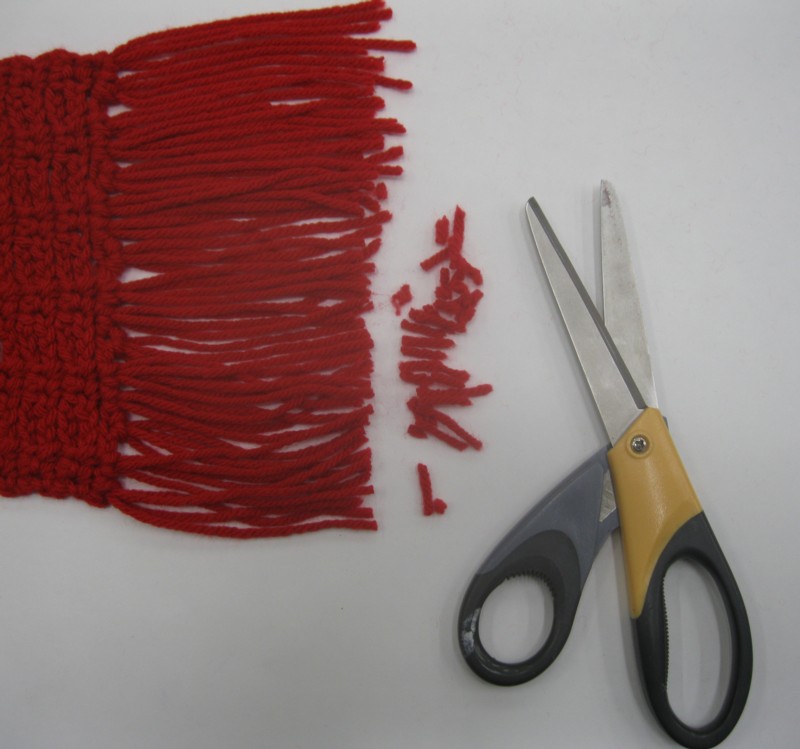
Using your scissors, trim the fringe so it’s all even.
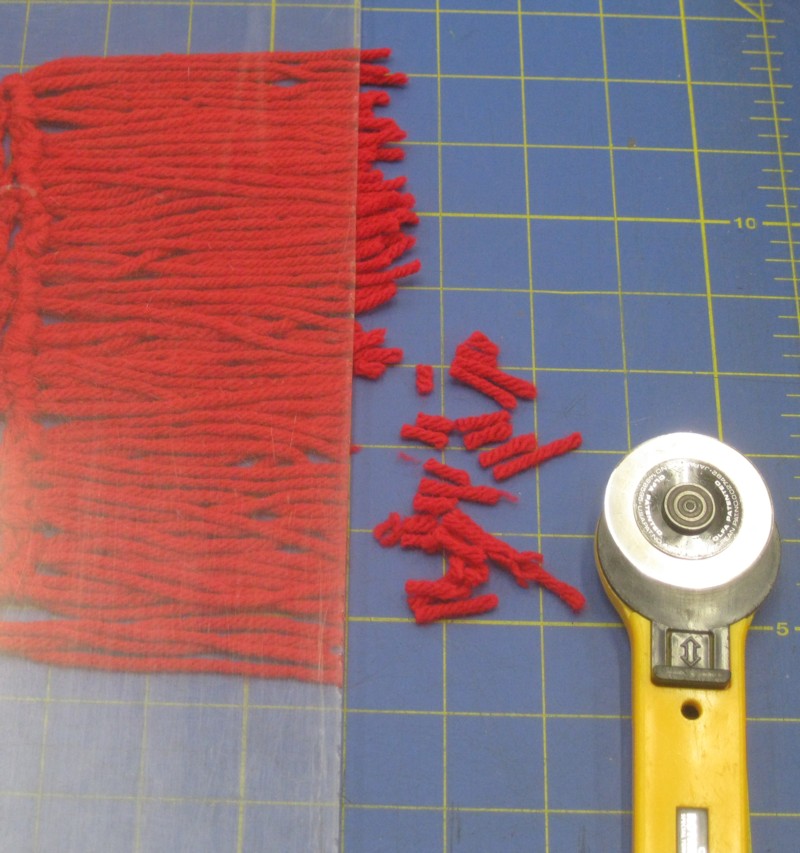
Alternately, if you have a rotary cutter, you can use it to trim the fringe very quickly.
 Finished!
Thanks to Rebecca for being my awesome hand model this week.
Don’t miss a single riveting tutorial! Bookmark our tutorial page and check back on Tuesdays for new ones.
Is there a tutorial you want to see? Leave a comment!

Trackbacks & Pingbacks