

Cupcake Feltie tutorial
Pattern by Maria
Instructions by Sue
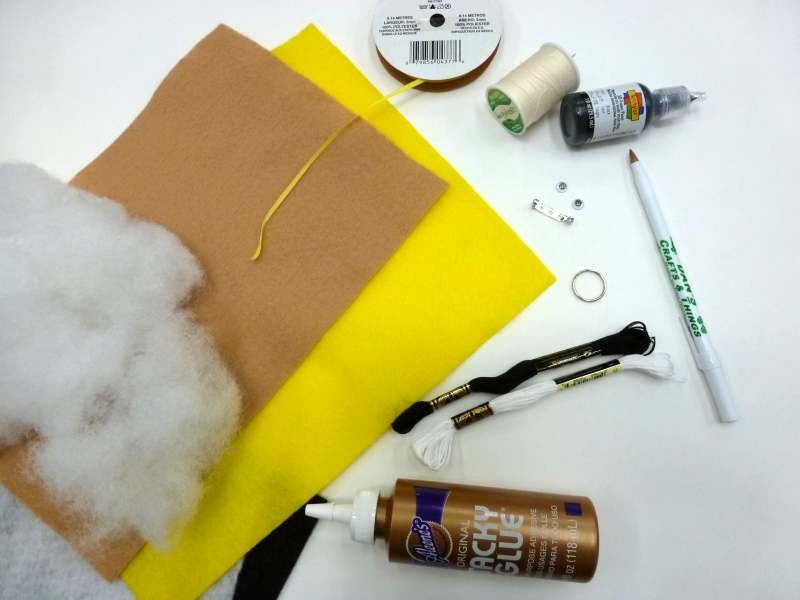
You need:
- acrylic felt in two colors (one for the cake, another for the frosting)
- thread (to match, or a light and a dark color)
- craft glue
- polyester fiberfill
- thin ribbon (1/8″ or 1/4″) (optional)
- lanyard hook, split ring keychain or sew-on pin back
- sewing needle and a few pins
- scissors (preferably with a short blade and pointy tips)
- ball-point pen
- a variety of embellishments for the features, such as small bits of felt in different colors, embroidery floss, beads, buttons, rhinestones, sequins, dimensional fabric paint, safety or googly eyes, etc.
1. Print out the cupcake patern – choose the ‘landscape’ orientation under ‘page setup.’ Cut out pattern.

2. Trace the cupcake top on frosting-colored felt – the side you trace on will be the back of the piece. If cutting out two tops, flip the pattern before tracing the second top. Cut out on the pen line.


3. Trace the cupcake bottom on cake-colored felt. If cutting out two bottoms, there is no need to flip the pattern. If you’re using a solid-color back, cut that out of the cake-colored felt as well.

4. Place top on bottom, right sides out and overlapping about 1/4″. Pin the pieces together.


If using solid-color back, line pieces up with back before sewing.

5. Sew the pieces together along the bottom of the frosting, with either a whipstitch or blanket stitch.
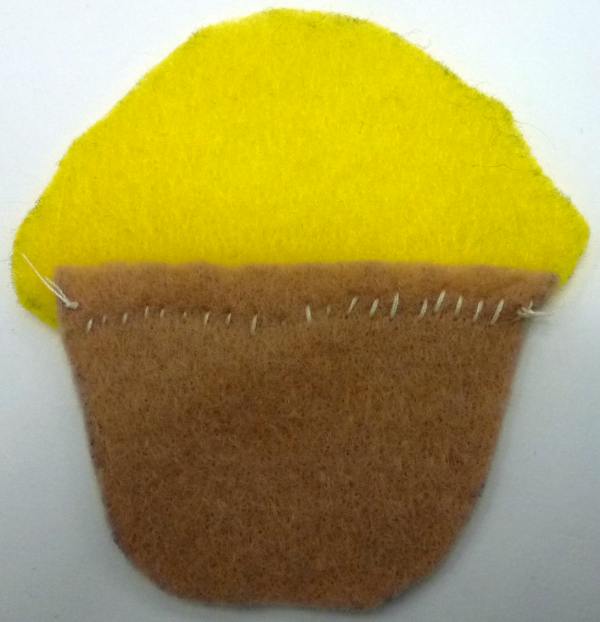


6. Place finished front right-side down and line back pieces up with front. Pin top and bottom together and sew as in step 5. Omit this step if using plain-colored back.

7. If you are sewing on embellishments to the front (buttons, beads, embroidery, felt) or using safety eyes, do so now. Clean up edges, removing fuzz and leftover pen lines now, as well.

Trim excess felt from the back of each piece.

8. To make the optional ribbon hanger, cut a 2″ piece of ribbon. Sew together near the ends. Seal the ribbon ends with glue.

9. Put the front and back together with wrong sides together. Sew around with whipstitch or blanket stitch, starting with the frosting. If you are using the ribbon hanger, insert hanger at desired spot and sew through both layers of felt and ribbon several times to secure.


Continue sewing around the outside of cupcake until you’re about an inch away from where you started. Stuff (but do not overstuff) and continue sewing around. Tie off.


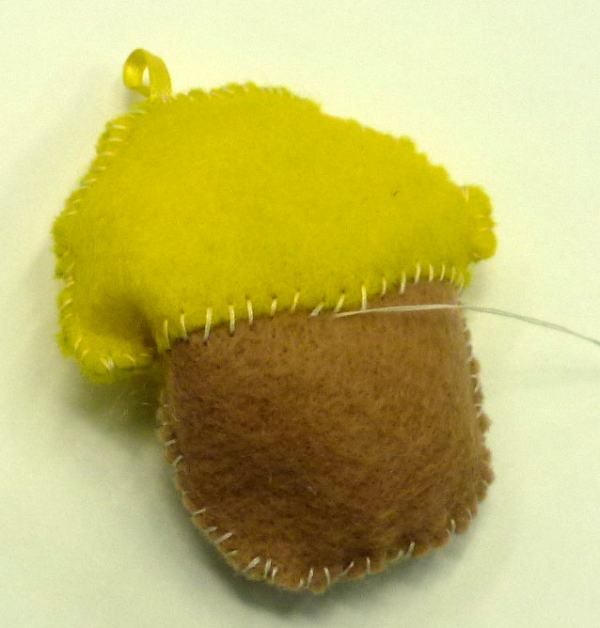

10. Poke the needle into the seam and push until it comes out the middle of the back of the cupcake. Pull thread until the edge starts to pull in. Cut thread and push piece back into shape until the thread disappears. This buries your thread end inside your feltie.

11. Embellish with fabric paints and attach anything requiring glue. Let dry.
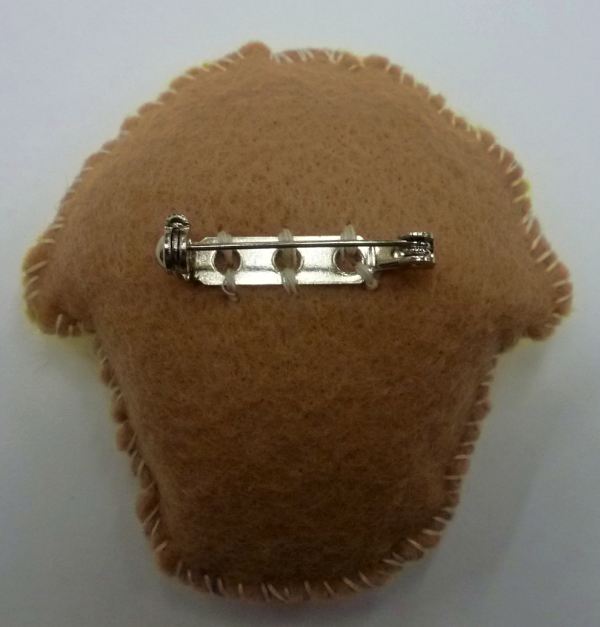
12. If you are using the ribbon hanger, attach a split ring or lanyard hook. If you are using a pin back, sew it on the back, about one-third of the way down.
Examples:

Felt eyes (in pattern) with dimensional fabric paint sprinkles, mouth, and eye details.

Eyes and frosting details embroidered with variegated floss. Mouth embroidered with solid floss.

Button eyes. Felt moustache (in pattern). I made the cherry by tracing the end of a small thread spool and cutting two from felt. Line up and sew cherry to tops during steps 4 and 6. Brown ribbon hanger is then inserted in cherry and sewn through in step 9.

Zombie cupcake! Felt eyes (white eye from pattern, black eye cut freehand) Embroidered eye gore. The bite was cut freehand from the frosting before assembly. Fabric paint mouth, teeth, eye detail and gore.

Felt eyes from pattern, felt mouth cut freehand. Fabric paint eye details.

Fabric paint eyes and mouth.
Remember, Dan’s will be open Monday, September 2nd from 10am until 2pm in observance of Labor Day. Please plan your holiday craft and hobby needs accordingly.
Have a very safe and happy Labor Day!

Regular Store Hours:
Monday, Wednesday & Friday 10am-6pm
Tuesday & Thursday 10am-8pm
Saturday 10am-5pm
Sunday 12noon-5pm
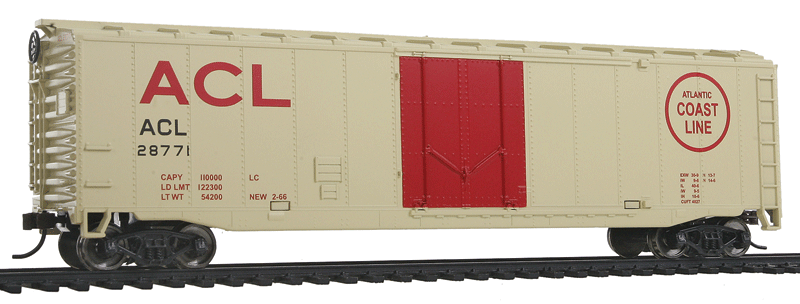
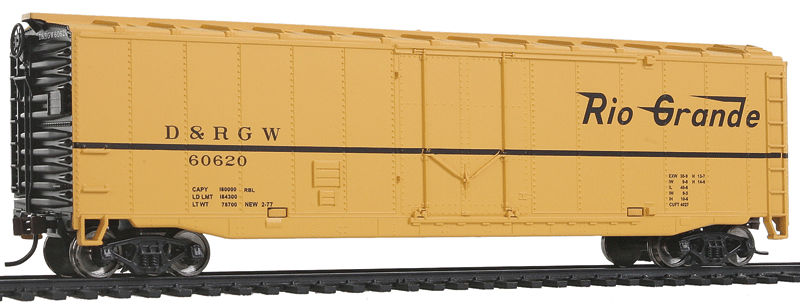
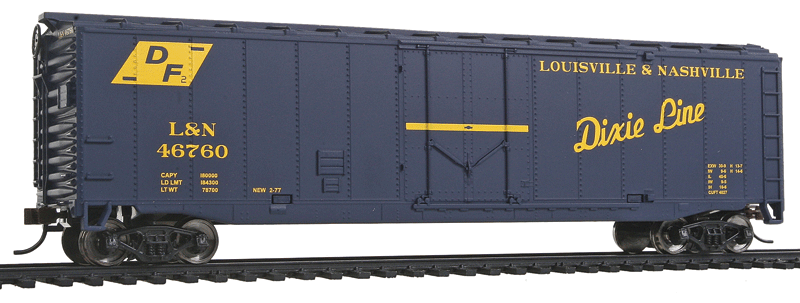
More new items keep arriving in our HO Scale Trains area. Here are some of our recent additions:


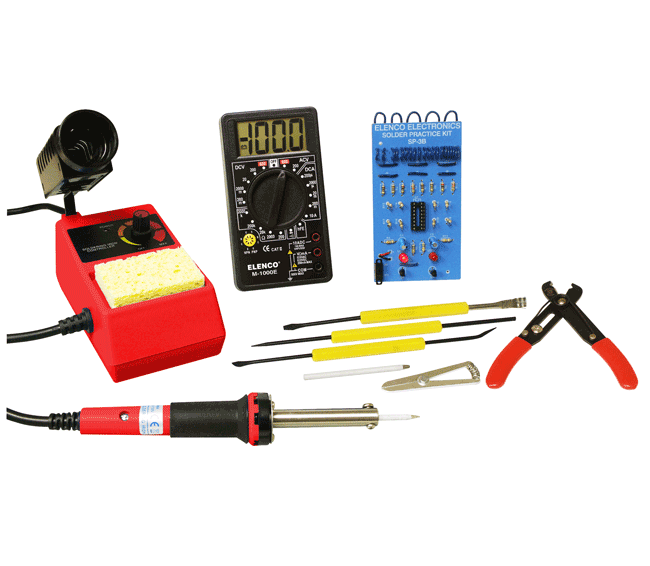
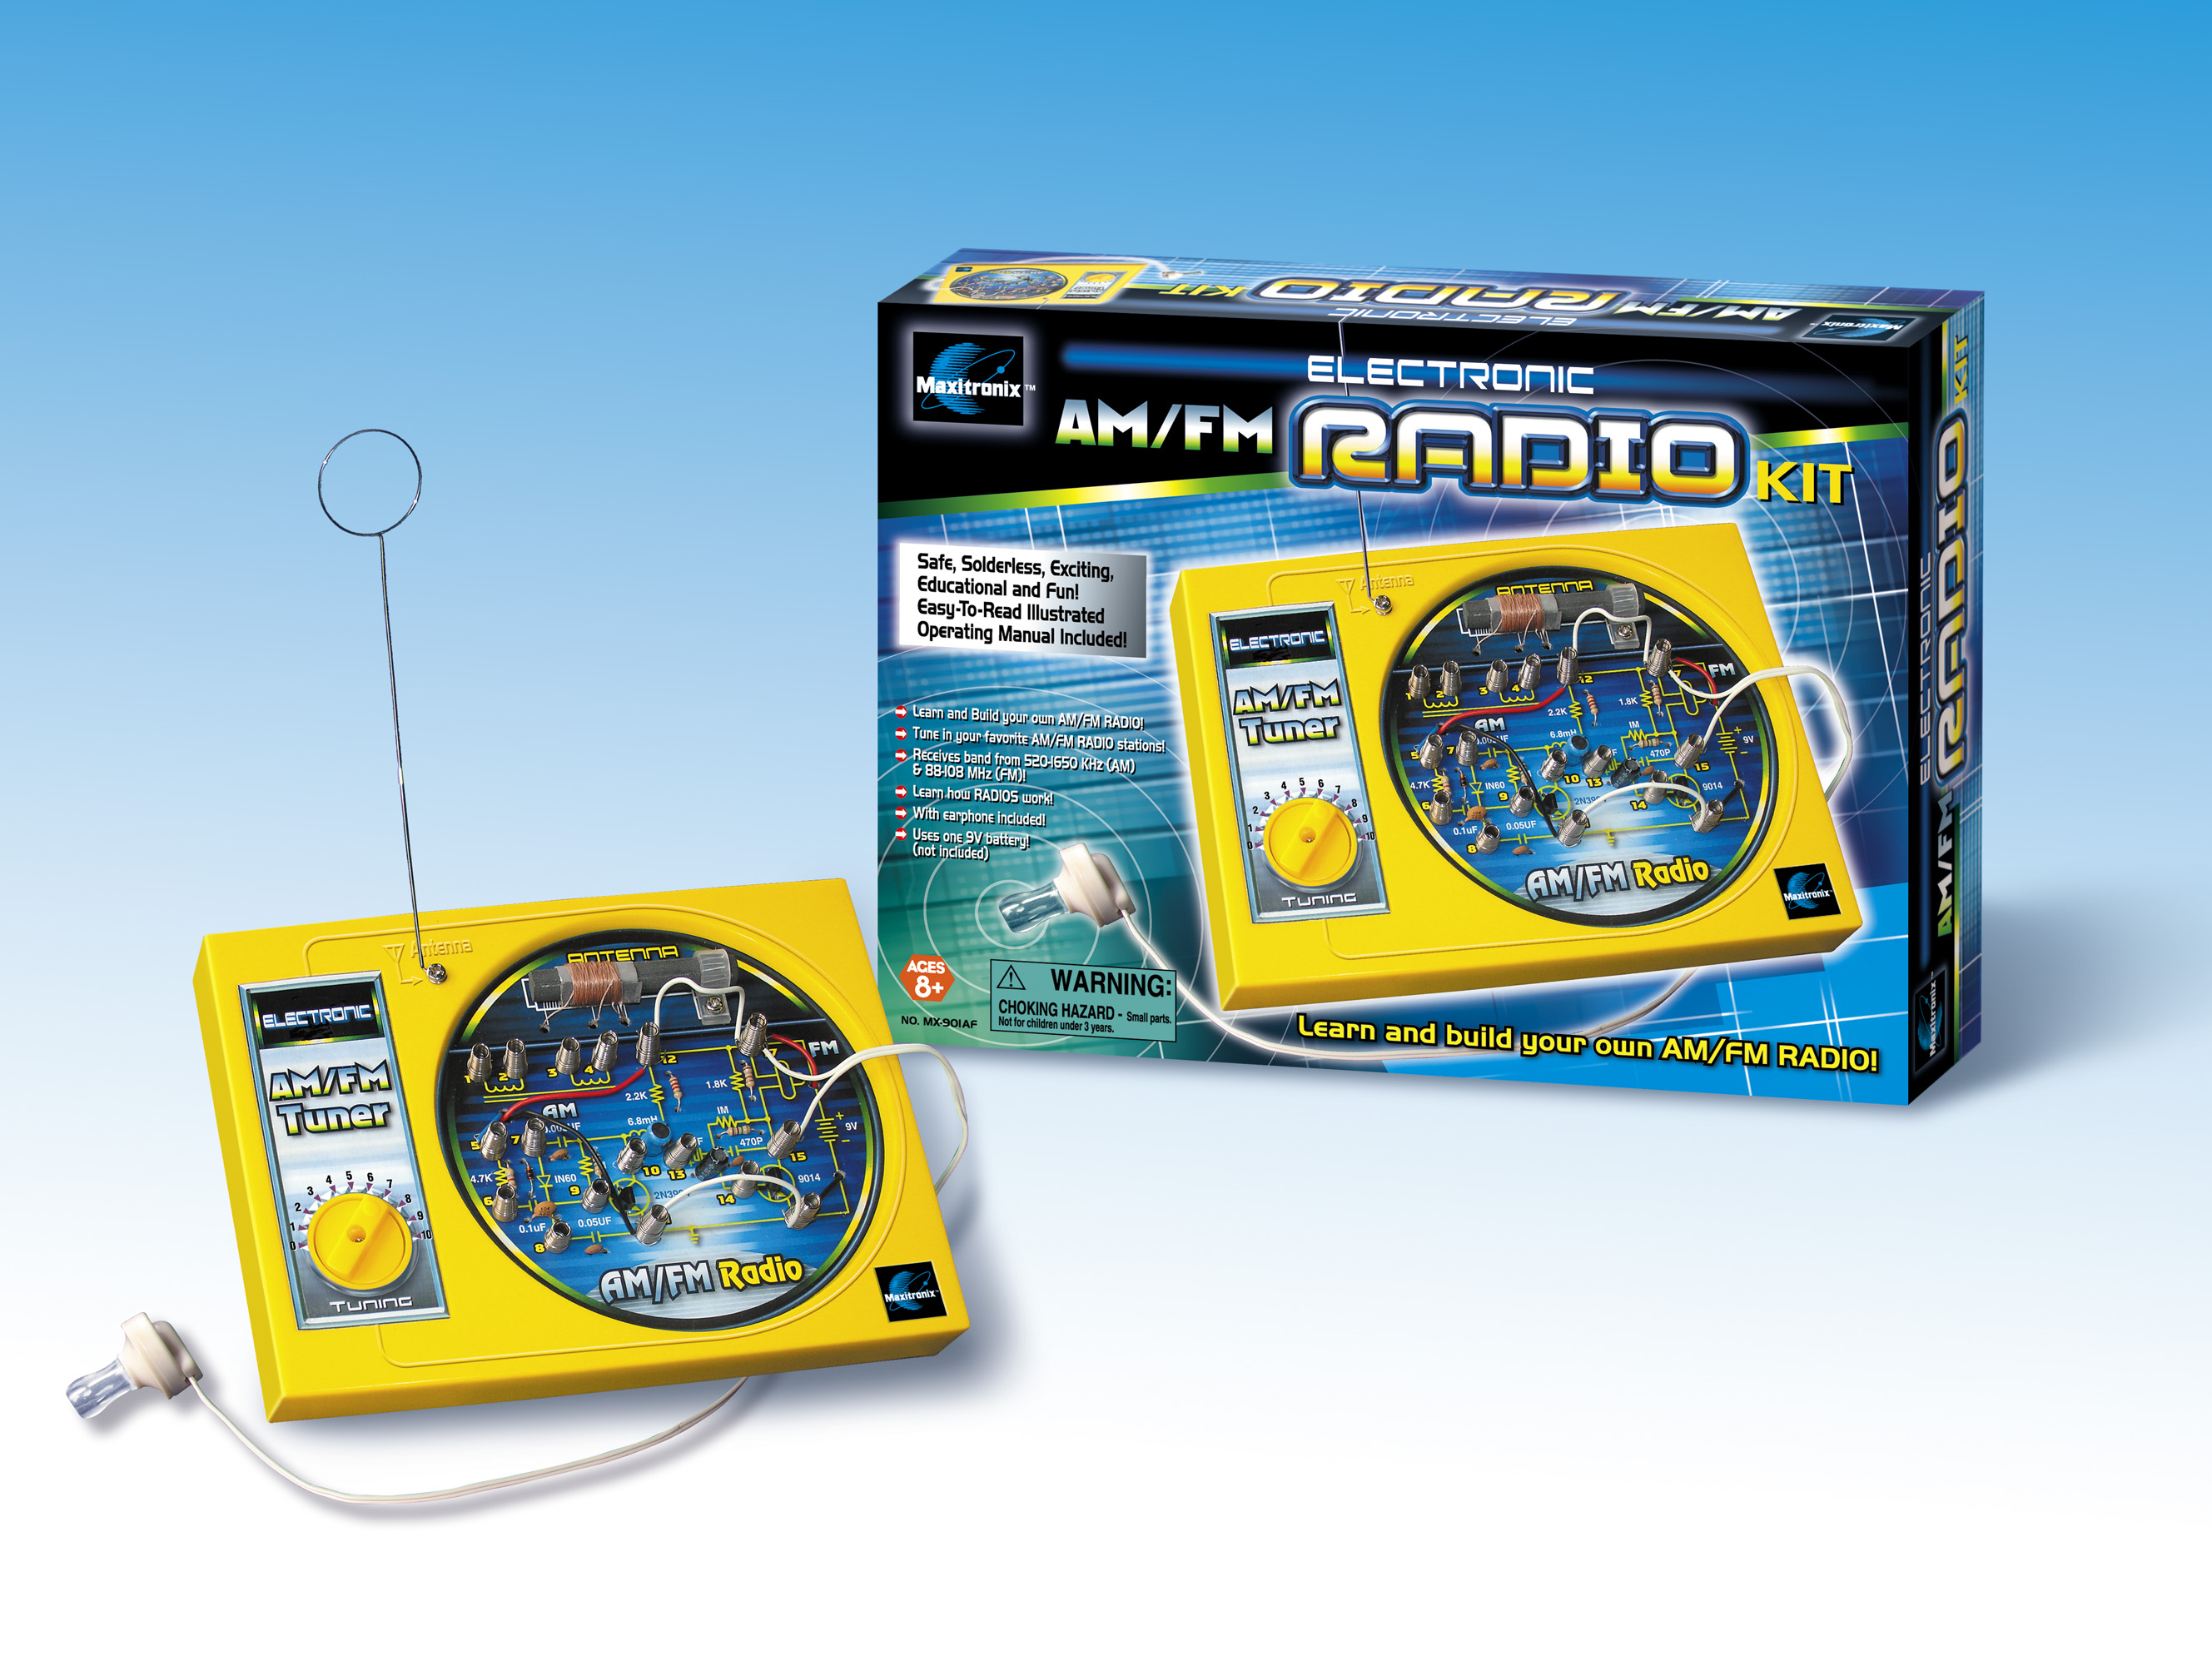
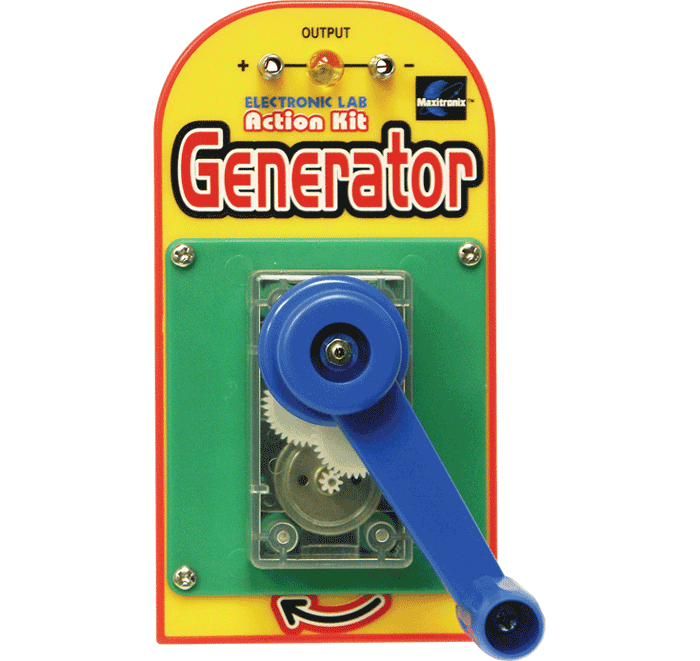
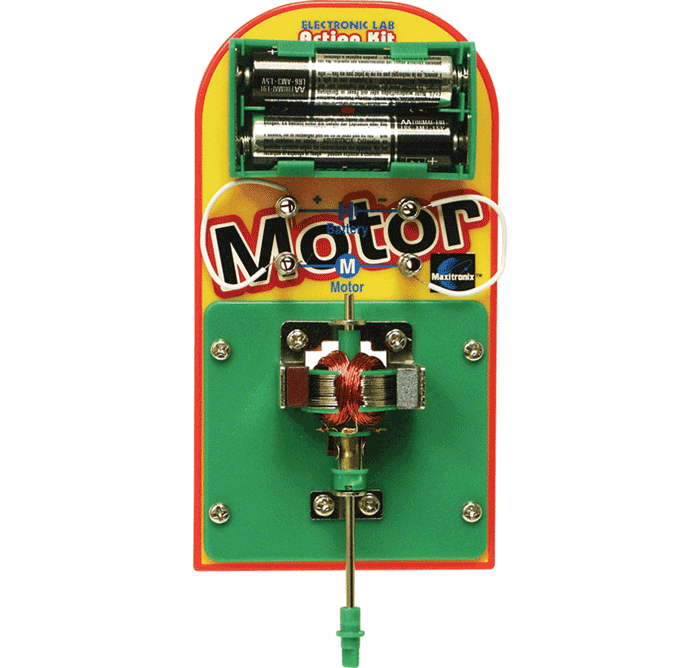
Electronics kits are a fun way to learn the basics of electric circuits. Some kits even require some basic soldering. Here are some recent additions to our Science/Electronics Department:
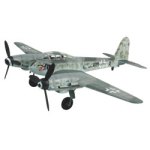
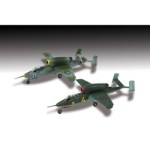
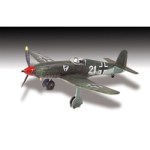
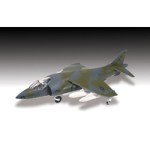
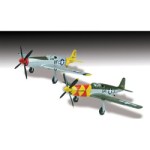
Lindberg has released a new series of 1/72 scale plastic model kits which is now available at Dan’s.


These cool new Classic Metal Works trucks arrived earlier this week. They’ll look great on almost any HO scale train layout!


Here’s a few of the recent jigsaw puzzle additions at Dan’s.


Raw Power 1/32 scale Slot Car Set

Law Enforcer 1/32 scale Digital Slot Car Set

These new mini radio controlled boats are perfect for a swimming pool or a pond. In fact, they’re perfect for almost any relatively calm body of water.
Jason and Hayes had a chance to play with pre-production samples of these two boats while they attended the Horizon Academy in June. They were very impressed with how they handled in the hotel swimming pool, even with some “rough water” provided by other guests. They were adamant that we needed to add these boats to our inventory as soon as they became available.
The ProBoat Impulse 9 is a Deep-V hull.
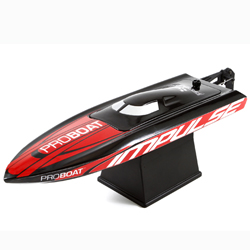
Impulse 9 Deep-V Boat
The ProBoat Blackjack 9 is a catamaran design.
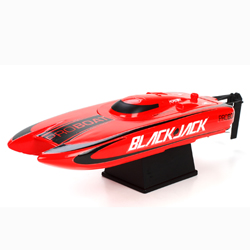
Blackjack 9 Catamaran
