Our new model railroad department continues to shape up as more new items arrive. Here are the latest buildings in “O” scale for use with #Lionel and other O and 027 train layouts. #DansCraftsAndThings #WoodlandScenics


We’ve received some brand new 1/32 scale #Scalextric #SlotCars at #DansCraftsAndThings


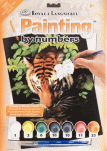
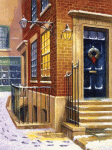
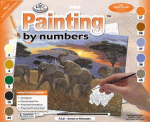
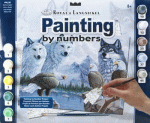
Here are some of the new Paint-By-Number kits we’ve received lately at #DansCraftsAndThings.


In our latest additions to our games selection we’ve added my daughter’s favorite board game, #TriBond! She tried throughout high school to beat her parents but rarely succeeded until finishing college. Regardless of who won, we always had a great time playing! #DansCraftsAndThings #Games #FamilyGameNight

TriBond is Nikki’s favorite board game!
Another game we enjoyed playing is also available now at #DansCraftsAndThings, #Rack-O

Another favorite family game, Rack-O
This brand new kit compliments our giant selection of Paracord jewelry supplies.
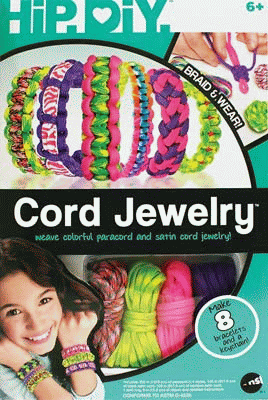
Once you’ve mastered your techniques with this kit, visit @DansCrafts for a complete selection of #ParaCord and buckles!
#DansCraftsAndThings
Good morning, and welcome to another Tutorial Tuesday! We have a real ooky-spooky one for you today! We’re making some awesome Halloween tombstone decorations out of Styrofoam.
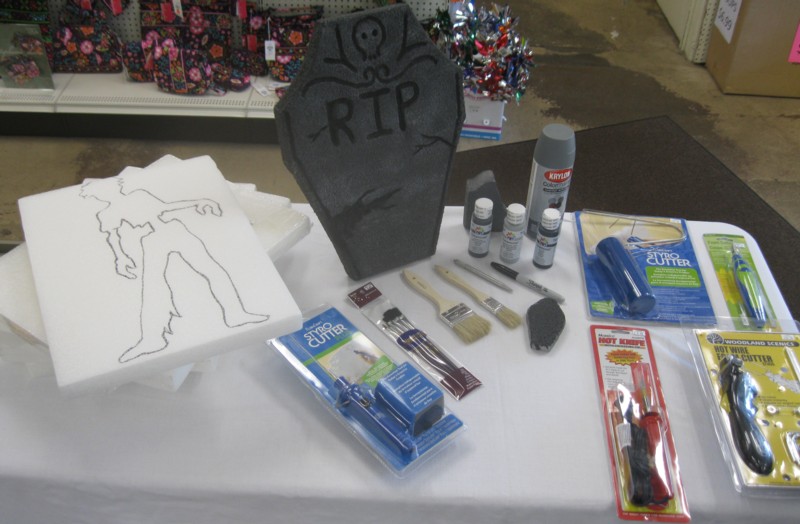 You Need:
- Styrofoam sheets (the ones we used were 1.25″ thick)
- A hot-wire cutter
- A hot knife (If your project has small details. Not necessary if you’re only making headstones.)
- Chip brushes, 1″ and 2″ wide (do not use foam brushes for this project)
- Small paint brushes
- Mod Podge (optional)
- Dark grey, light grey and black acrylic paint
- A Sharpie (color doesn’t matter)
- Grey spray primer


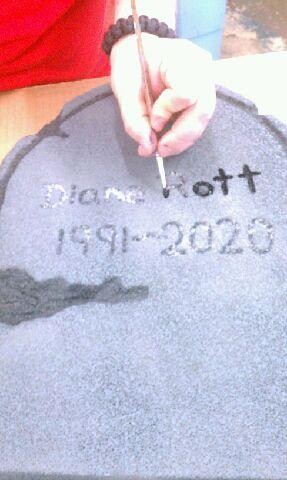
1. Draw your design on the styrofoam with the Sharpie marker.
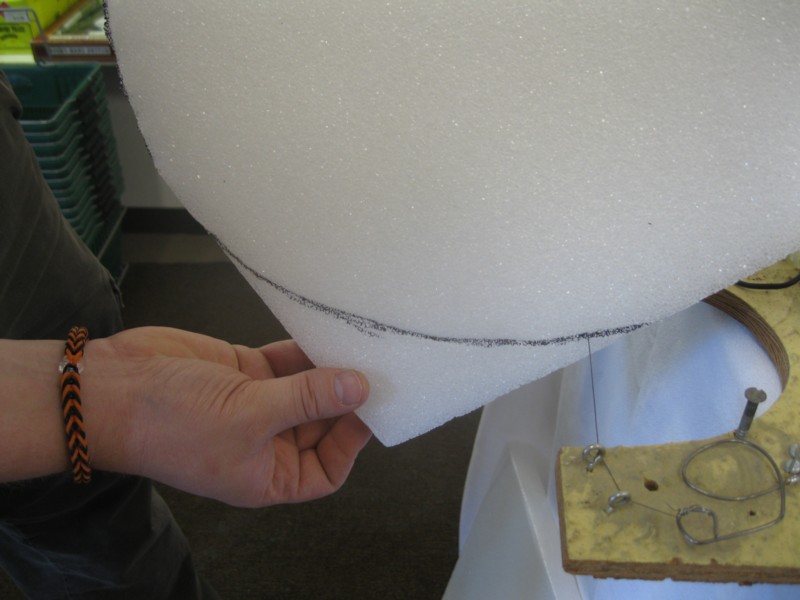
2. Cut the foam with the hot wire cutter.
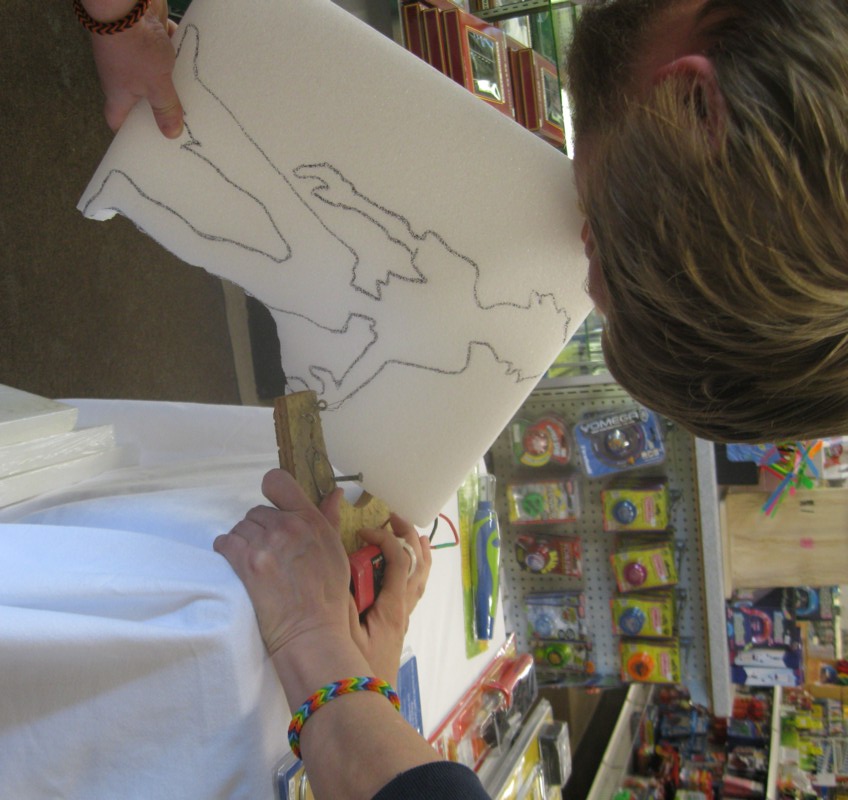

If you’re cutting something with small details out, make a rough cut to remove the excess styrofoam, then come back a second time to cut the fine details.
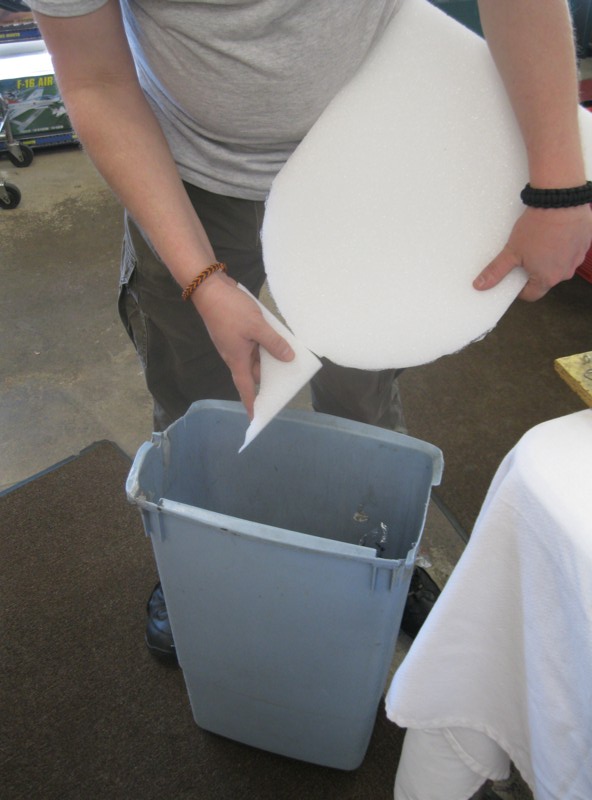
3. Using a scrap piece of Styrofoam, “sand” any rough edges off. This step is messy, so do it over a garbage can as shown, or over some newspaper.

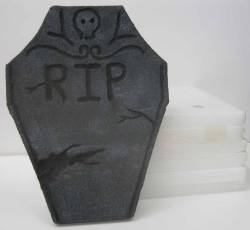
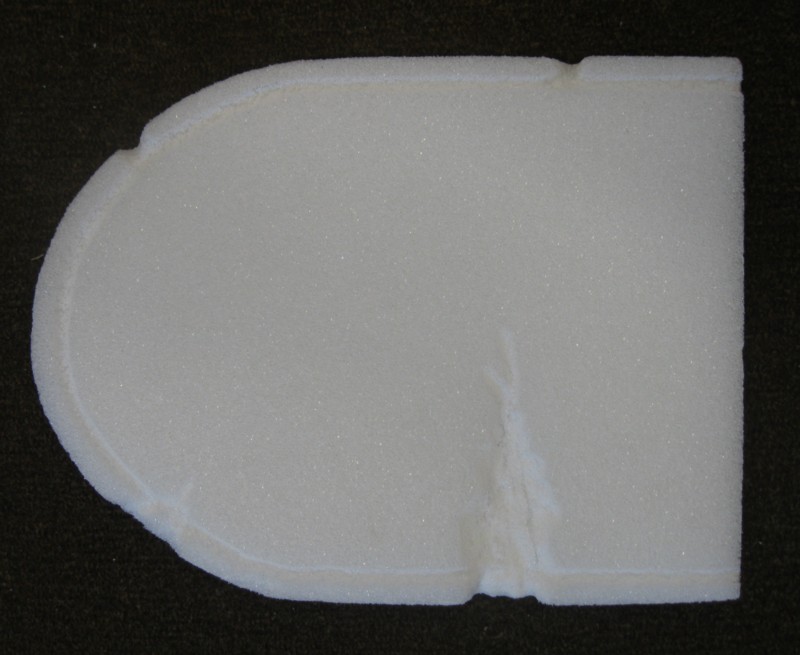
The headstone after cutting.

4. Using the scrap piece of Styrofoam from step 3, make some gouges in the headstone to give it an aged, crumbled effect. To make a big gouge like the one shown, start with a shallow gouge, and press the Styrofoam in with your fingers to enlarge the mark.
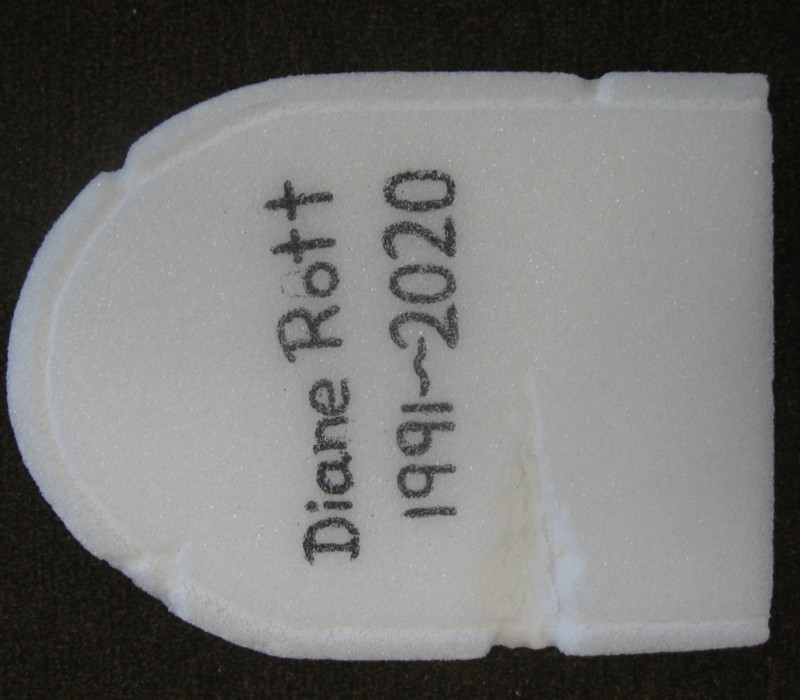
5. Make indentations in the foam with the blunt end of the Sharpie marker. More detailed markings, like wings, skulls and writing, should be drawn on before indenting the styrofoam. You may wish to use the handle end of your small paint brushes to indent the writing and other small details.
After the cutting and indenting are done, you may wish to partially seal the surface of the Styrofoam with Mod Podge. Use one medium coat on all surfaces and let dry. In my opinion, the end result looks more like weathered stone. Also it may lend some strength to the Styrofoam and keeps it from drinking in so much acrylic paint.
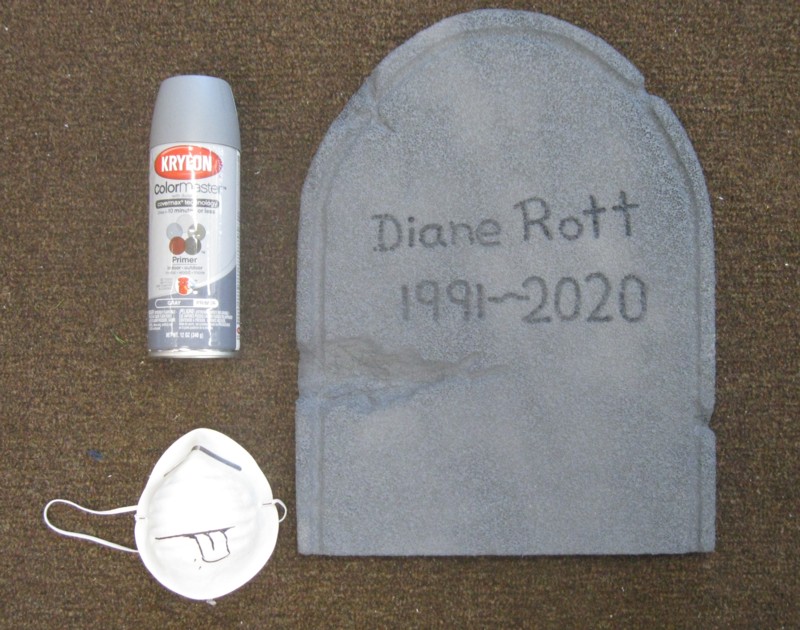
6. In a well-ventilated area (and a particle mask doesn’t hurt either), spray all sides of the tombstone with gray primer. Don’t try for an even coat.
The brand of spray primer Dan’s carries doesn’t appear to attack the foam too much, but it is advisable when spray painting foam to keep the can at least a foot, if not further, from the foam. This is so that the propellant in the paint doesn’t eat away at the foam.
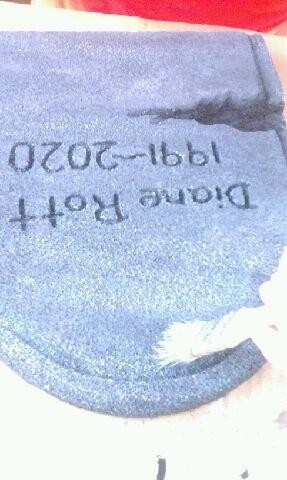
7. Brush on a coat of watered-down dark grey paint. Again, we’re not going for perfect coverage, but there should be no white spots by the end of this step.
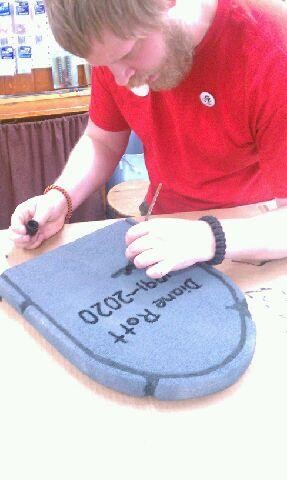
8. With black acrylic paint and a small paintbrush, paint all indentations.
9. Dip the dry 2″ chip brush into a small amount of light grey paint. Wipe most of the paint off. With a light, quick touch, run the brush over the surface of the headstone. Reload the brush when needed. This is called drybrushing, and will deposit paint only on the raised surfaces. It also gives it more dimension and a bit of an aged look.
Touch up any black paint if needed.

Finished!
Variations:
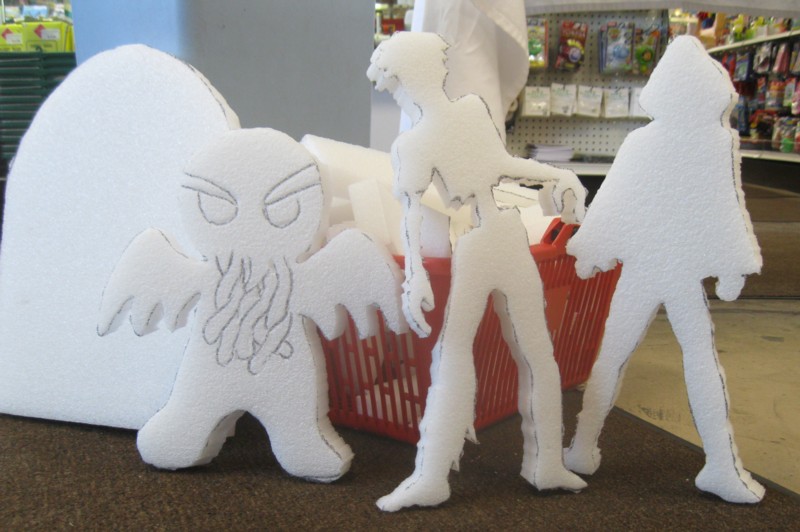
While this method works really well for fake tombstones, you can make any sort of silhouette shape you desire, and paint them black.

Don’t blink.
Thanks to many people for helping me get this tutorial together. It’s mostly Maria’s brainchild, and she and Justin did the styro cutting. Maria, Justin and Rebecca all took pictures, and Justin did the painting for the sample tombstone used in this tutorial.
Don’t miss a single riveting tutorial! Bookmark our tutorial page and check back on Tuesdays for new ones.
Is there a tutorial you want to see? Leave a comment!
Dan’s has received the new 2014 coin Red & Blue Books!

Coin Red Book

Coin Blue Book
#Whitman #Coins #Collecting #Value #DansCraftsAndThings
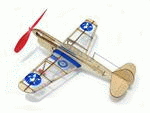
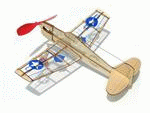
Dan’s has received the new simple balsa wood airplane kits recently released by Guillows. These kits for ages 13+ are engineered to be built in one evening and flown the next day. Choose from six different planes or build them all!


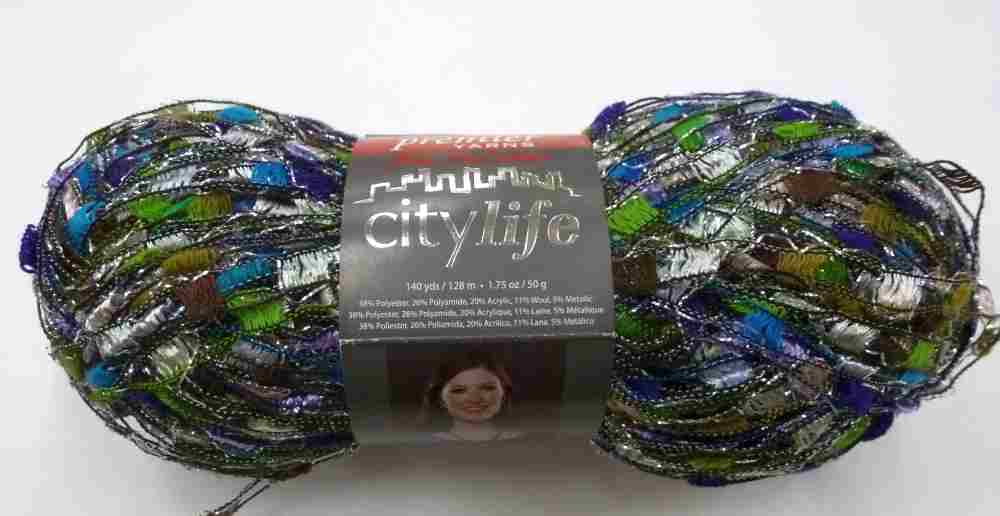
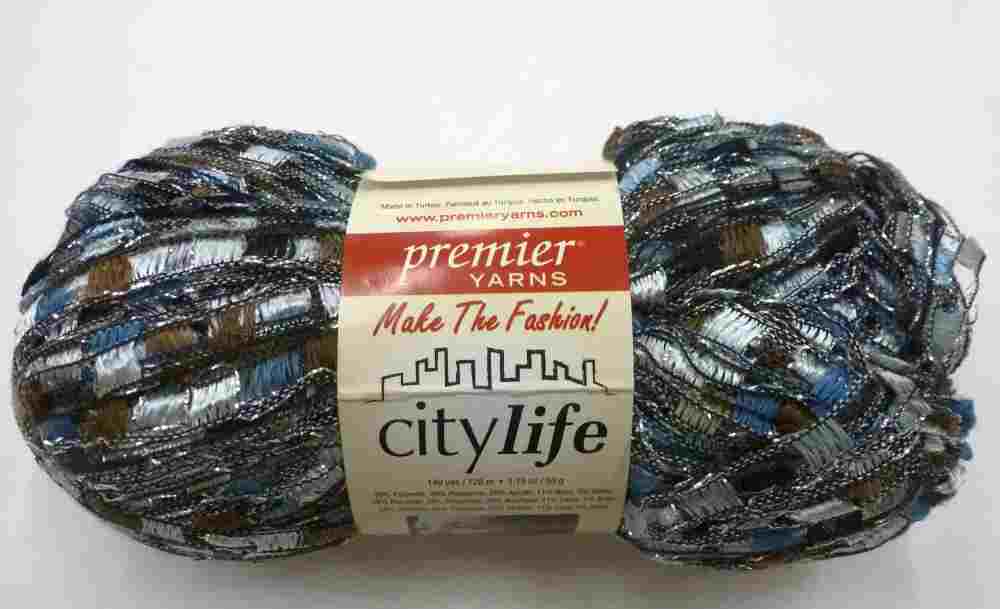
Today, we received some new colors of some of your favorite yarns.
Premier City Life

City Rain
Hostas

Corasge
Feline
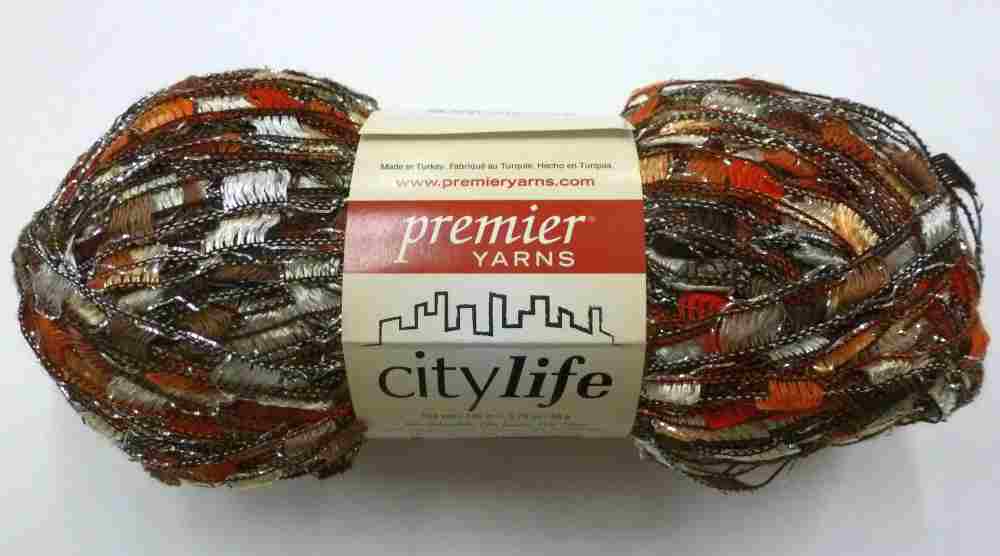
Fall Holiday
Bernat Baby Jaquards Florals

Rosebud

Orange Blossom

Happy Tuesday! It’s the best time of the week – time for a Tuesday tutorial! This week, we tackle a tough question – What do you do when you want to make a rubber band bracelet, but you don’t have a loom? Here, I present two patterns you don’t need a loom to make.
Single pattern

You need:
- Rubber bands
- One C-clip
We used 24 bands for a child-sized bracelet. The adult-sized bracelets shown use 26 and 28 bands.

1. Pinch first rubber band in half

2. Attach C-clip
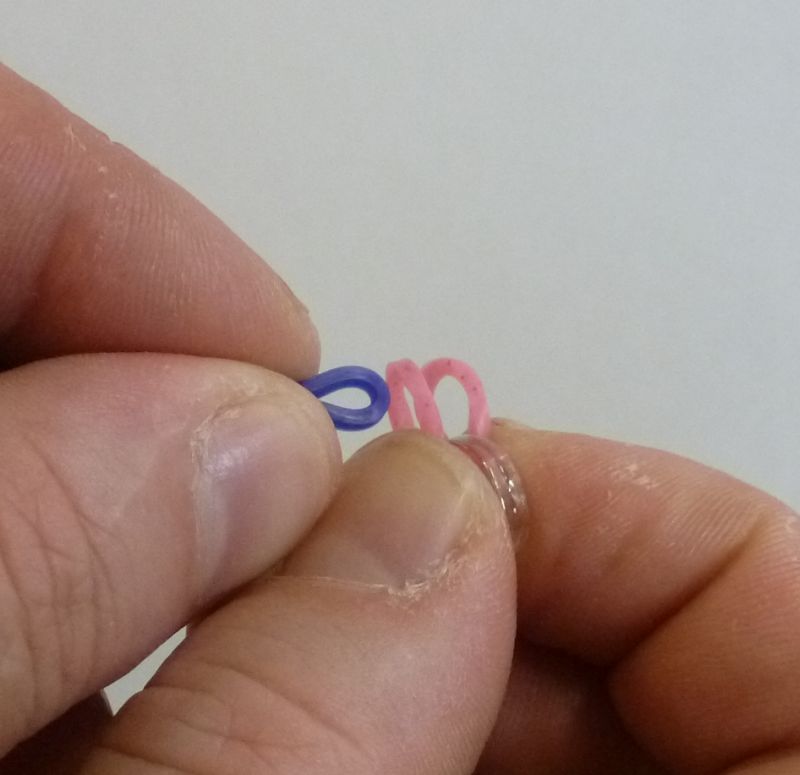
3. Hold the two ends of the first together. Pinch the second rubber band flat.

4. Insert second rubber band into the first rubber band.

5. Pinch the two free ends of the rubber band together. Pinch a new rubber band in half and insert into the previous rubber band.
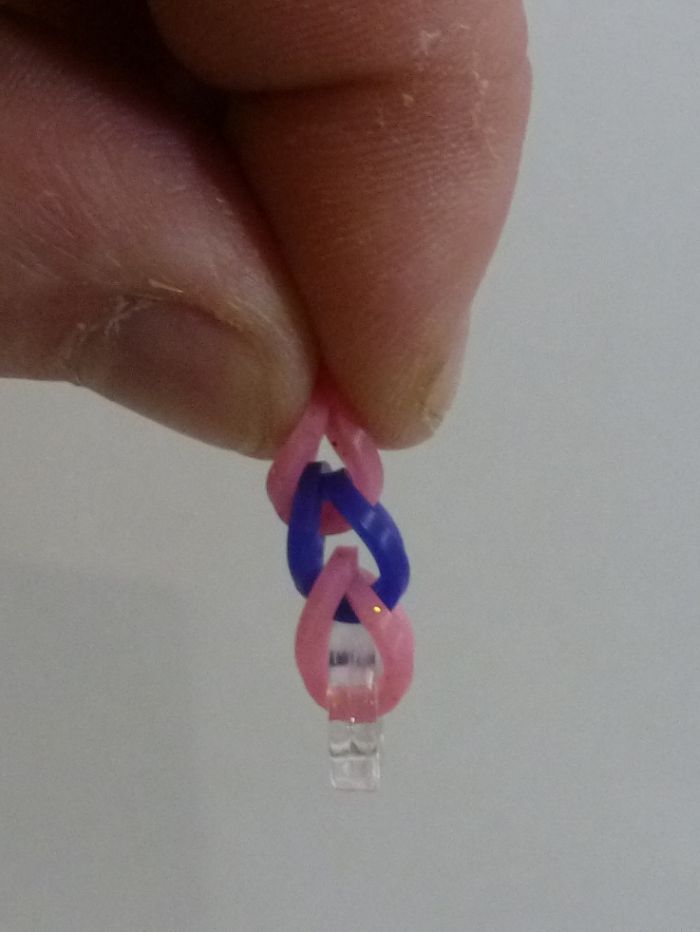
You should now have several links that look like this.

Repeat until the bracelet is the desired length.

6. Insert clip into the end of the bracelet.

Finished!
Fishtail Pattern

You need:
- Rubber bands
- One C-clip
- A fork
The large, adult-sized bracelet here used 58 rubber bands. A smaller adult or child-sized bracelet will use about 50 or fewer.

If you are using a plastic fork and find that the tines get in your way, you can snap the two center tines off.

1. Place the first rubber band on one tine of the fork, twist in the center and put the rubber band on the other tine. This will be the only rubber band that will be twisted.

2. Attach C-clip.

3. Put two more rubber bands on the fork.

4. While holding the rubber bands on the fork with your thumb, grab the bottom rubber band. Bring it up over the other rubber bands. Repeat on the other side.

5. Tug on the C-clip.

6. Place the next rubber band on top. While holding the rubber bands on the fork with your thumb, grab the bottom rubber band. Bring it up over the other rubber bands. Repeat on the other side.

7. Tug on the C-clip.


Repeat steps 6 and 7 until your bracelet is the desired length.

8. Bring the bottom rubber band over the top rubber band, so only one rubber band remains on the fork.

9. Take the bracelet off the fork and pinch the two free ends together.

10. Attach the clip to the free end of the bracelet.

Finished!
Thanks to Justin for being my hand model this week. Don’t miss a single riveting tutorial! Bookmark our tutorial page and check back on Tuesdays for new ones.
Is there a tutorial you want to see? Leave a comment!
